

How to install Langdock for Outlook
Install the Langdock Add-in from the Microsoft Marketplace and connect it to your Langdock account. The add-in runs in Outlook on the web, the new Outlook for Windows, classic Outlook for Windows, and Outlook for Mac. Classic Outlook needs Microsoft 365, Outlook 2021, or Outlook 2024, so Outlook 2016 and 2019 aren’t supported. Your mailbox needs to be hosted in Exchange Online. Mailboxes on an on-premises Exchange server can’t load the add-in.Before you can use the Outlook add-in, an admin needs to enable it in the workspace integration settings. If it is not enabled yet, point your admin to the Add-in Setup Guide.
1
Get the Add-in
Navigate to the Langdock for Outlook page on the Microsoft Marketplace, click Get it now, and confirm your details in the dialog that appears.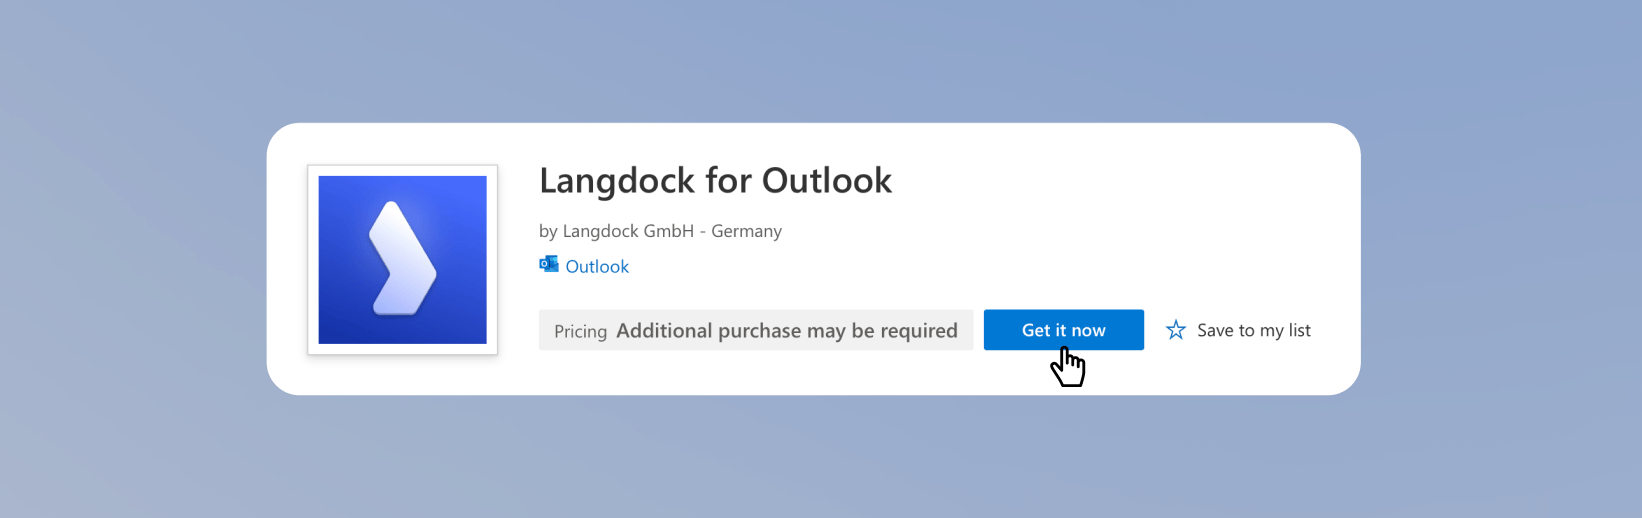
2
Open in Outlook
After the Add-in is added to your account, click Open in Outlook Web.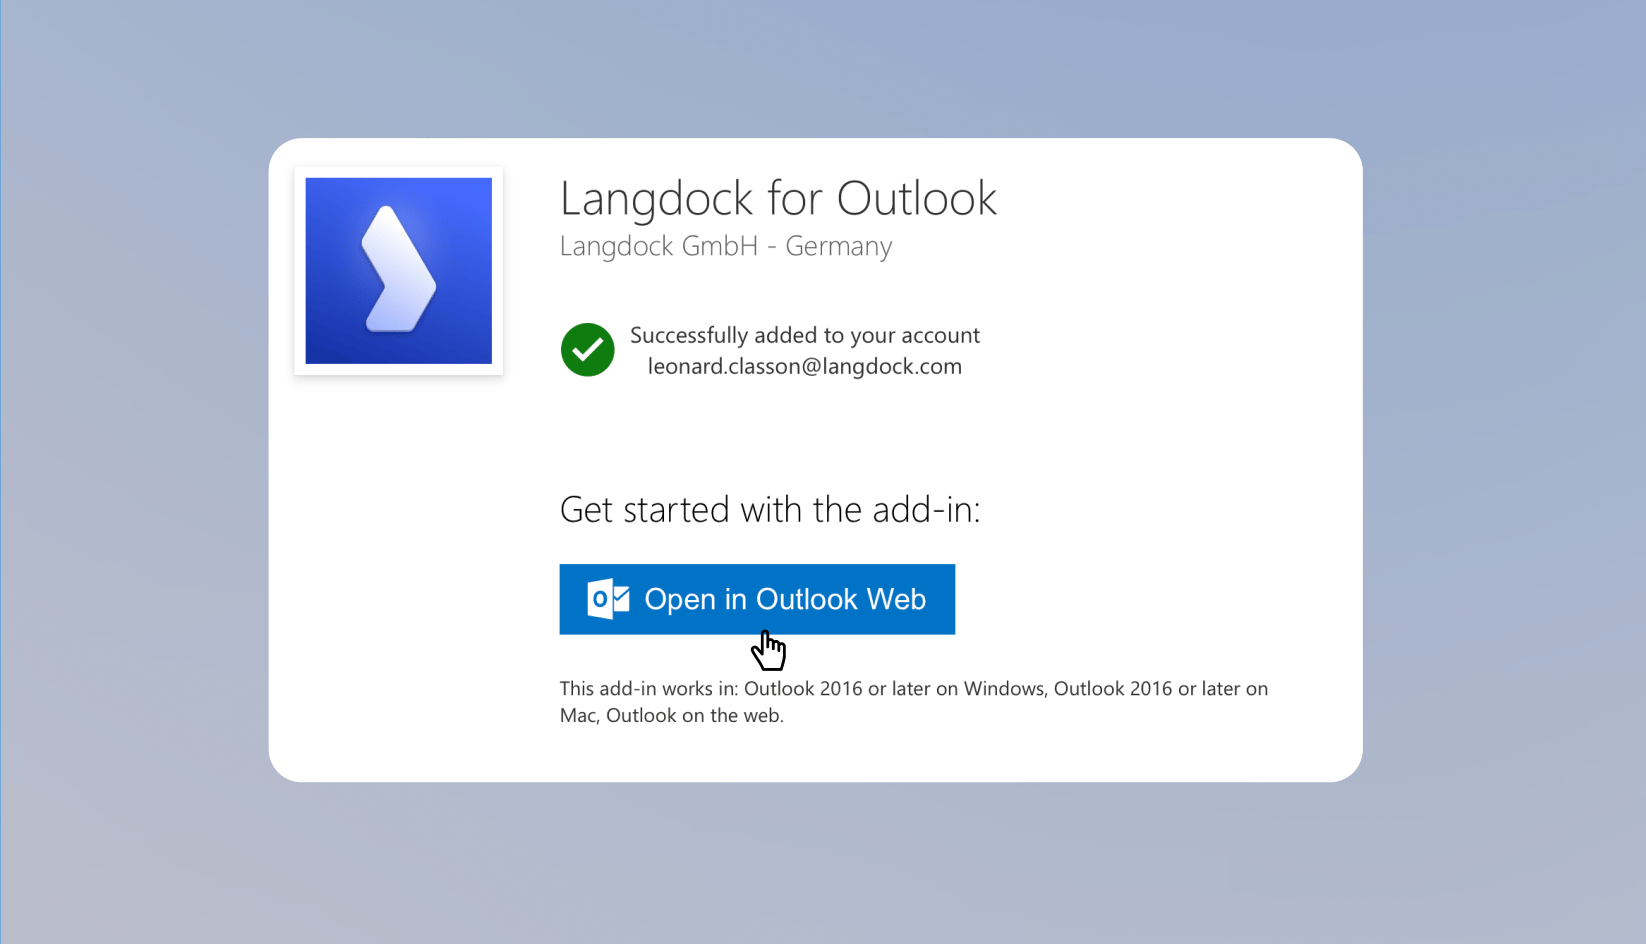
3
Sign in to Langdock
Return to your inbox, open an email, and click Langdock in the Outlook toolbar. Without an open email, the apps in the toolbar are disabled. Click Continue and sign in through your browser. Copy the sign-in code, paste it into the Complete sign-in screen in Outlook, then click Continue.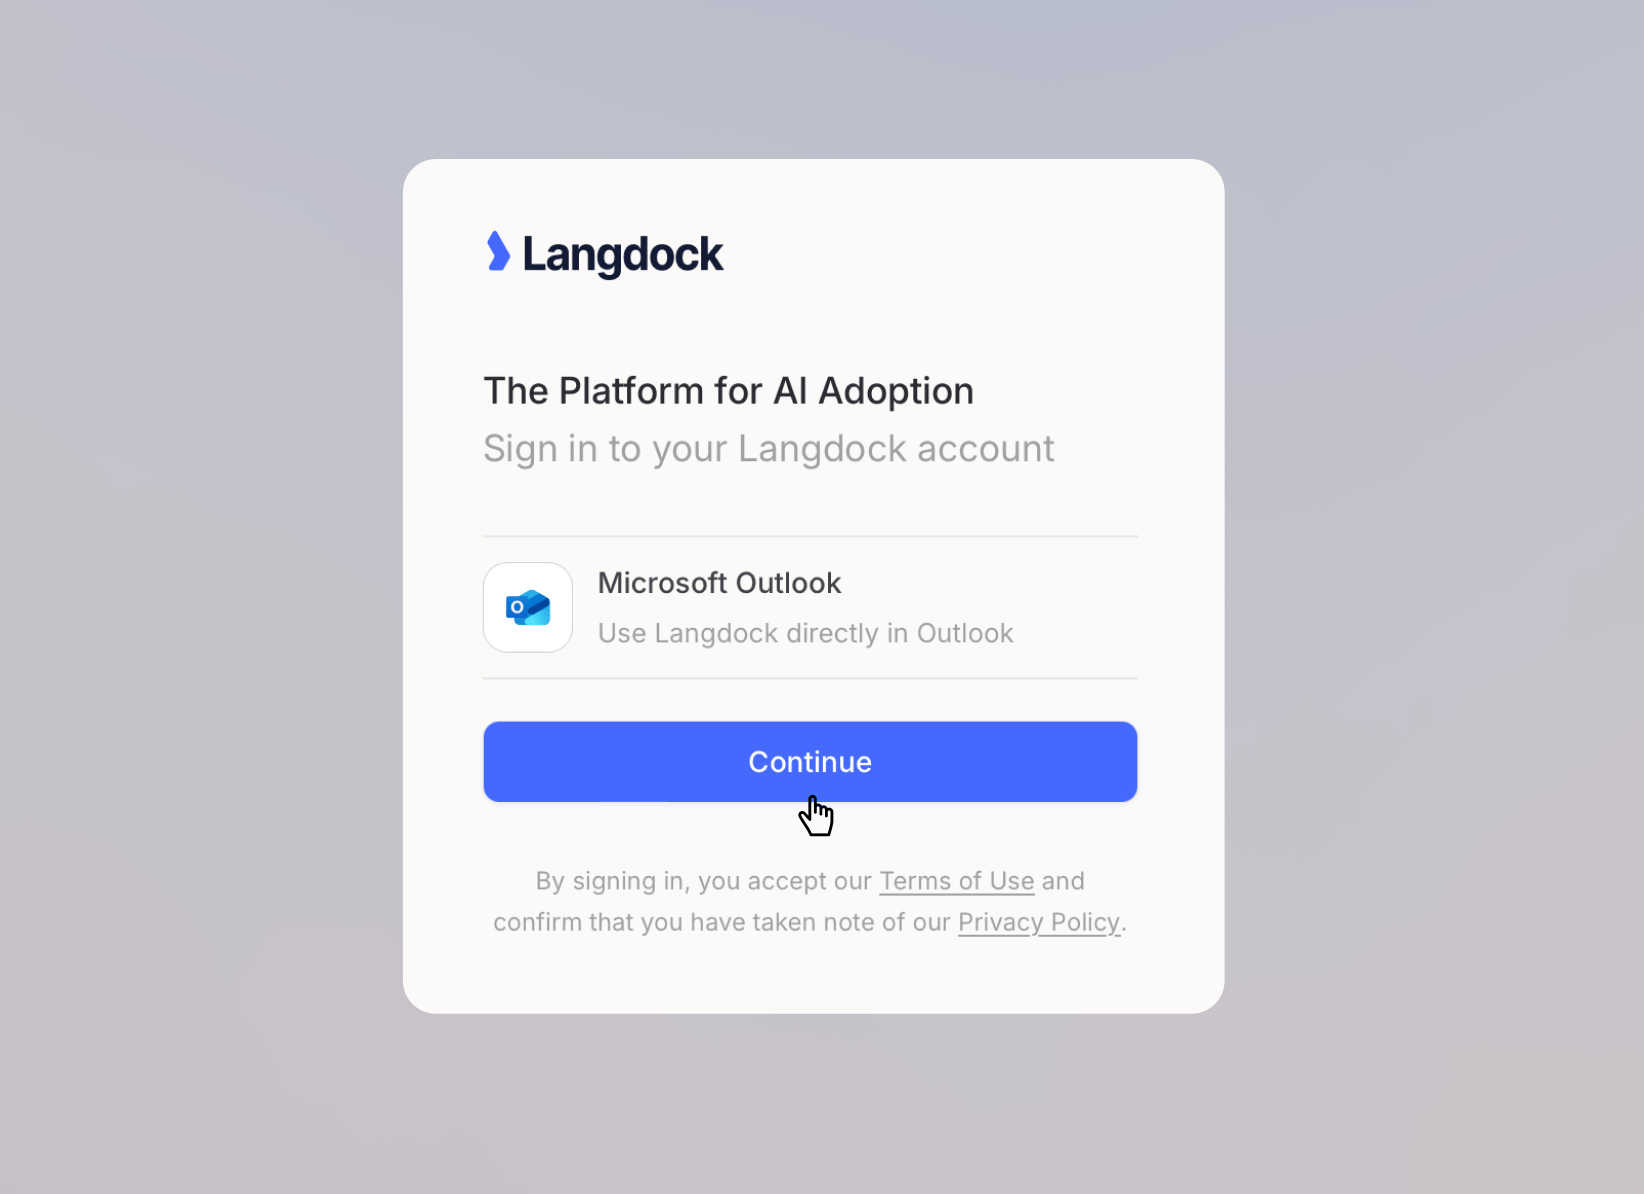
4
Connect Outlook
On the Connect Outlook screen, click Connect for Outlook Email and Outlook Calendar. The add-in uses these two integrations to read message content, search your mailbox, and work with your calendar. If both integrations are already connected in Langdock, this screen is skipped.
5
Pin the pane
Click the pin icon at the top of the Langdock pane. Outlook closes an unpinned pane when you switch between emails. A new compose window also opens without the pane, so pin it there once as well.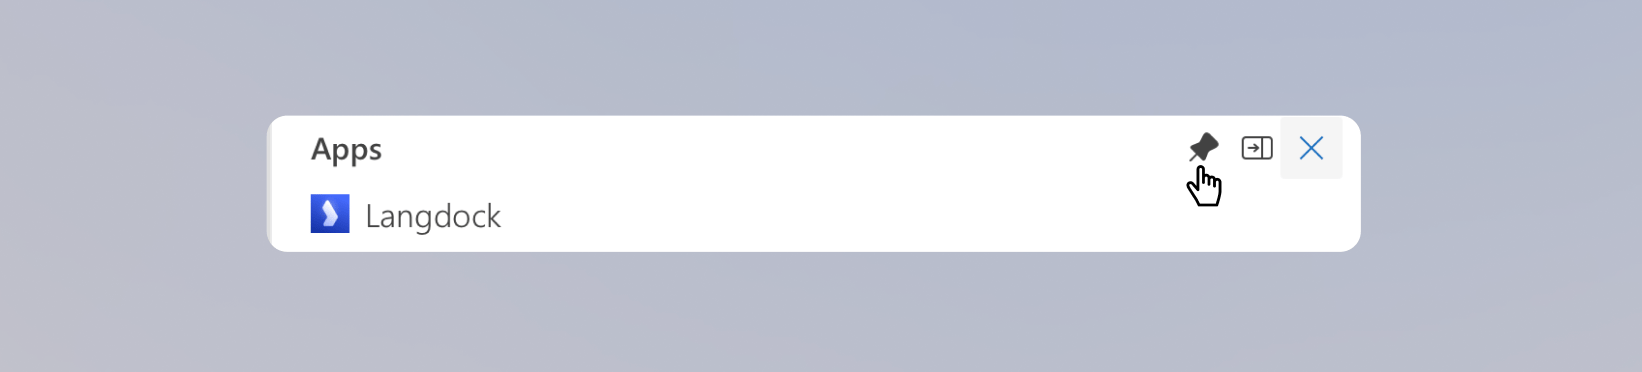
Working with Langdock in Outlook
The Outlook add-in is useful whenever the work starts in your inbox or calendar. Open an email or a calendar event, open Langdock next to it, and ask for what you need.
Common use cases
- Catch up on your inbox: Get a summary of what came in and what needs your attention.
- Summarize long threads: Pull the key points, open questions, and next steps out of a conversation without rereading every message.
- Draft replies: Ask for a response based on the open thread, then refine tone and content in the chat.
- Compose new emails: Ask Langdock to write or expand a draft. It can fill in the body, the subject, and the recipients.
- Organize your inbox: Sort messages into folders and clear out what’s done.
- Plan your week: Check your schedule, and create or update calendar events from the same conversation.
Example: Research stats and draft the reply
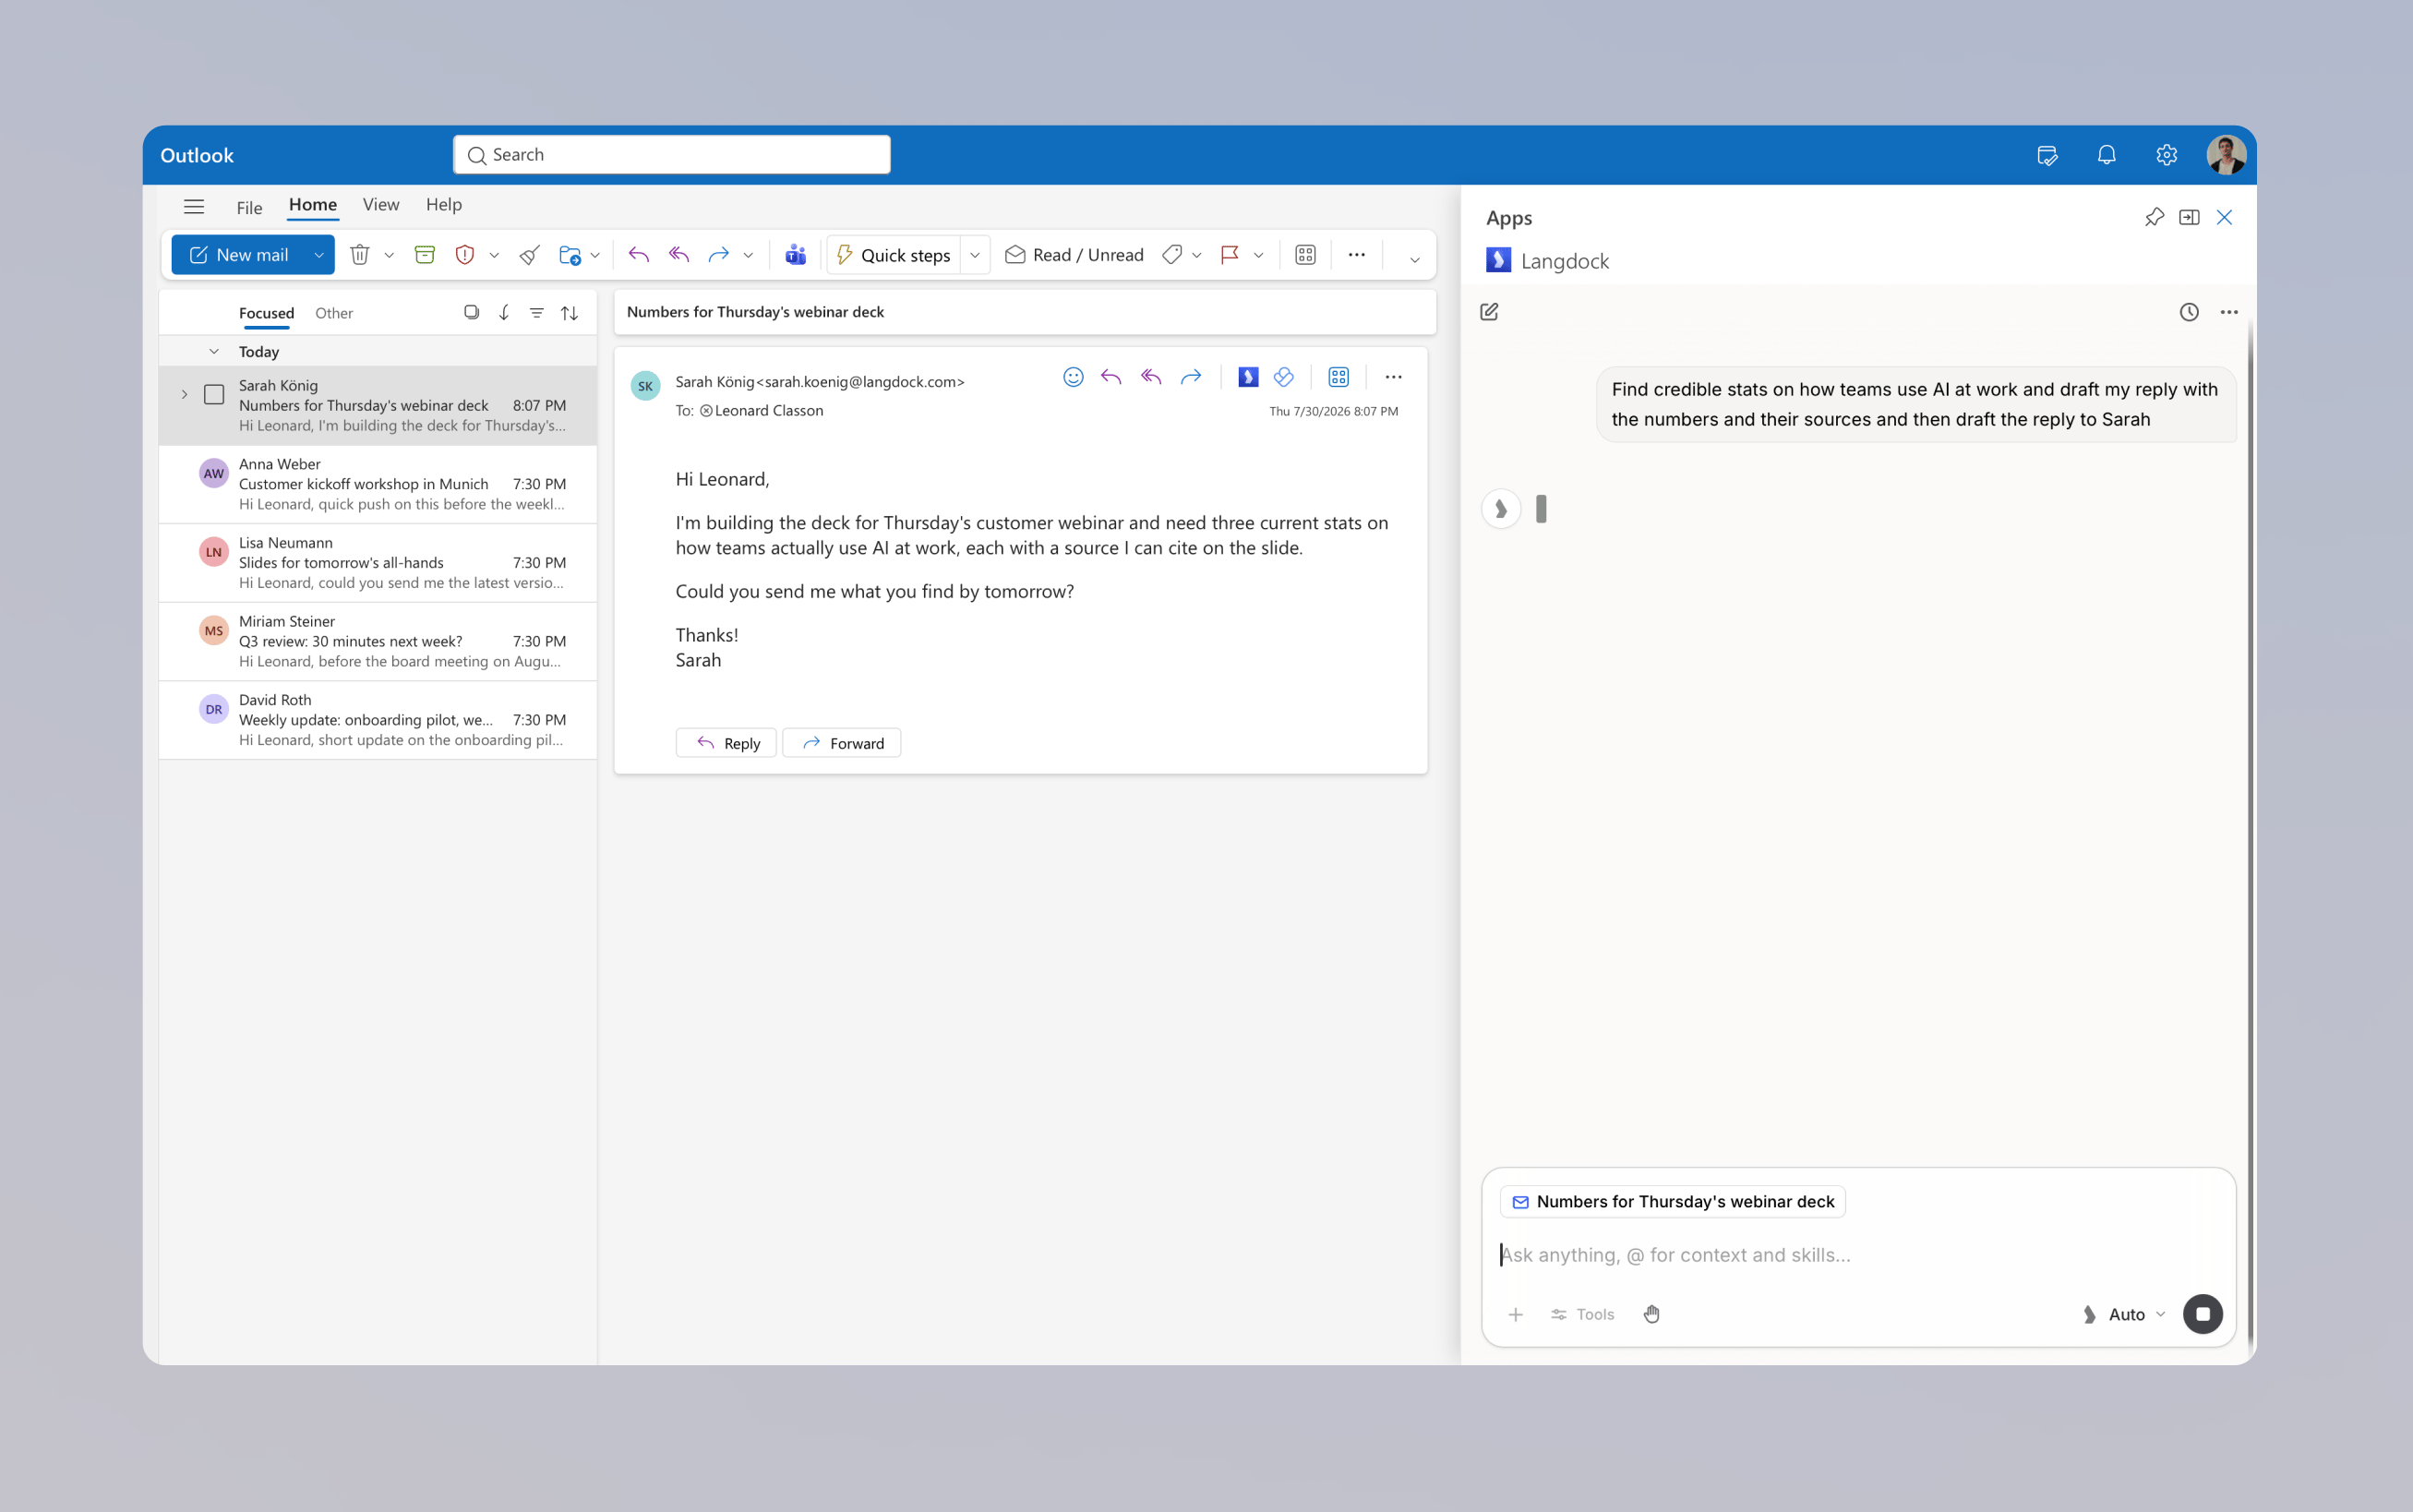
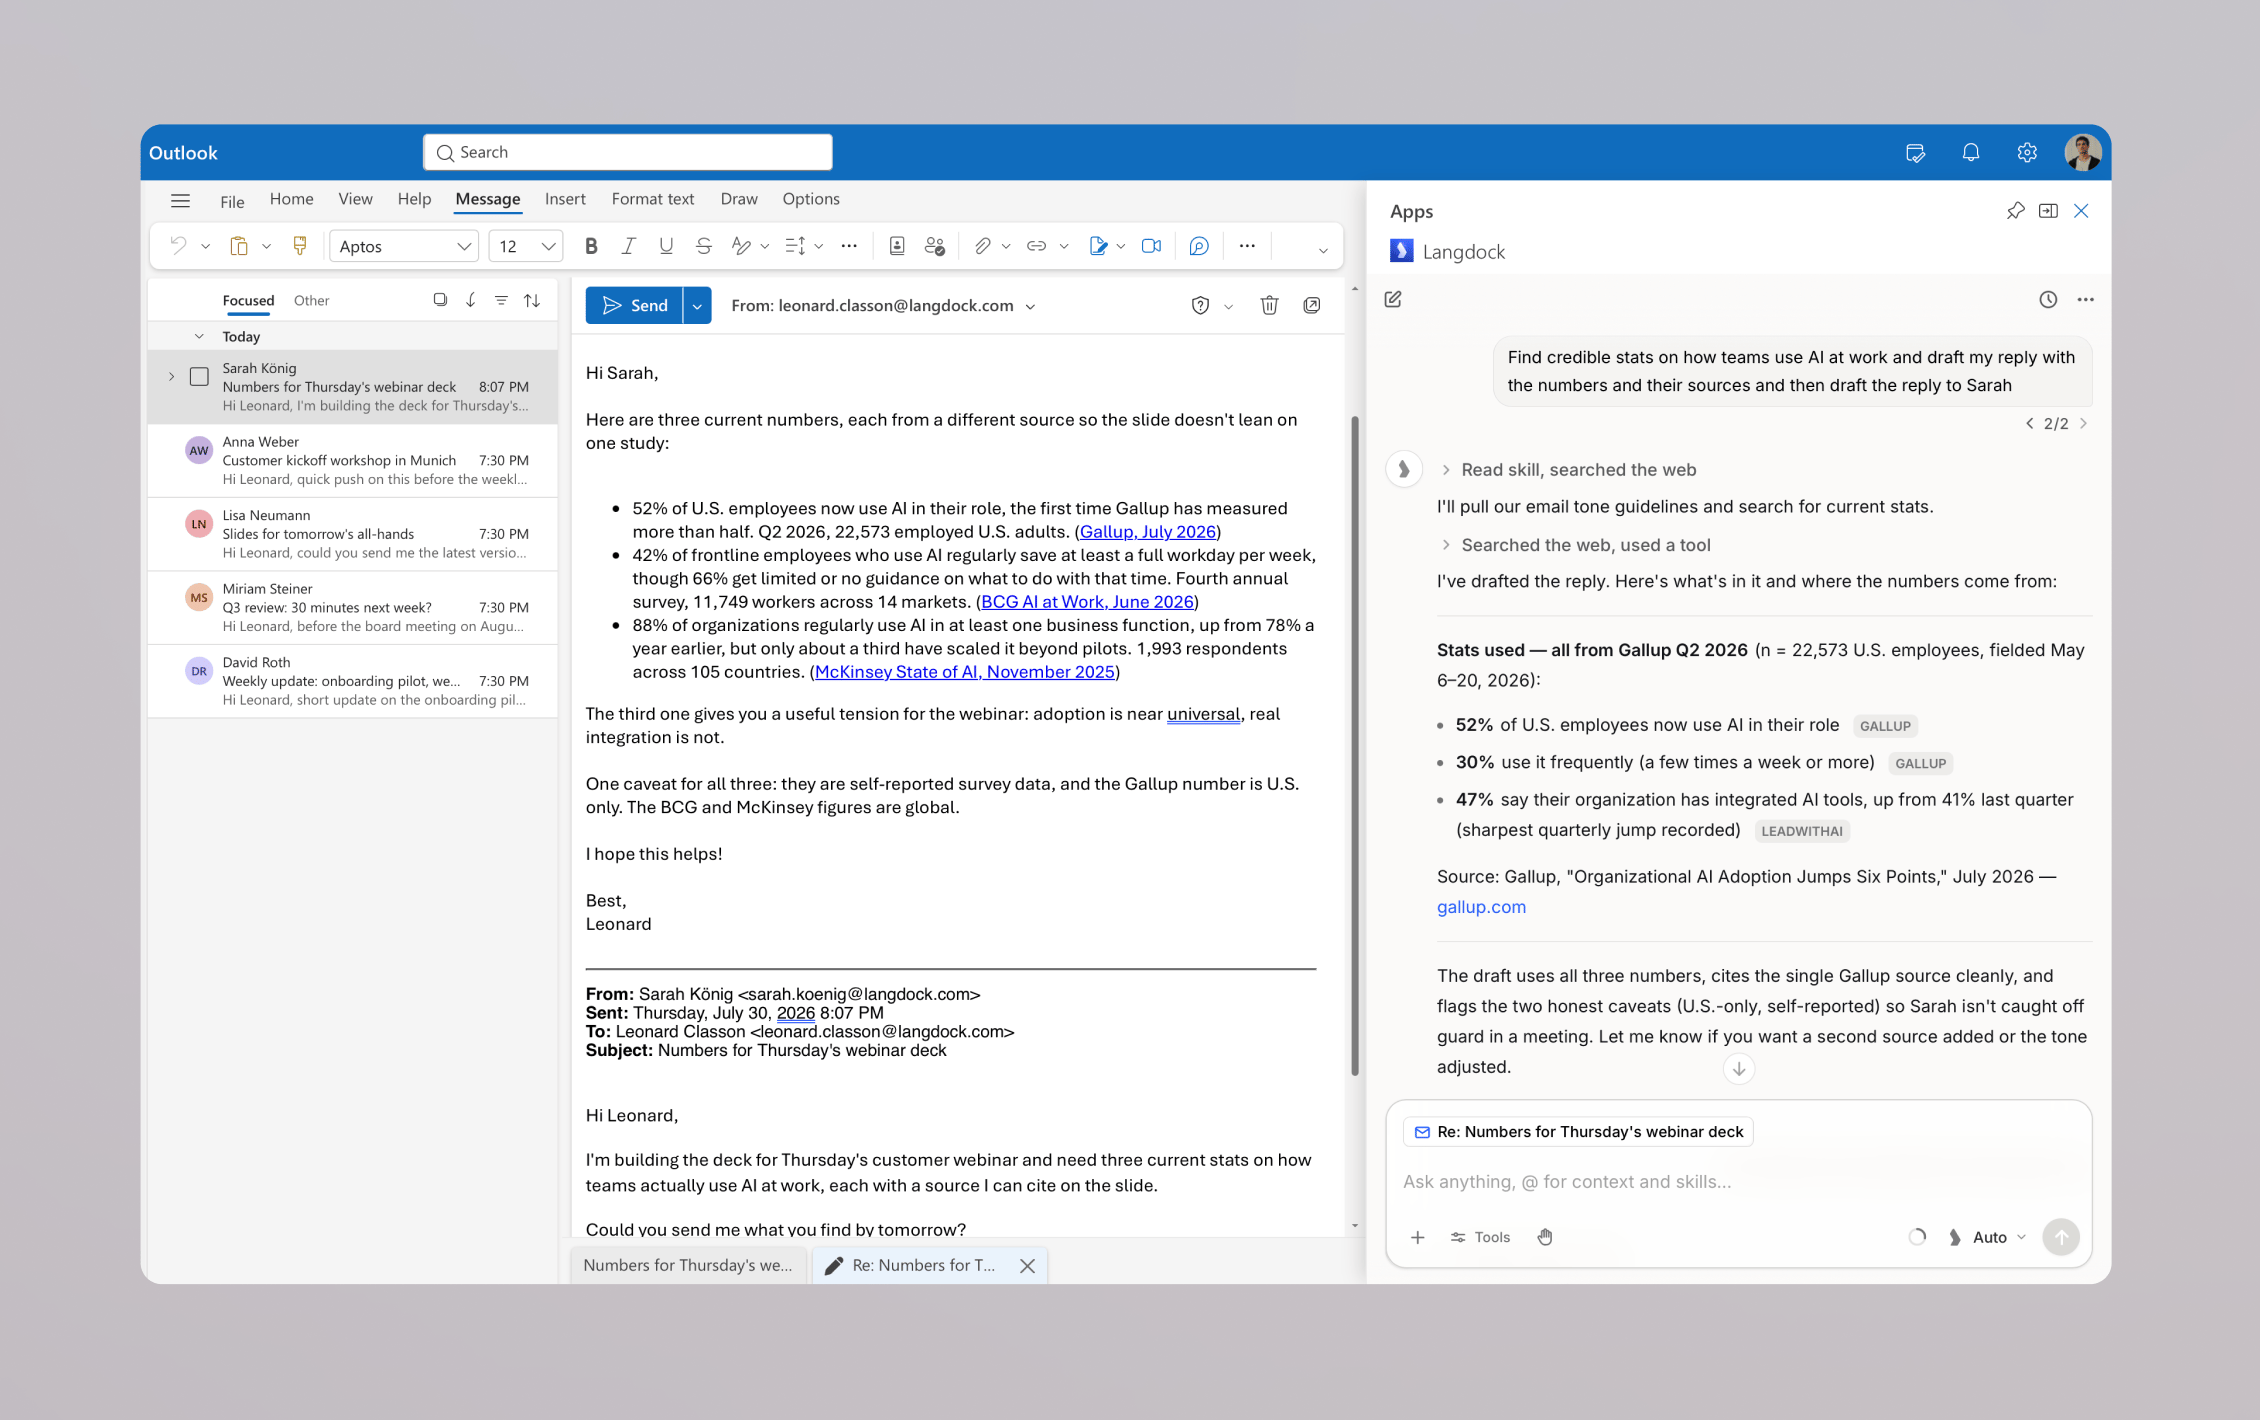
Say a colleague asks for something you would normally research in a separate chat. Sarah is building a deck for a customer webinar and needs three current stats on how teams use AI at work, each with a source she can cite. Open the email, click Reply to open a draft, then open Langdock next to the draft and describe what you need.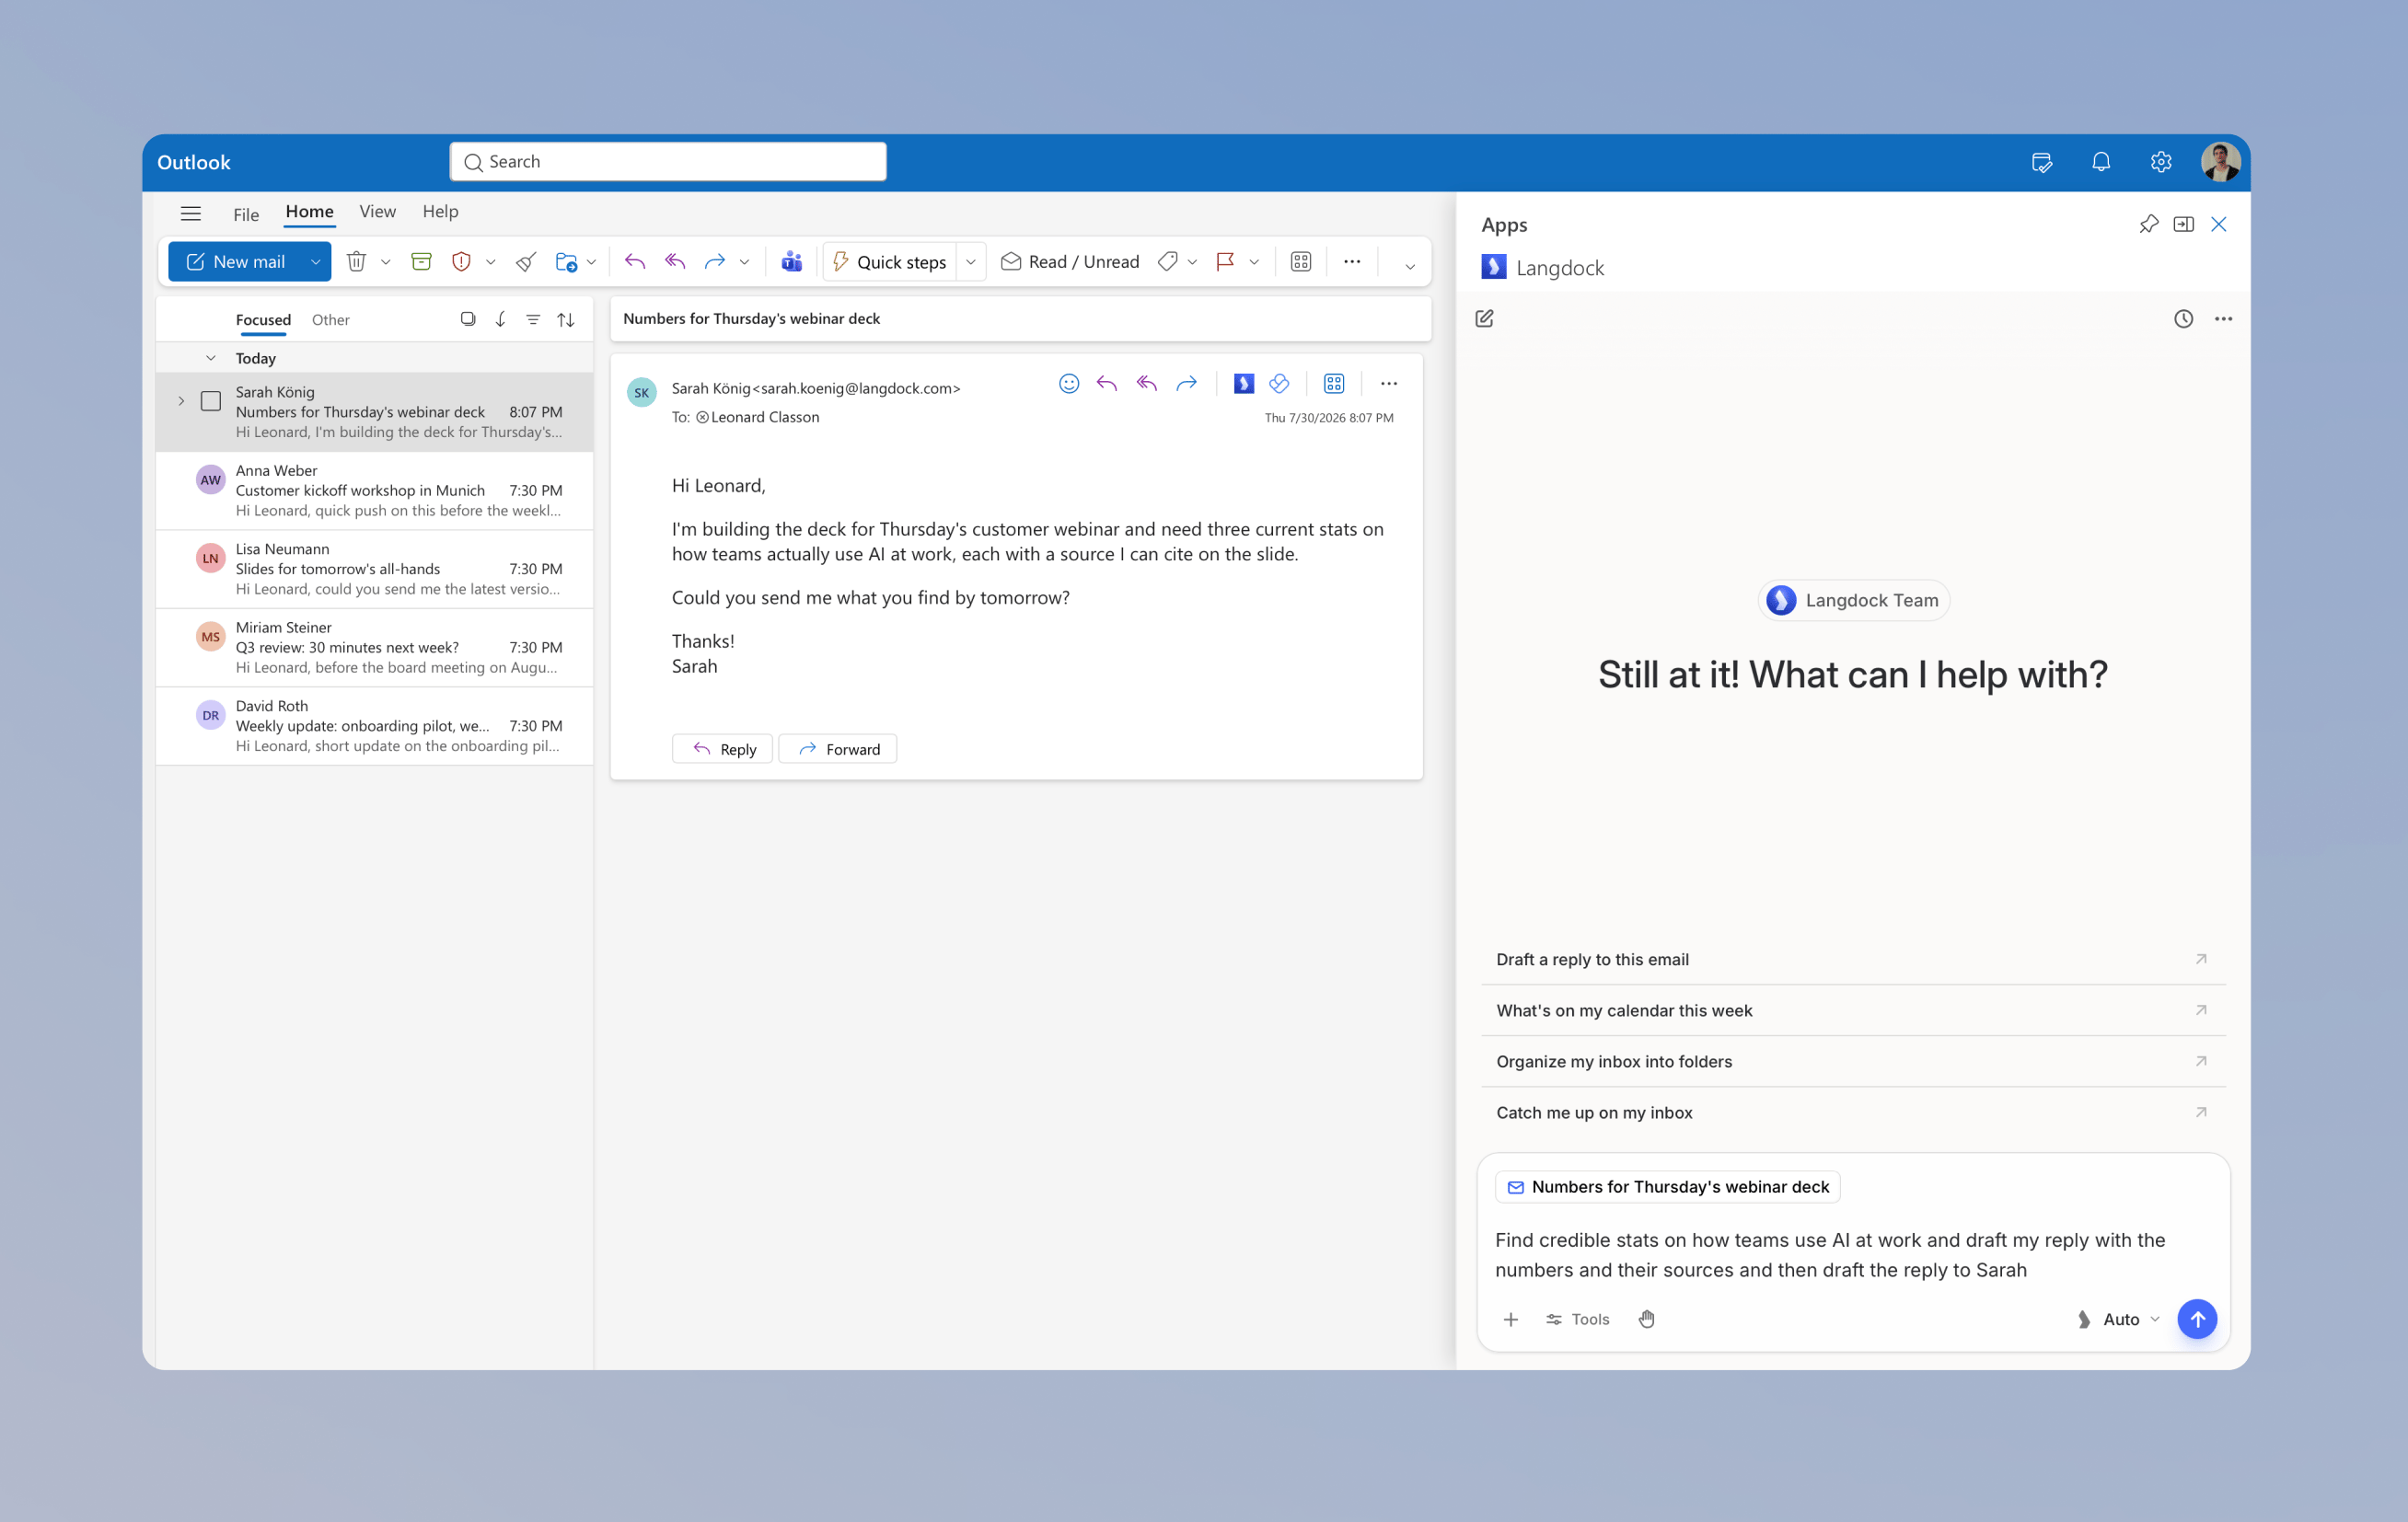
Find credible stats on how teams use AI at work and draft my reply with the numbers and their sources and then draft the reply to Sarah
Next steps
After the first response, you can keep working from the same panel:- Ask follow-up questions about the thread or event
- Use your Skills to draft replies that follow your team’s writing guidelines
- Enrich your reply with results from a Web Search
- Work with your connected integrations without leaving Outlook
Edit permissions
Langdock always asks before changing an open draft by default. You can switch from Ask before edits to Accept all edits in the Edit permissions menu in the chat input. When Langdock wants to write into the draft, the Edit Outlook draft? dialog shows the fields it is about to change:- Allow once: Applies the edit. Langdock asks again for the next one.
- Always allow edits: Applies the edit and skips the dialog for the rest of the current chat.
- Deny: Rejects the edit and leaves the draft unchanged.
Preferences
Open the add-in menu in the top bar and select Preferences to customize the add-in. Two settings shape how your add-in chats behave:- Instructions: Add custom instructions that apply only to chats in the Outlook add-in, for example
Keep replies short and to the point. - Default model: New add-in chats start on Auto mode. After you pick another model, Reset takes you back to Auto mode.