

Creating Workflows Through Chat
Instead of manually connecting nodes on a canvas, the Workflow Builder lets you describe your automation goal in natural language. It interprets your description and generates the appropriate workflow structure.Starting a New Workflow Chat
- Navigate to the Workflows section using the navigation bar and create a new workflow
- In the bottom left corner, you’ll find a button that opens the Workflow Builder chat
- A chat window will open, and you can begin describing the workflow you want to build!
Build an automation that runs every Monday to pull sales reports from Salesforce and generates a summary
Create a workflow that monitors Gmail for emails from customers, uses AI to detect if it’s a feature request, and automatically labels it as such
Set up a workflow triggered by a form submission that validates the data and adds it to a Google SheetThe model will generate a complete workflow inferring all necessary nodes, connections, and basic configurations. Start simple and build up complexity as you go.
Reviewing Your Generated Workflow
The Workflow Builder gives you a solid starting point, but you’ll want to review and potentially adjust the generated workflow before deploying it. Here’s what to check:- Node connections: Verify that each node is connected correctly and data flows as expected
- Input configurations: Check that variables point to the right data
- Integration settings: Connect your accounts and configure authentication for any integrations used
- Agent instructions: Review and refine the prompts for any AI agent nodes to match your specific needs
- Error handling: Add fallback paths or notifications for critical steps
Iterating with the Model
Use the Workflow Builder chat to refine your workflow after the initial generation. Adjust triggers, modify logic, add integrations, or improve error handling. If your request needs more detail, the Workflow Builder asks clarifying questions first. Pick a suggested answer or write your own. Chat edits keep your canvas layout intact: new nodes appear next to the node they connect from, and existing nodes stay where you placed them. To rearrange the whole canvas, ask the Workflow Builder to reorganize it or use the Auto Reorder button on the canvas. For each edit, the Workflow Builder loads your saved discussion and current workflow context. The model processes only the content that fits within its context limits. You can refine the workflow step by step.Fixing Errors in Chat
If your workflow runs into an error during execution, you don’t necessarily have to debug it manually. Selecting the “Fix in chat” button will open the Workflow Builder Chat with the error details automatically inserted. It then analyzes the issue and suggests a fix, or applies it directly if it can. This makes troubleshooting faster and helps you get your workflow back on track without digging through logs yourself.Re-running Failed Runs
If several runs failed, start them again from Past runs instead of fixing the canvas in chat.- Click “Past runs” at the bottom of the canvas
- Set Status to “Failed” only
- Select up to 20 failed runs, then click “Re-run”
- Choose “Continue from the failed step” or “Re-run from the start”, then confirm with “Run”
Set Preferences in the Workflow Builder
You can customize how the Workflow Builder creates workflows by selecting your preferred tools, such as your chosen email, CRM, or issue tracking platforms. The model will remember your selections and adjust its behavior to align with your preferences. You may also provide custom instructions to further refine how the AI supports you throughout the workflow creation process.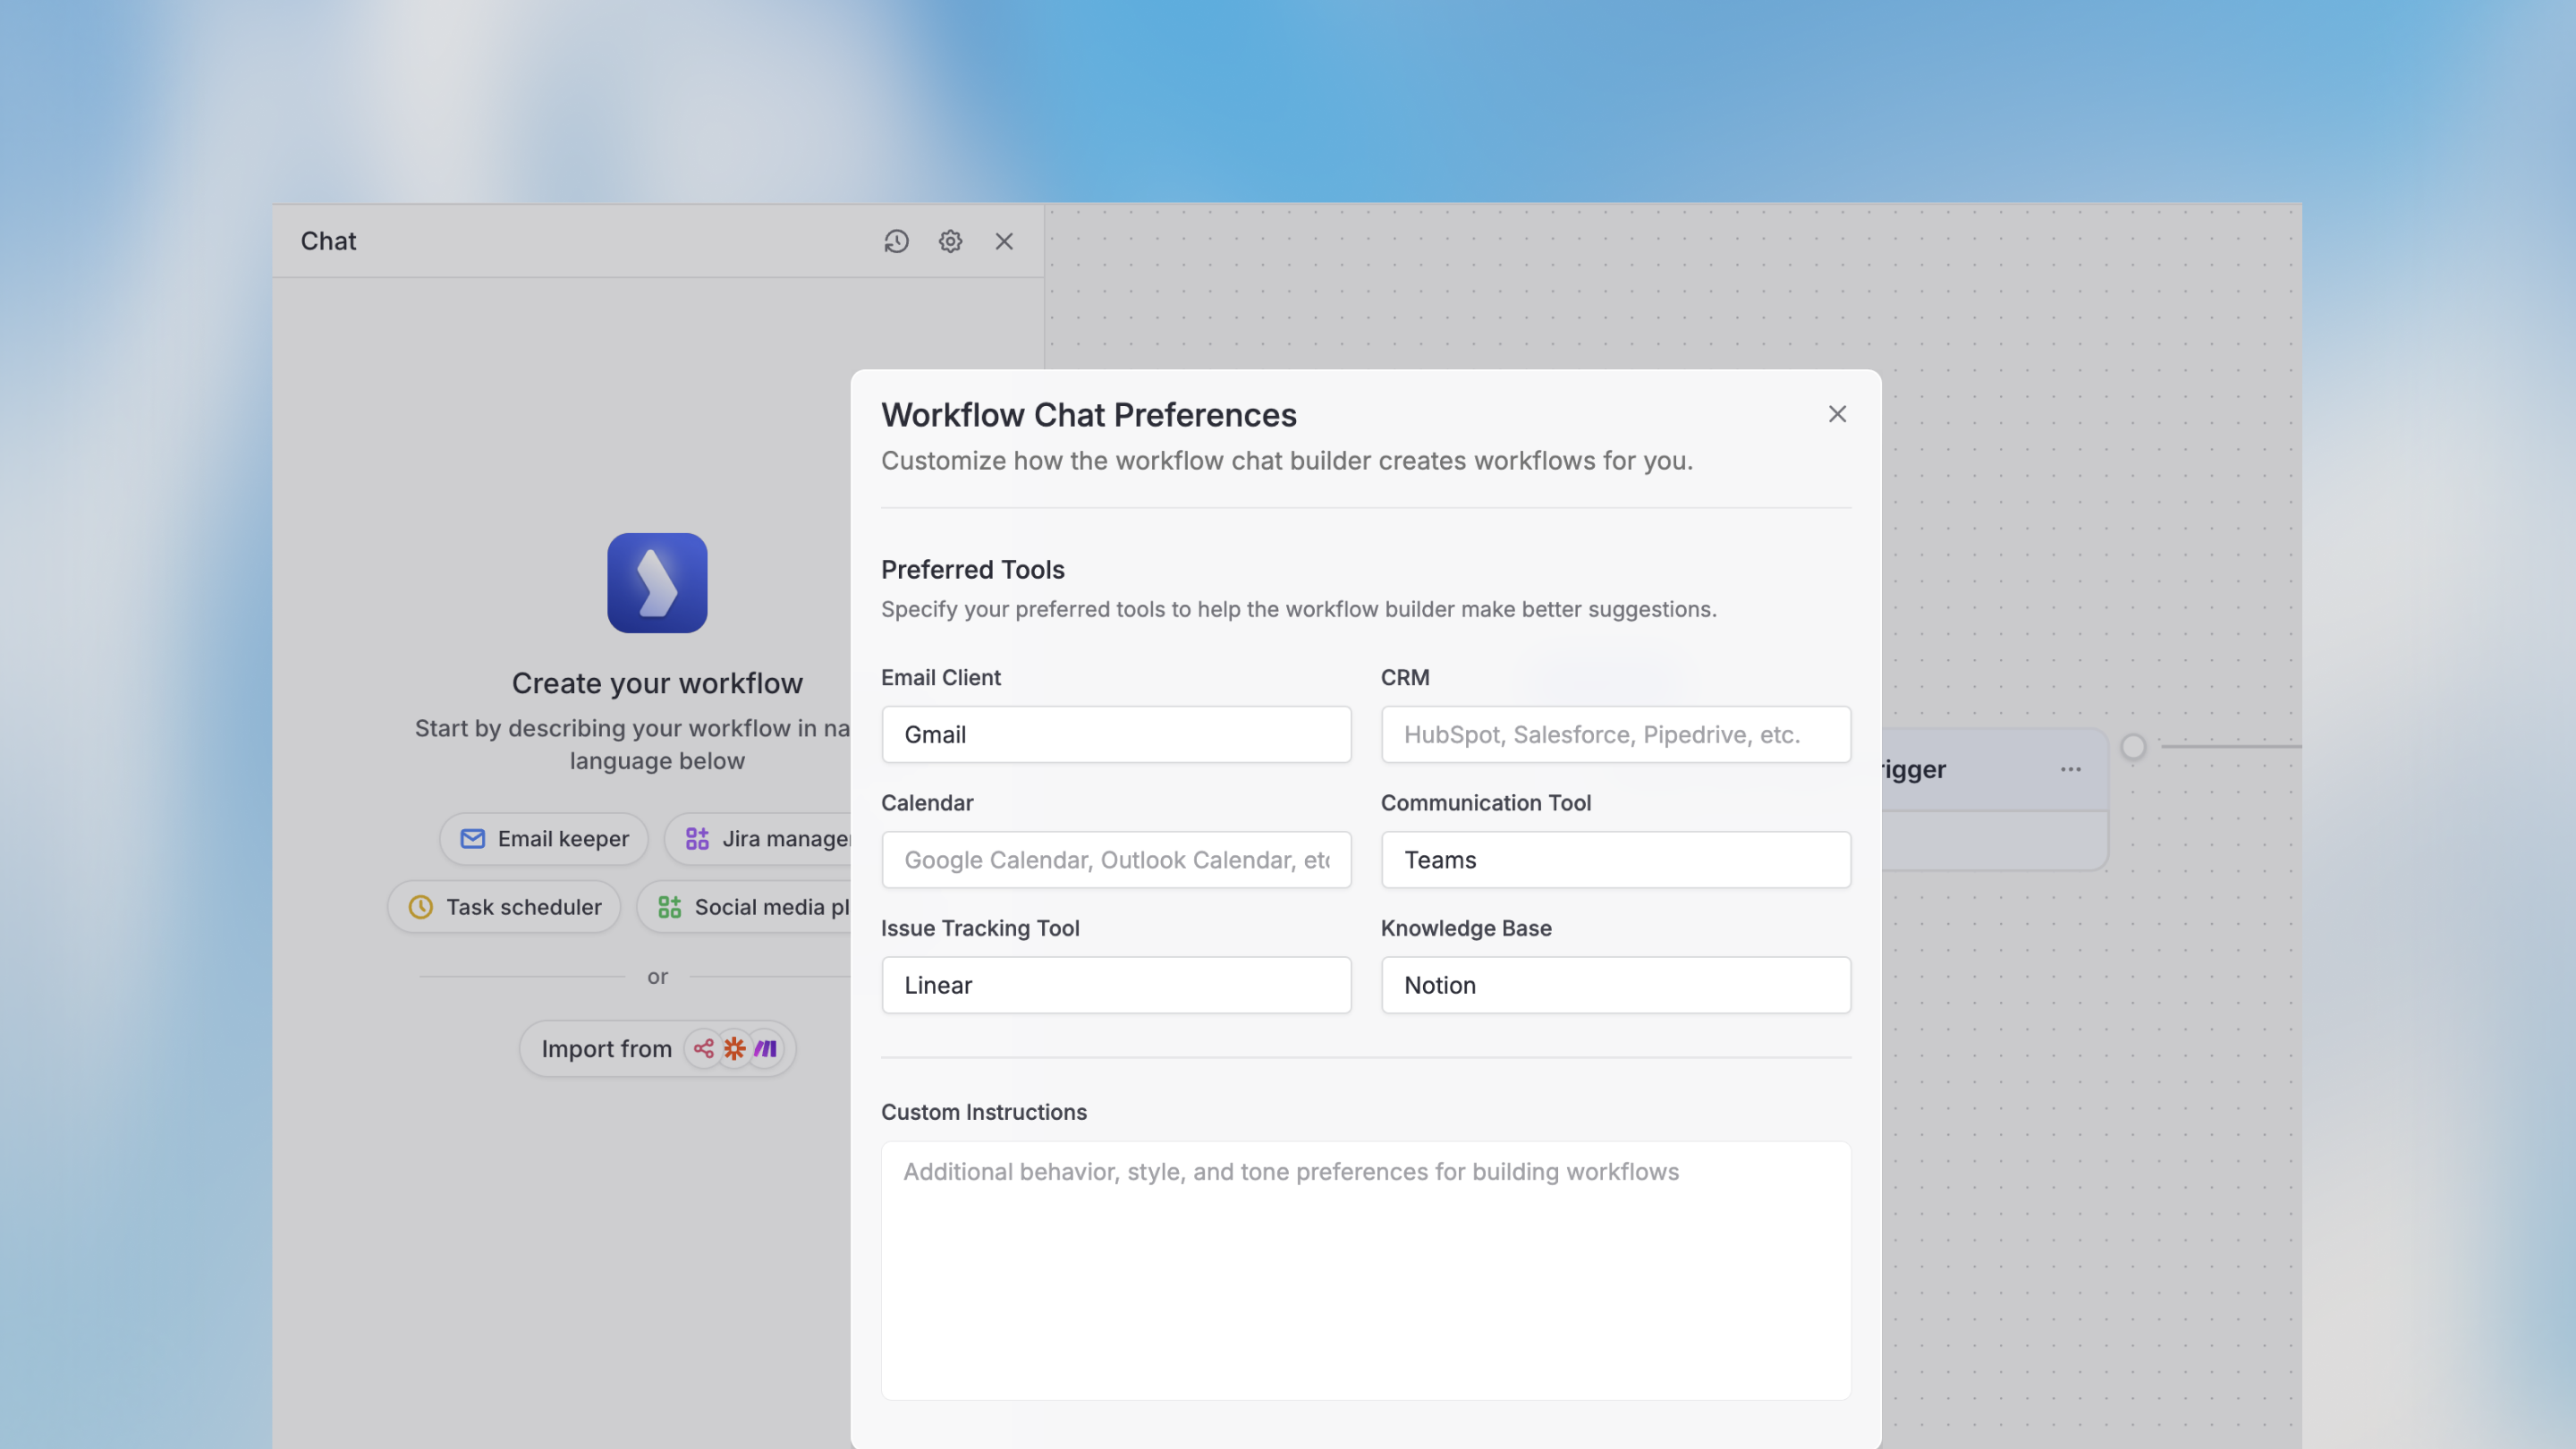
Viewing Chat History
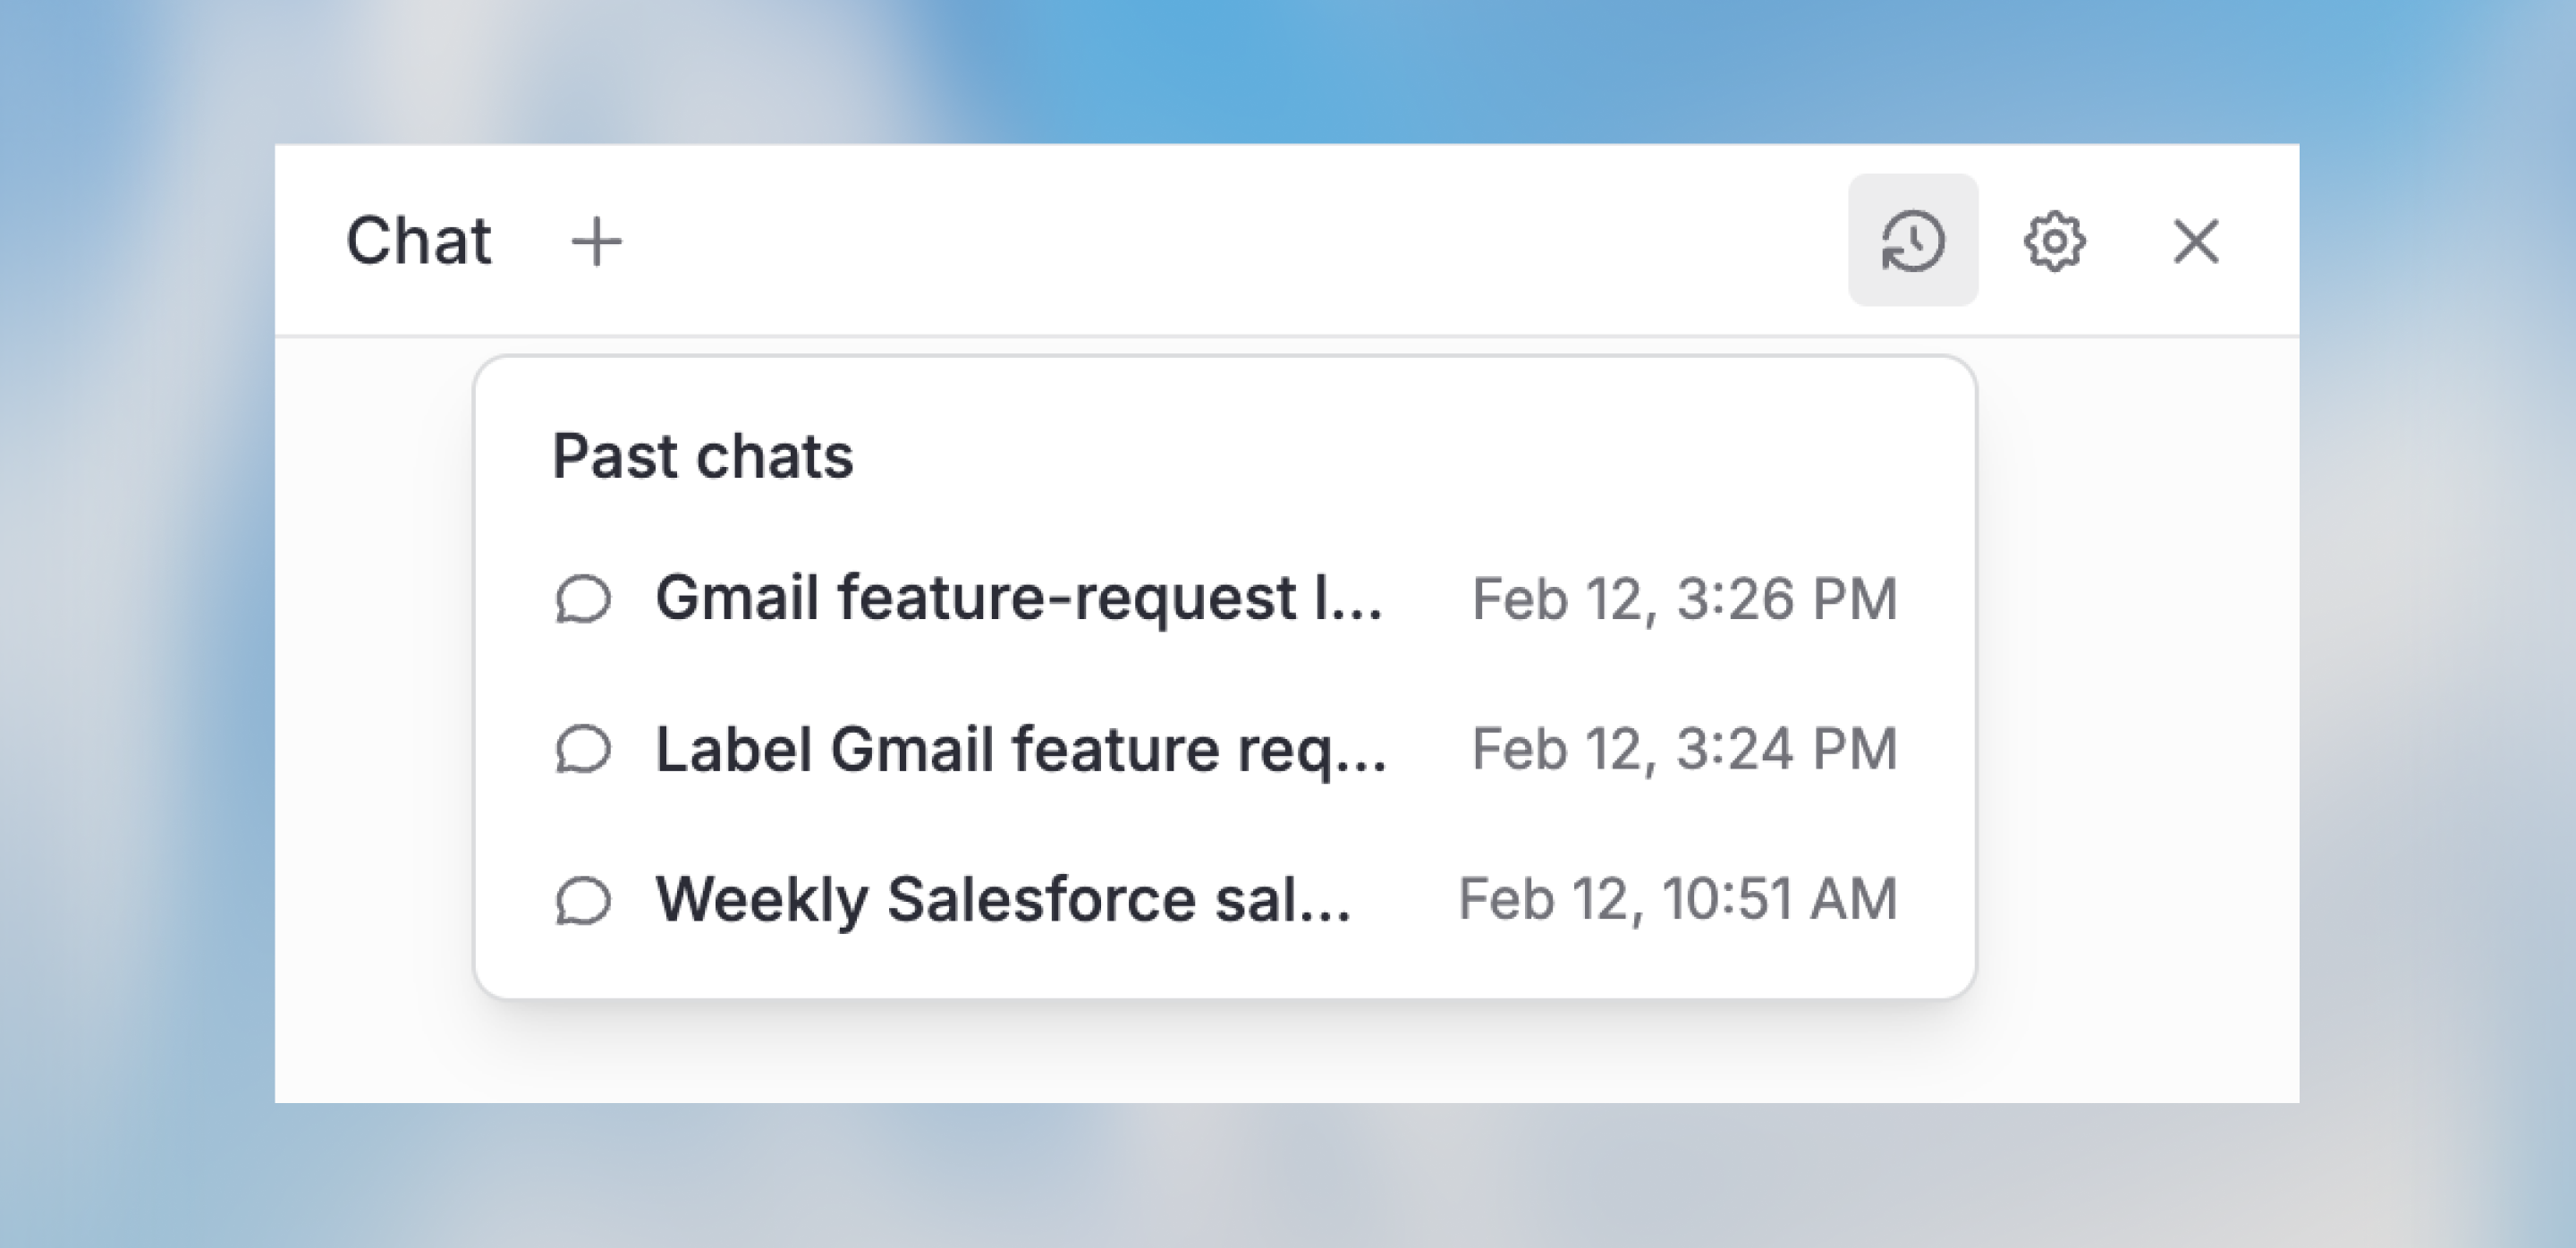
Review previous Workflow Builder conversations in Chat History as you refine your workflow.- Open the Workflow Builder
- Click the Chat History icon in the top-right corner
- Select the chat you want to review and continue the conversation right where you left off
Importing and Exporting Langdock Workflows
You can export any workflow as a.json file and import it again later, for example to share it with a colleague or move it to another workspace. Click the three dots menu next to the workflow name and select Export workflow (.json) to download the current workflow. To import a file, select Import workflow (.json) in the same menu. Importing replaces your current canvas, so you confirm the replacement before anything is saved.
This import only accepts workflow files exported from Langdock. If you select a JSON export from another tool such as n8n or Make, Langdock detects the external format and directs you to the Workflow Builder chat instead.
Importing Workflows from Other Tools
You can recreate workflows from tools such as n8n, Zapier, or Make in the Workflow Builder chat. Export the workflow in JSON format from the other tool, then upload the file using the Import from button in the chat panel or paste the JSON directly into the chat. The Workflow Builder interprets the structure and rebuilds it as a Langdock workflow. Example prompt:Create a workflow from the attached workflow file
Next Steps
Core Concepts
Understand the building blocks of workflows
Field Modes
Learn about static values and dynamic variables
Variable Usage
Reference data between nodes
Cost Management
Monitor and control workflow spending