

What Are Connections?
A connection is a saved authentication link between Langdock and an external tool. When you connect your Google Calendar, HubSpot, or any other integration, you’re creating a connection that stores the credentials needed to interact with that service.Each connection belongs to the user who created it. This ensures your credentials remain secure and actions are performed with your access rights.
Authentication Types
Langdock supports different authentication methods depending on the integration:OAuth Authentication
Most popular integrations use OAuth, the industry-standard protocol for secure authorization. When you connect via OAuth:- You’re redirected to the service’s login page (e.g., Google, Microsoft)
- You sign in with your own account
- You grant permissions for Langdock to access specific data
- Tokens are stored securely and refreshed automatically
Custom Scopes and Application-Level Permissions
If you set up your own OAuth client, you can request custom scopes beyond Langdock’s defaults, including application-level permissions that grant broad access not tied to an individual user. See Bring Your Own OAuth Client for setup.Reauthorize OAuth connections
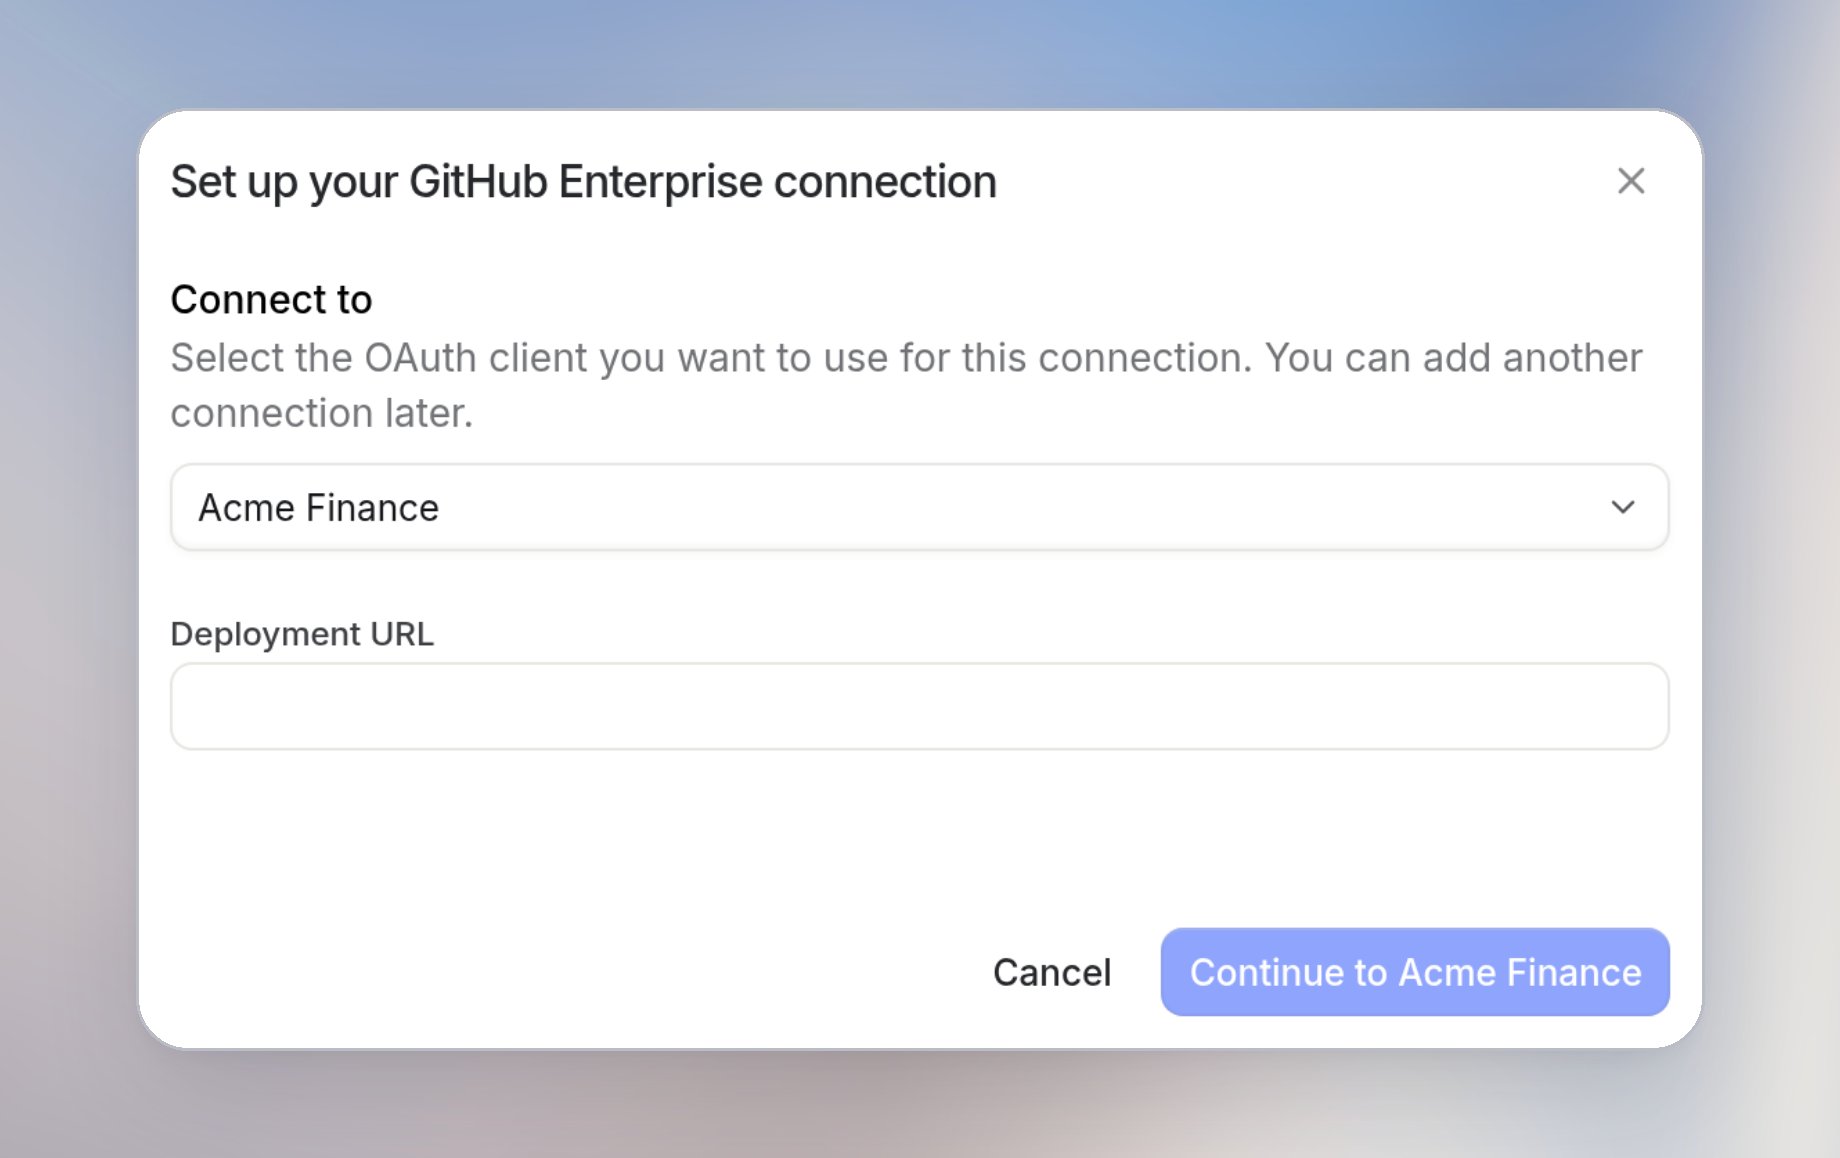
Langdock asks you to reauthorize an OAuth connection when it expires, is revoked, stops working, is missing a scope an action needs, or its custom OAuth client was removed by a workspace admin.If a workspace admin deletes the custom OAuth client your connection uses, the connection keeps working until the service rejects the access token. Actions then fail with an authentication error. Reauthorization keeps the client already on the connection. It does not show Connect to. If that client is gone and User choice is active, create a new connection and choose a client. If no User choice client is active, Langdock uses the same automatic group or workspace client as a new connection.
- Go to Integrations.
- Open the integration whose connection needs attention.
- Open the connection’s actions menu and select Reauthorize.
- Sign in with the account that should own the connection and approve the requested scopes.
API Key & Service Account Authentication
These authentication types require you to manually provide credentials:- API Key: Copy an API key from the service’s settings and paste it into Langdock
- Service Account: Provide service account credentials (often a JSON file or key pair)
Connection Ownership
By default, connections are user-based and not shareable. This means:- You can only see and use connections you created
- Actions performed use your access rights and permissions
- Your credentials are never exposed to other users
- Other users cannot directly use your OAuth connections
Why User-Based?
When you authorize Langdock to access your Google Calendar, you’re granting permission for actions to be performed as you. Sharing that connection with others would mean they could act on your behalf, which violates the trust relationship established during OAuth consent.Setting a default connection
If you have more than one connection to the same integration (for example, a personal Google account and a work Google account), you can mark one as your default. Langdock then uses your default connection automatically whenever an agent or workflow needs that integration and no specific connection has been preselected.When to use a default connection
- You maintain multiple connections to the same service and want one to be used by default.
- You share workflows or agents with teammates and want them to fall back to your default connection when no preselected one is configured.
- You want to avoid being prompted to pick a connection every time an action runs.
A default applies per integration and per user. Each person picks their own default, and a preselected connection on an agent always takes priority.
How to set a default connection
- Go to Integrations and open the integration you want to configure.
- Find the connection you want to use by default under Your connections or Shared connections.
- Open the connection’s actions menu and select Set as default.
How defaults are applied
When an action runs, Langdock chooses a connection in this order:- The preselected connection configured on the agent or action, if any.
- Your default connection for that integration, if you have set one.
- A prompt asking you to pick a connection from those available to you.
Using shared connections in agent actions
Connections stay personal by default. To let other people run an integration action with a selected connection, attach the connection to that action in an agent. Configure the preselected connection in the agent editor, not from the integration page. Other people do not get direct access to the connection. They can only use it when they run that action through the shared agent.How to configure a preselected connection for an agent action
- Navigate to Agents in the sidebar and open or create an agent.
- In Actions, click Add action and select the integration action.
- Select No, all users should use the same, preselected connection.
- Choose the connection and click Add action.
- Publish the agent and share it with the people who should run the action.
How It Works
When you add an action to an agent, you choose how authentication works:- “Their own credentials” (default) — Each user who uses the agent authenticates with their own account. They’ll be prompted to connect if they haven’t already.
- “Preselected connection” (advanced) — You select a specific connection that all users will use. To preselect an OAuth connection, you need the Share OAuth connections permission.
Use Cases
Default mode (their own credentials):- Each team member connects their own Google Calendar
- Actions appear in their own calendars
- No credential sharing needed
- A shared team calendar that everyone posts to
- A central CRM account for all sales reps
- A company Slack bot account
Example: You create a “Team Calendar Agent” with a preselected connection to a shared team calendar. When any colleague uses this agent, the event is created in the team calendar—but they never see the calendar’s credentials.
Sharing Non-OAuth Connections Directly
Connections that use API Key, Service Account, or No Authentication can be shared directly with other users, groups, workspace API keys, or your entire workspace. MCP connections that use Authorization: Basic (base64-encoded) count as API Key connections.Shareable Connection Types
Why OAuth Can’t Be Shared Directly
OAuth tokens represent a specific user’s authorization and consent. Sharing them would:- Violate the user’s agreement with the service provider
- Create security risks if tokens are leaked
- Make it impossible to track who performed which action
How to Share Non-OAuth Connections
Workspace admins can share API Key connections and other directly shareable connection types from the integration page:- Go to Integrations
- Select the integration that has your connection
- Open the connection’s actions menu and select Share connection
- Select who to share with:
- Specific users: Individual team members
- Groups: Entire teams or departments
- Workspace API keys: Keys owned by service accounts
- Entire Workspace: Everyone in the workspace
The connection card itself does not open sharing settings. If Share connection does not appear in the actions menu, use a preselected connection on an agent or ask a workspace admin to share the connection directly.
Who Can Share Connections?
Choosing the Right Sharing Method
Summary
Understanding how connections work helps you build secure, collaborative workflows. Use agent-based sharing for OAuth connections, and direct sharing for API keys and service accounts when appropriate.
FAQ
Who owns a connection?
Who owns a connection?
A connection is tied to the user or workspace setup that created it, depending on the integration and sharing configuration. If an agent, chat, or workflow cannot use a connected tool, first check whether the required connection is available to that context and whether the right user has granted access.
Why does an integration ask me to reconnect?
Why does an integration ask me to reconnect?
An integration asks you to reconnect when its OAuth connection has expired, was revoked, stopped working, is missing a scope, or used a custom OAuth client that a workspace admin removed. Reauthorize from chat, Integrations, Monitor under Workflows to reconnect, or a workflow Agent tool row. See Reauthorize OAuth connections for steps.