

Desktop app or browser
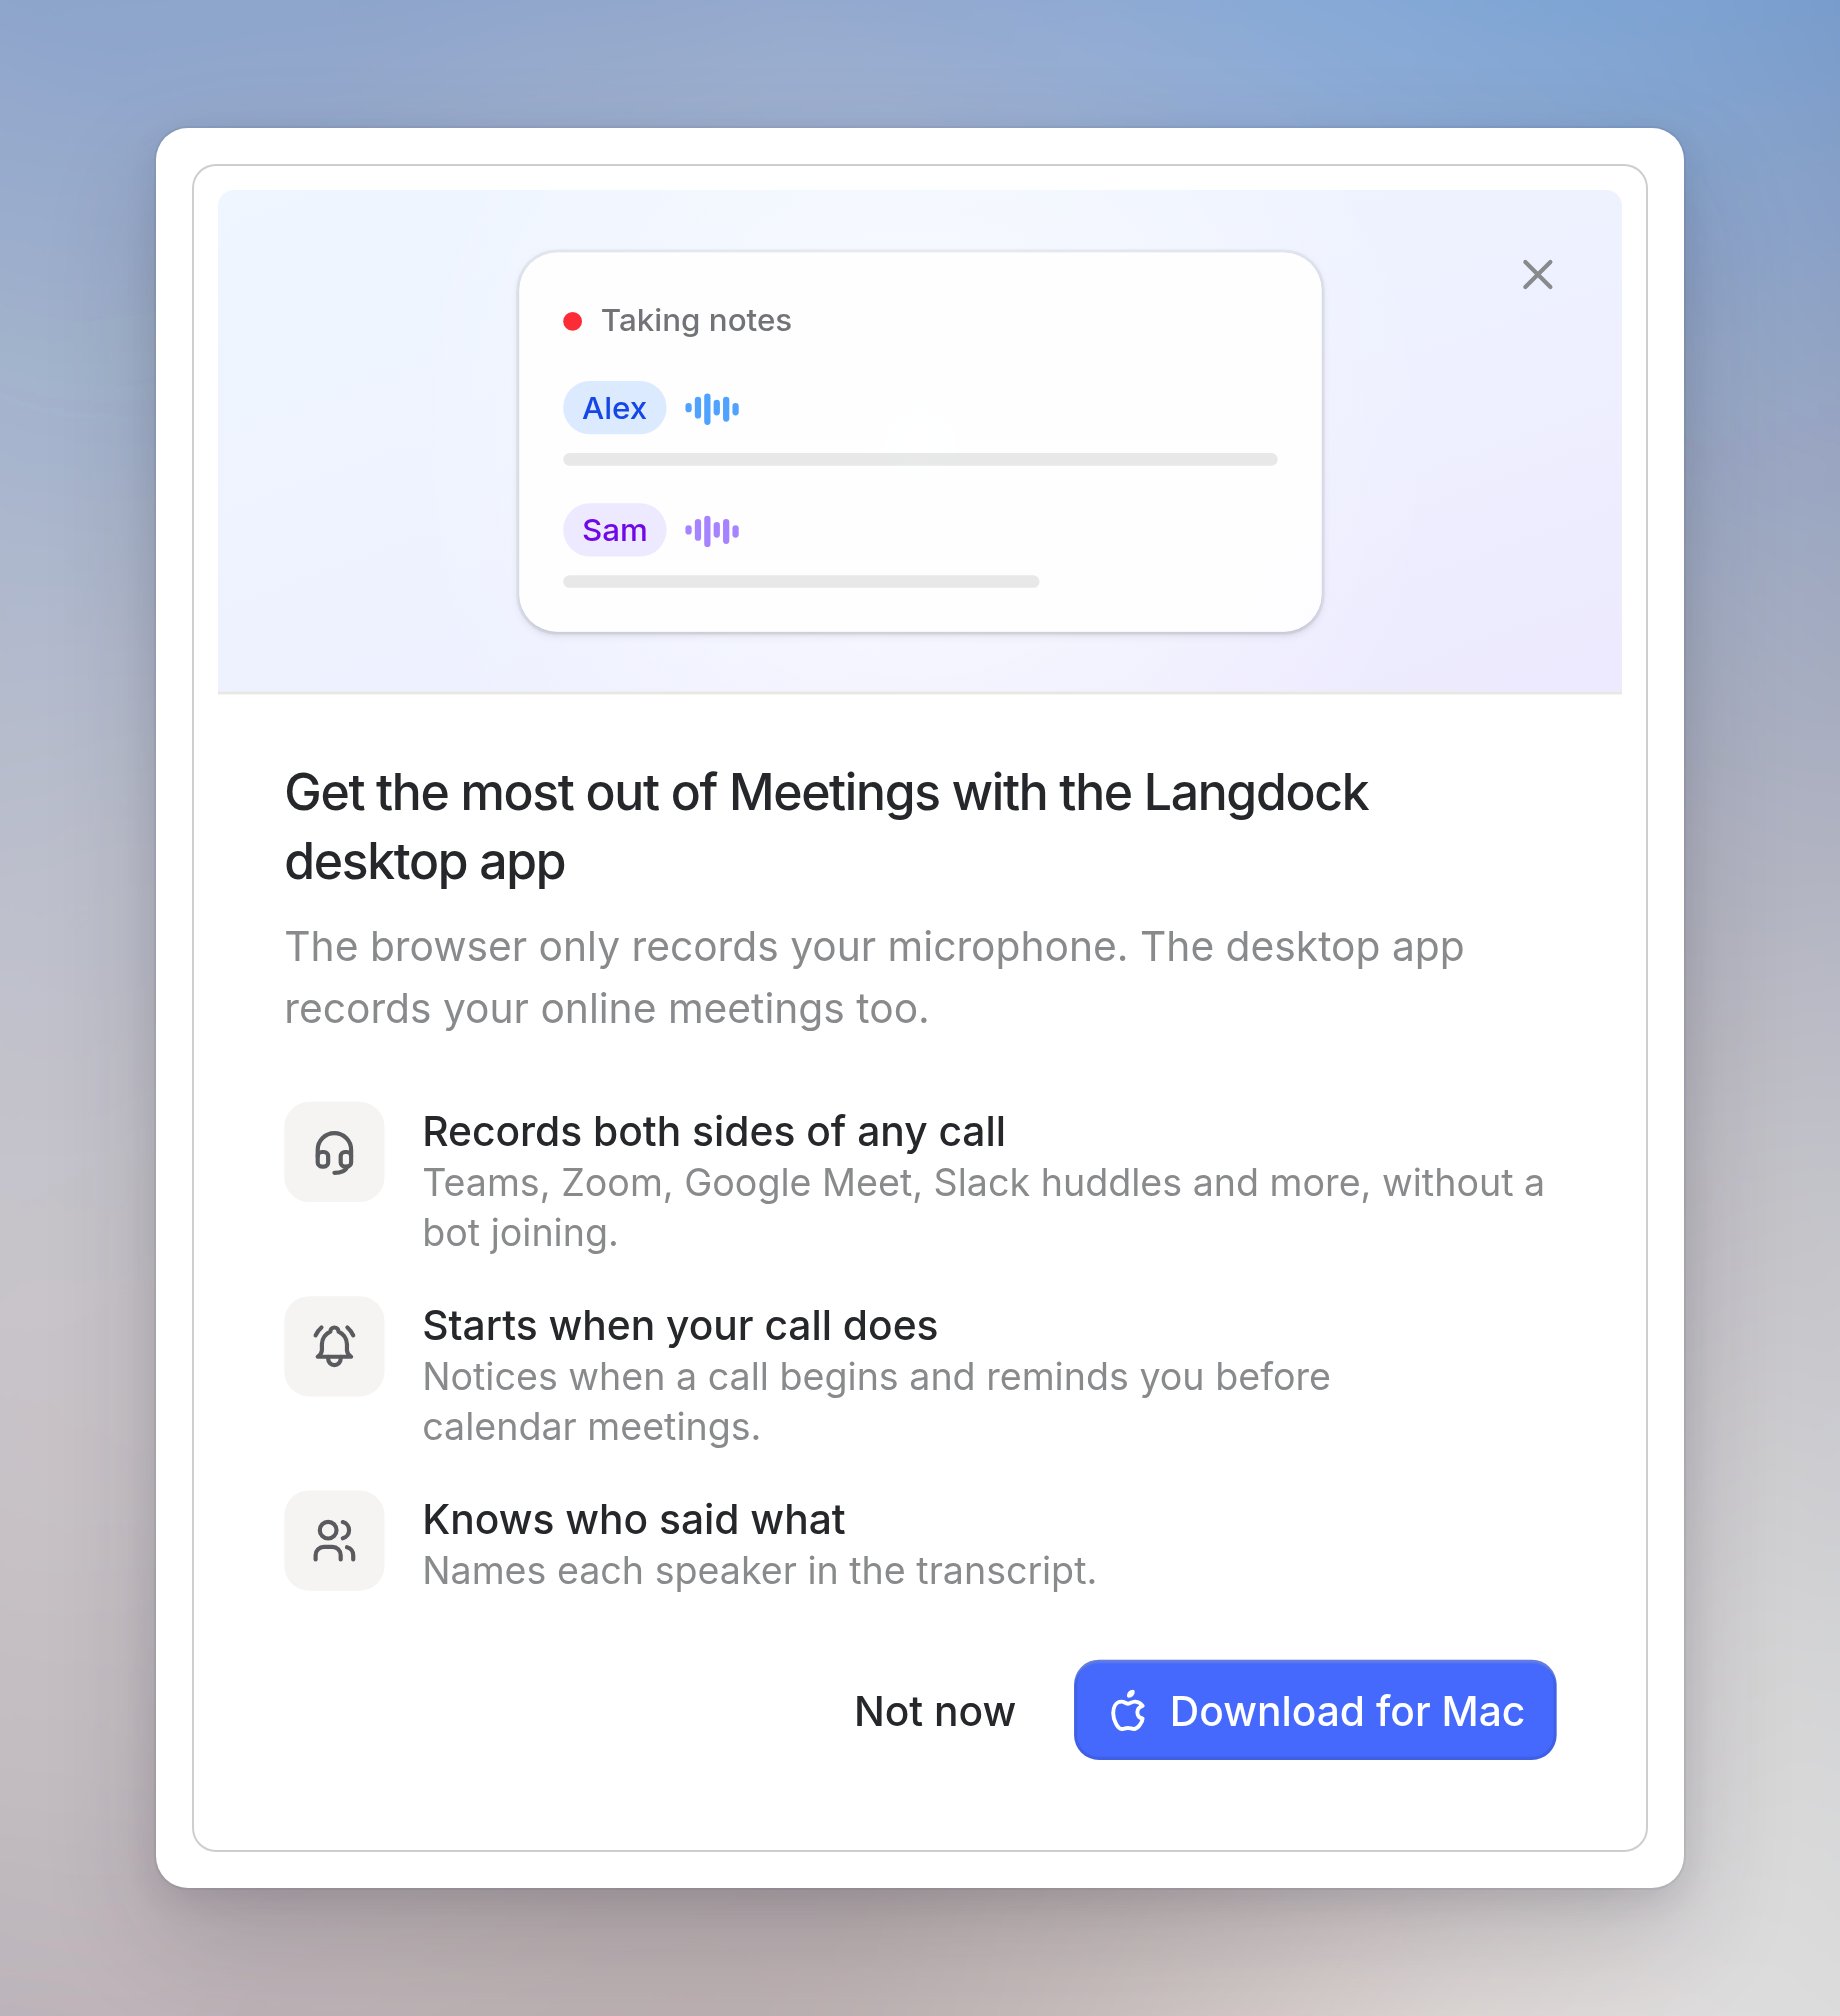
Meetings works in the Langdock desktop app and in a desktop browser. The desktop app transcribes both sides of an online call. The browser transcribes only your microphone.
In the browser, select Get desktop app at the top of the Meetings page to download the app. Install it, sign in to your Langdock workspace and open Meetings from the sidebar. For download and installation details, see Desktop app.
System requirements
- macOS: macOS 14 or later. Transcribing other participants requires macOS 14.2 or later. On macOS 14.0 and 14.1, only your microphone is transcribed.
- Windows: Windows 10 or later.
- Watermark camera: macOS 14 or later, or Windows 11.
Set up Meetings
When you open Meetings for the first time, the Set up Meetings guide walks you through the setup. It ticks off each step automatically once it’s done.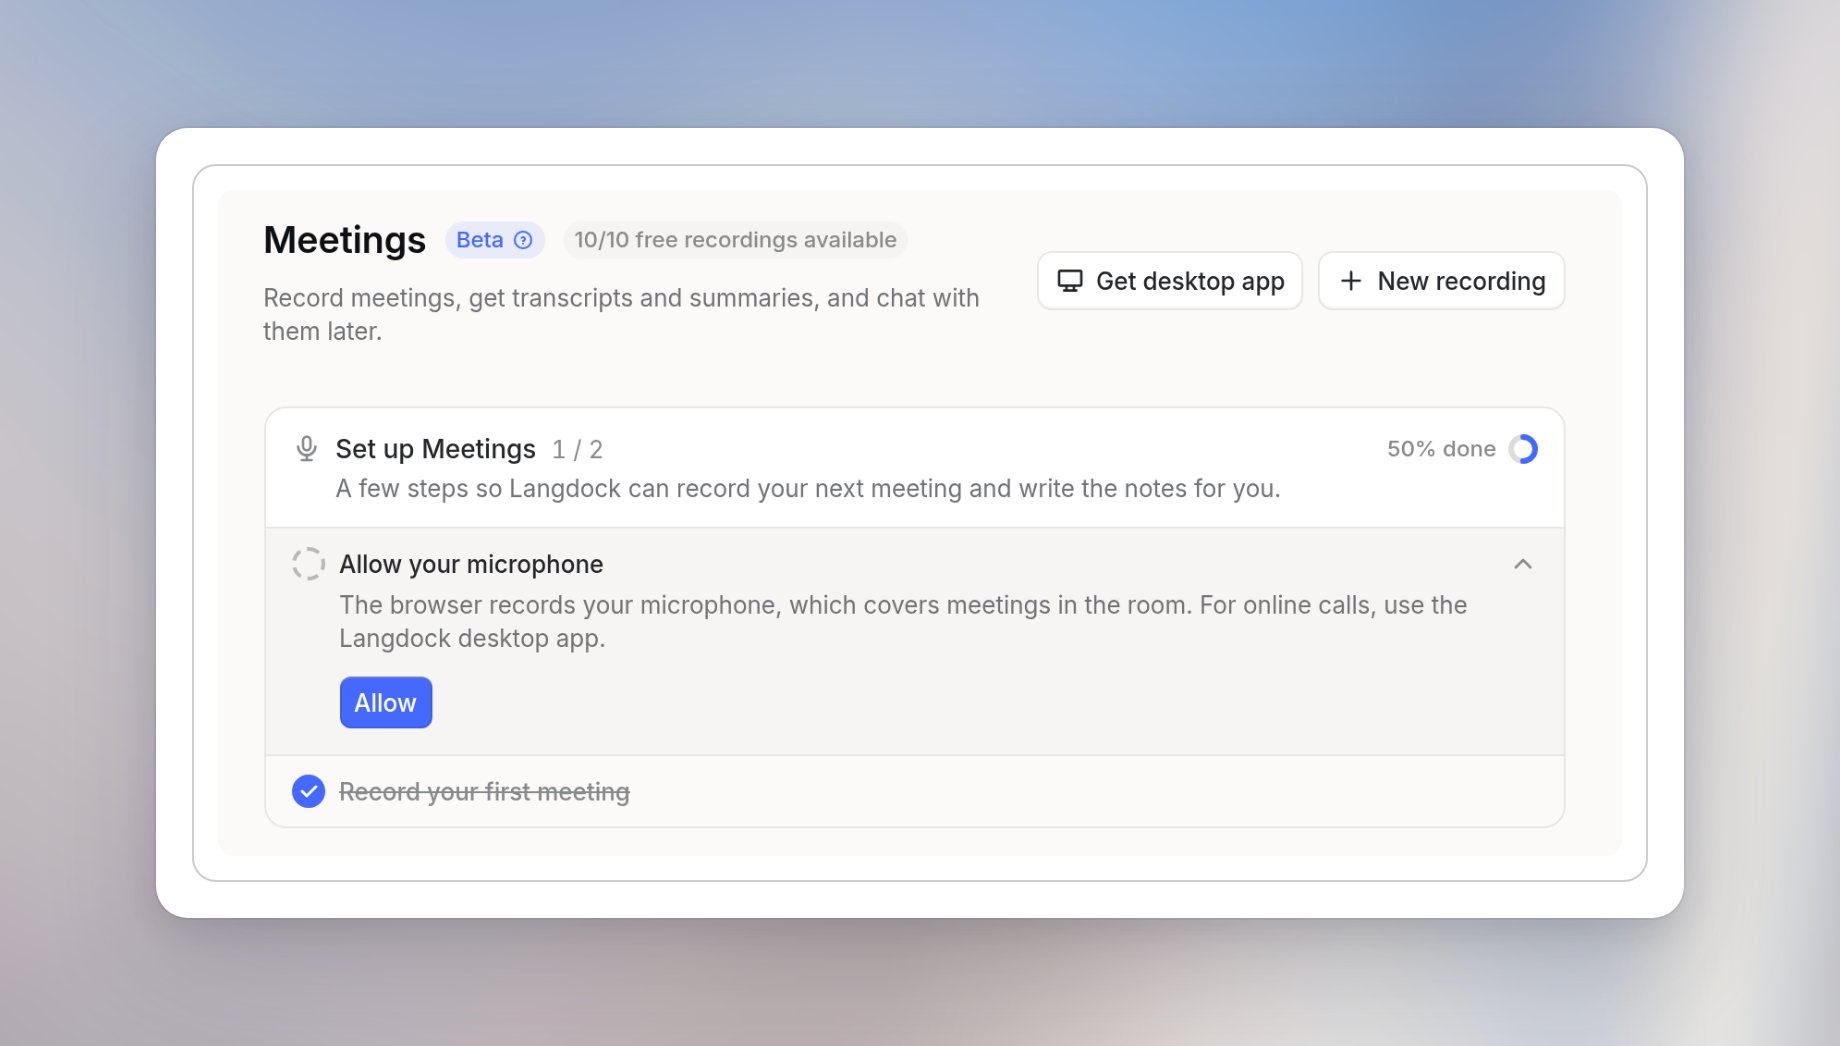
The calendar step only appears when your workspace offers a calendar integration.
Once you’ve connected your calendar, allowed your microphone and transcribed your first meeting, the guide shows You’re all set briefly and then disappears. You can reopen it any time from Get started.
After that, the desktop app may show a See who’s speaking card. Select Enable to set them up, or Not now to hide the card for a day.
Connect your calendar
Connect your calendar to see upcoming meetings under Coming up and transcribe them with one click.1
Open the calendar step
In the setup guide, expand Connect your calendar and select Connect. You can also select a provider in the empty Coming up section.
2
Choose your provider
Choose Google Calendar or Outlook Calendar.
3
Sign in
Sign in with your work account and approve access.
4
Return to Langdock
Your upcoming events appear under Coming up.
Hide or disconnect a calendar
In Personal settings, you can use the switch next to a connected calendar to show or hide its events in Meetings. This doesn’t disconnect the calendar. To disconnect it, open Integrations in the sidebar, open Google Calendar or Outlook Calendar and select Delete on your connection. See Connections for how connections work. If a calendar needs to be reconnected, Coming up shows “One calendar needs to be reconnected. Some events may be missing.”Allow microphone and system audio
Meetings needs your microphone to transcribe what you say. In the desktop app, it also needs system audio to transcribe what other people say on a call.Desktop app
Before your first transcription, the desktop app opens the dialog Complete setup to start recording.1
Allow the microphone
Next to Enable Microphone, select Turn on and allow access when your computer asks.
2
Allow system audio (macOS)
Next to Enable System Audio, select Turn on and allow access.
3
Start transcription
When both permissions show Enabled, transcription starts.
- macOS: For the microphone, go to System Settings > Privacy & Security > Microphone. For system audio, go to System Settings > Privacy & Security > Screen & System Audio Recording. Langdock appears there under System Audio Recording Only.
- Windows: Go to Settings > Privacy & security > Microphone. System audio needs no separate permission on Windows.
On macOS, if you turn microphone access off and on again while the app is open, select Restart app when prompted. macOS applies the new permission only after a restart.
Browser
Select Allow in the Allow your microphone step and allow access when your browser asks. If you blocked access earlier, allow the microphone in the site settings next to the address bar, then try again.Turn on speaker names
Speaker names show who said what in the transcript. They’re available in the desktop app. To turn them on, use one of these options:- Select Enable on the See who’s speaking card
- Select Turn on in the Turn on speaker names setup step
- Turn on Speaker names in Personal settings
- Microsoft Teams (the new Teams desktop app)
- Zoom desktop app
- Google Meet in Chrome, Edge, Brave, Arc, Vivaldi and other Chromium browsers, or the installed Meet app