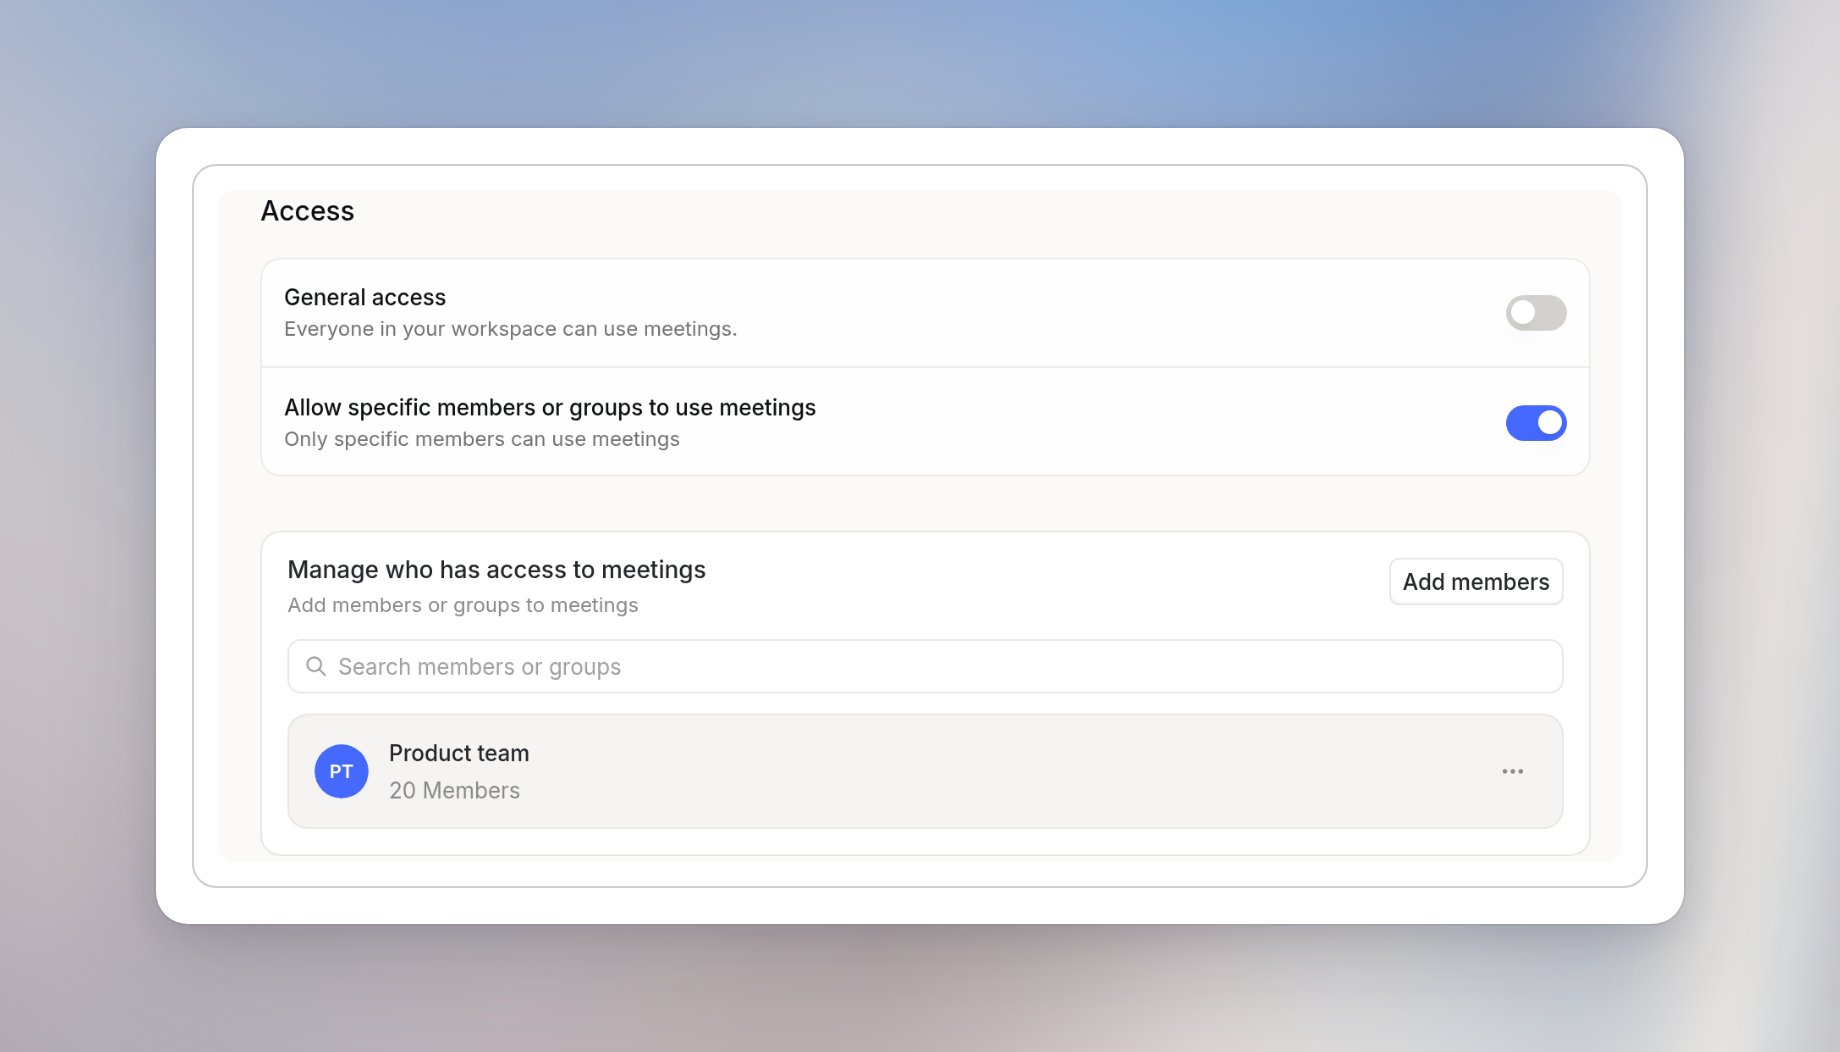
These settings apply to Langdock Core and Langdock Work. Go to Settings > Workspace > Products > Meetings > Access. To get there from the app, select your workspace name at the top left, select Workspace settings, then scroll to Products in the settings sidebar and select Meetings. Open Access.

Give everyone access

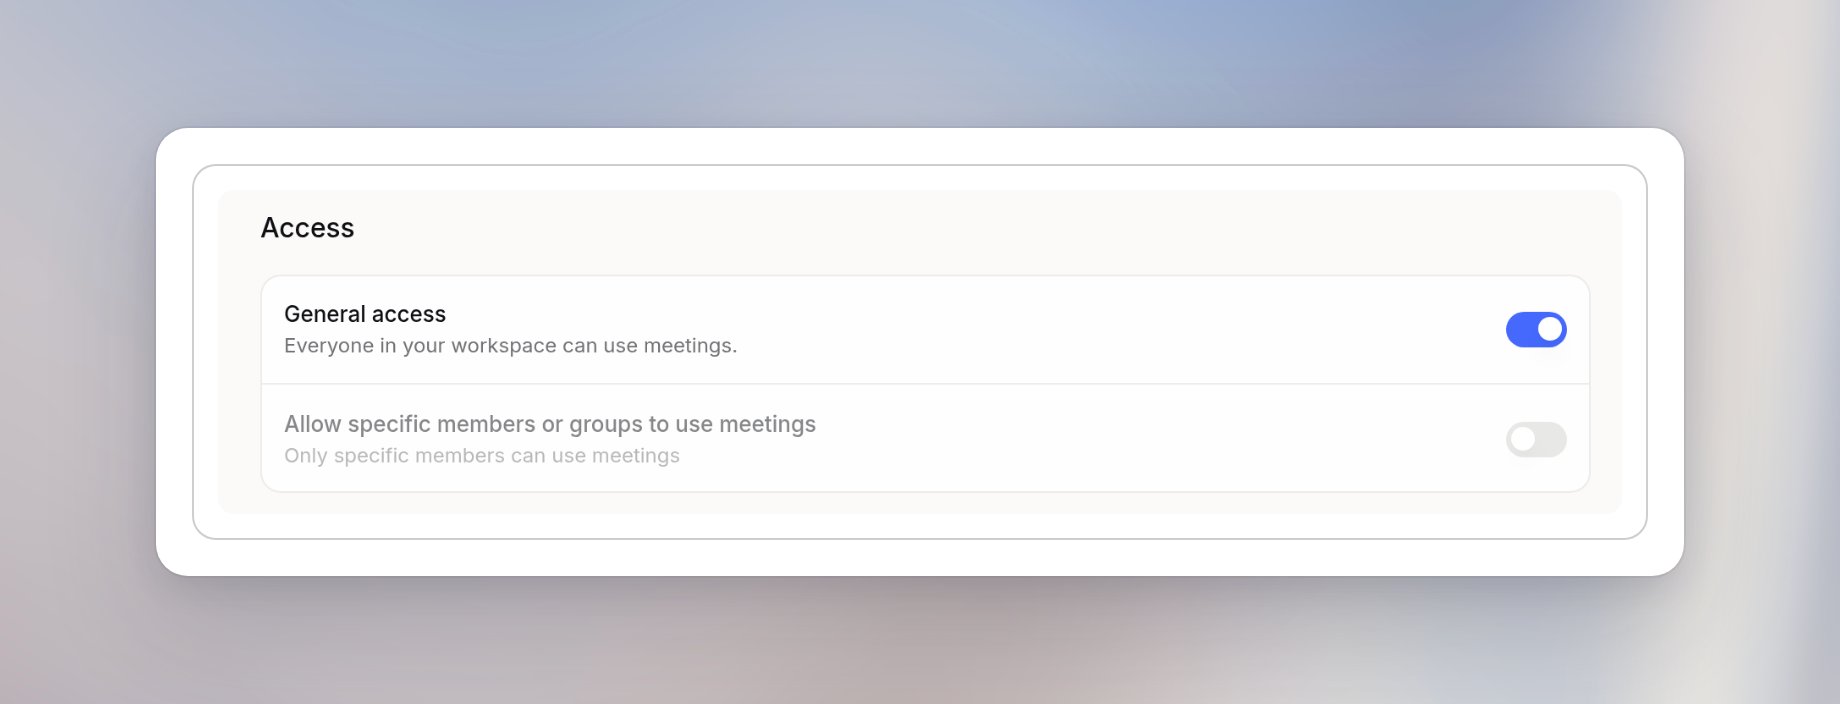
Turn on General access to let everyone in your workspace use Meetings. If Langdock shows the Enable Meetings? dialog, review the transcription allowance and select Confirm. For the allowance per plan, see Introduction to Meetings.
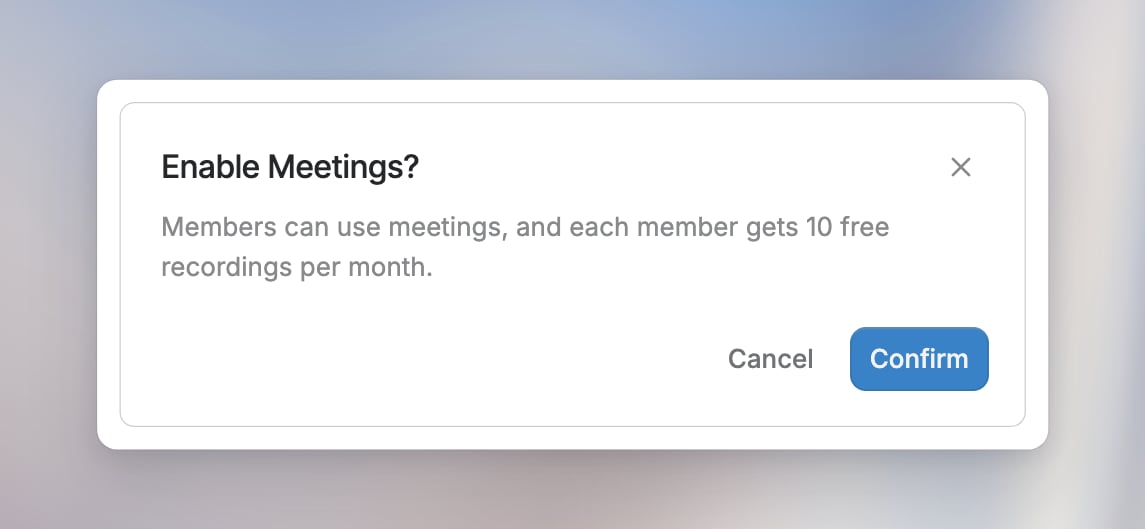
Enable Meetings? dialog explaining the free monthly allowance per member, with Cancel and Confirm
Access section of the Meetings workspace settings with General access turned on

Give selected members or groups access

To limit access, keep General access off and turn on Allow specific members or groups to use meetings. The Manage who has access to meetings section appears.
1

Open the dialog

Select Add members.
2

Find a group or member

In Search members or groups, find and select a group or an individual member. You can search for members by name or email. Group suggestions show the group name and the number of members.
3

Choose whether to notify

Choose whether to Notify people. Add an optional message to explain the change.
4

Confirm

Select Add members.
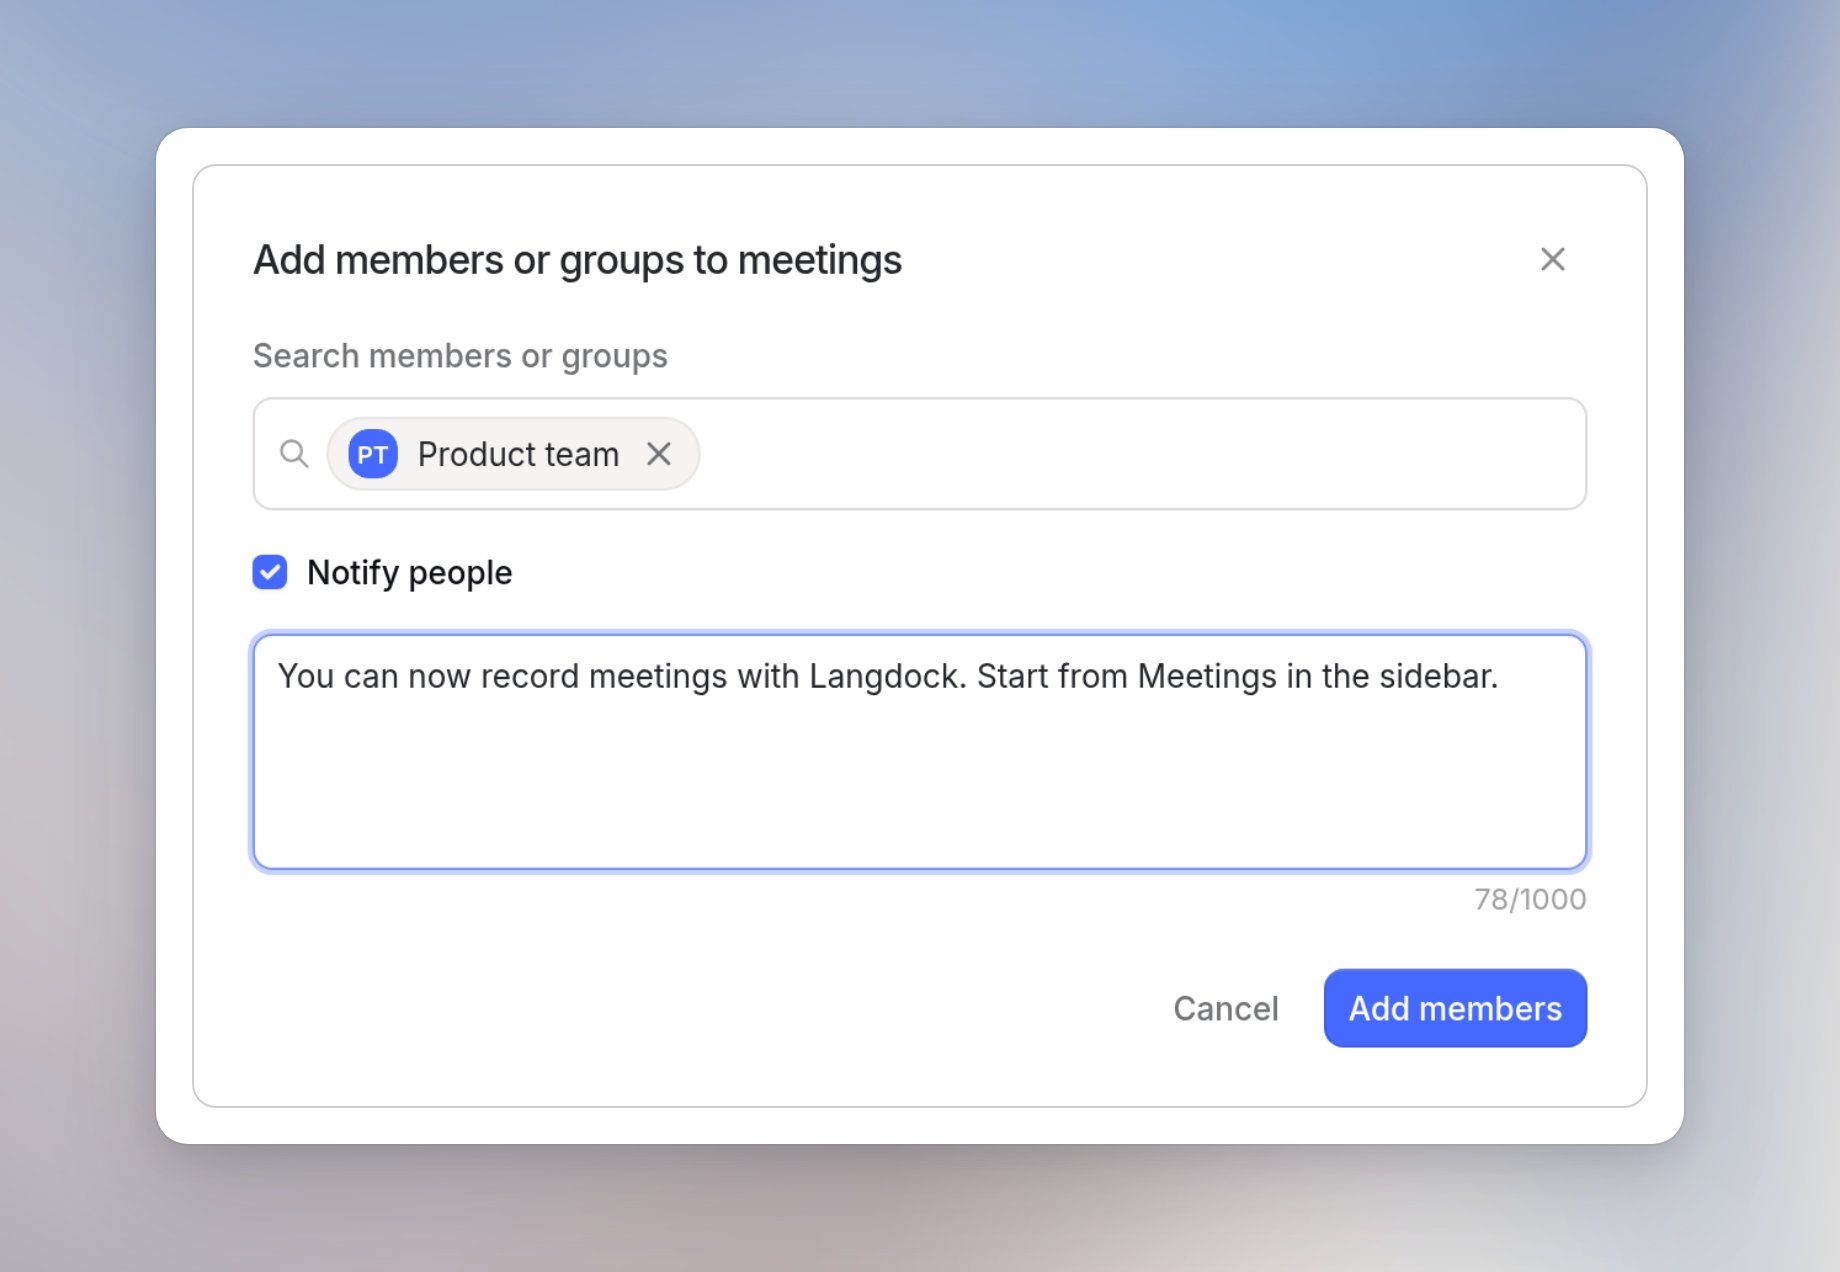
Add members or groups to meetings dialog with the group Product team selected, Notify people checked and a short message
The group or member appears in the access list. Groups show their member count. Use Search members or groups above the list to find an entry.
Access section with Allow specific members or groups to use meetings turned on and the group Product team in the access list