Agent owners can choose what happens when limits are reached on their agent’s edit page. Setting agent limits requires workspace administrator access.
When to use an agent limit
Set an agent limit when:- An agent is business-critical and shouldn’t stop working when a user runs out of their personal limit.
- An agent is expensive per message and you want to track its cost separately.
- An agent is shared across a team and needs a predictable monthly ceiling.
Set an agent limit
1. Open the Agents tab Navigate to Usage and spend limits in your Workspace Settings and open the Agents tab. Each agent row shows its limit and how much it has spent this period.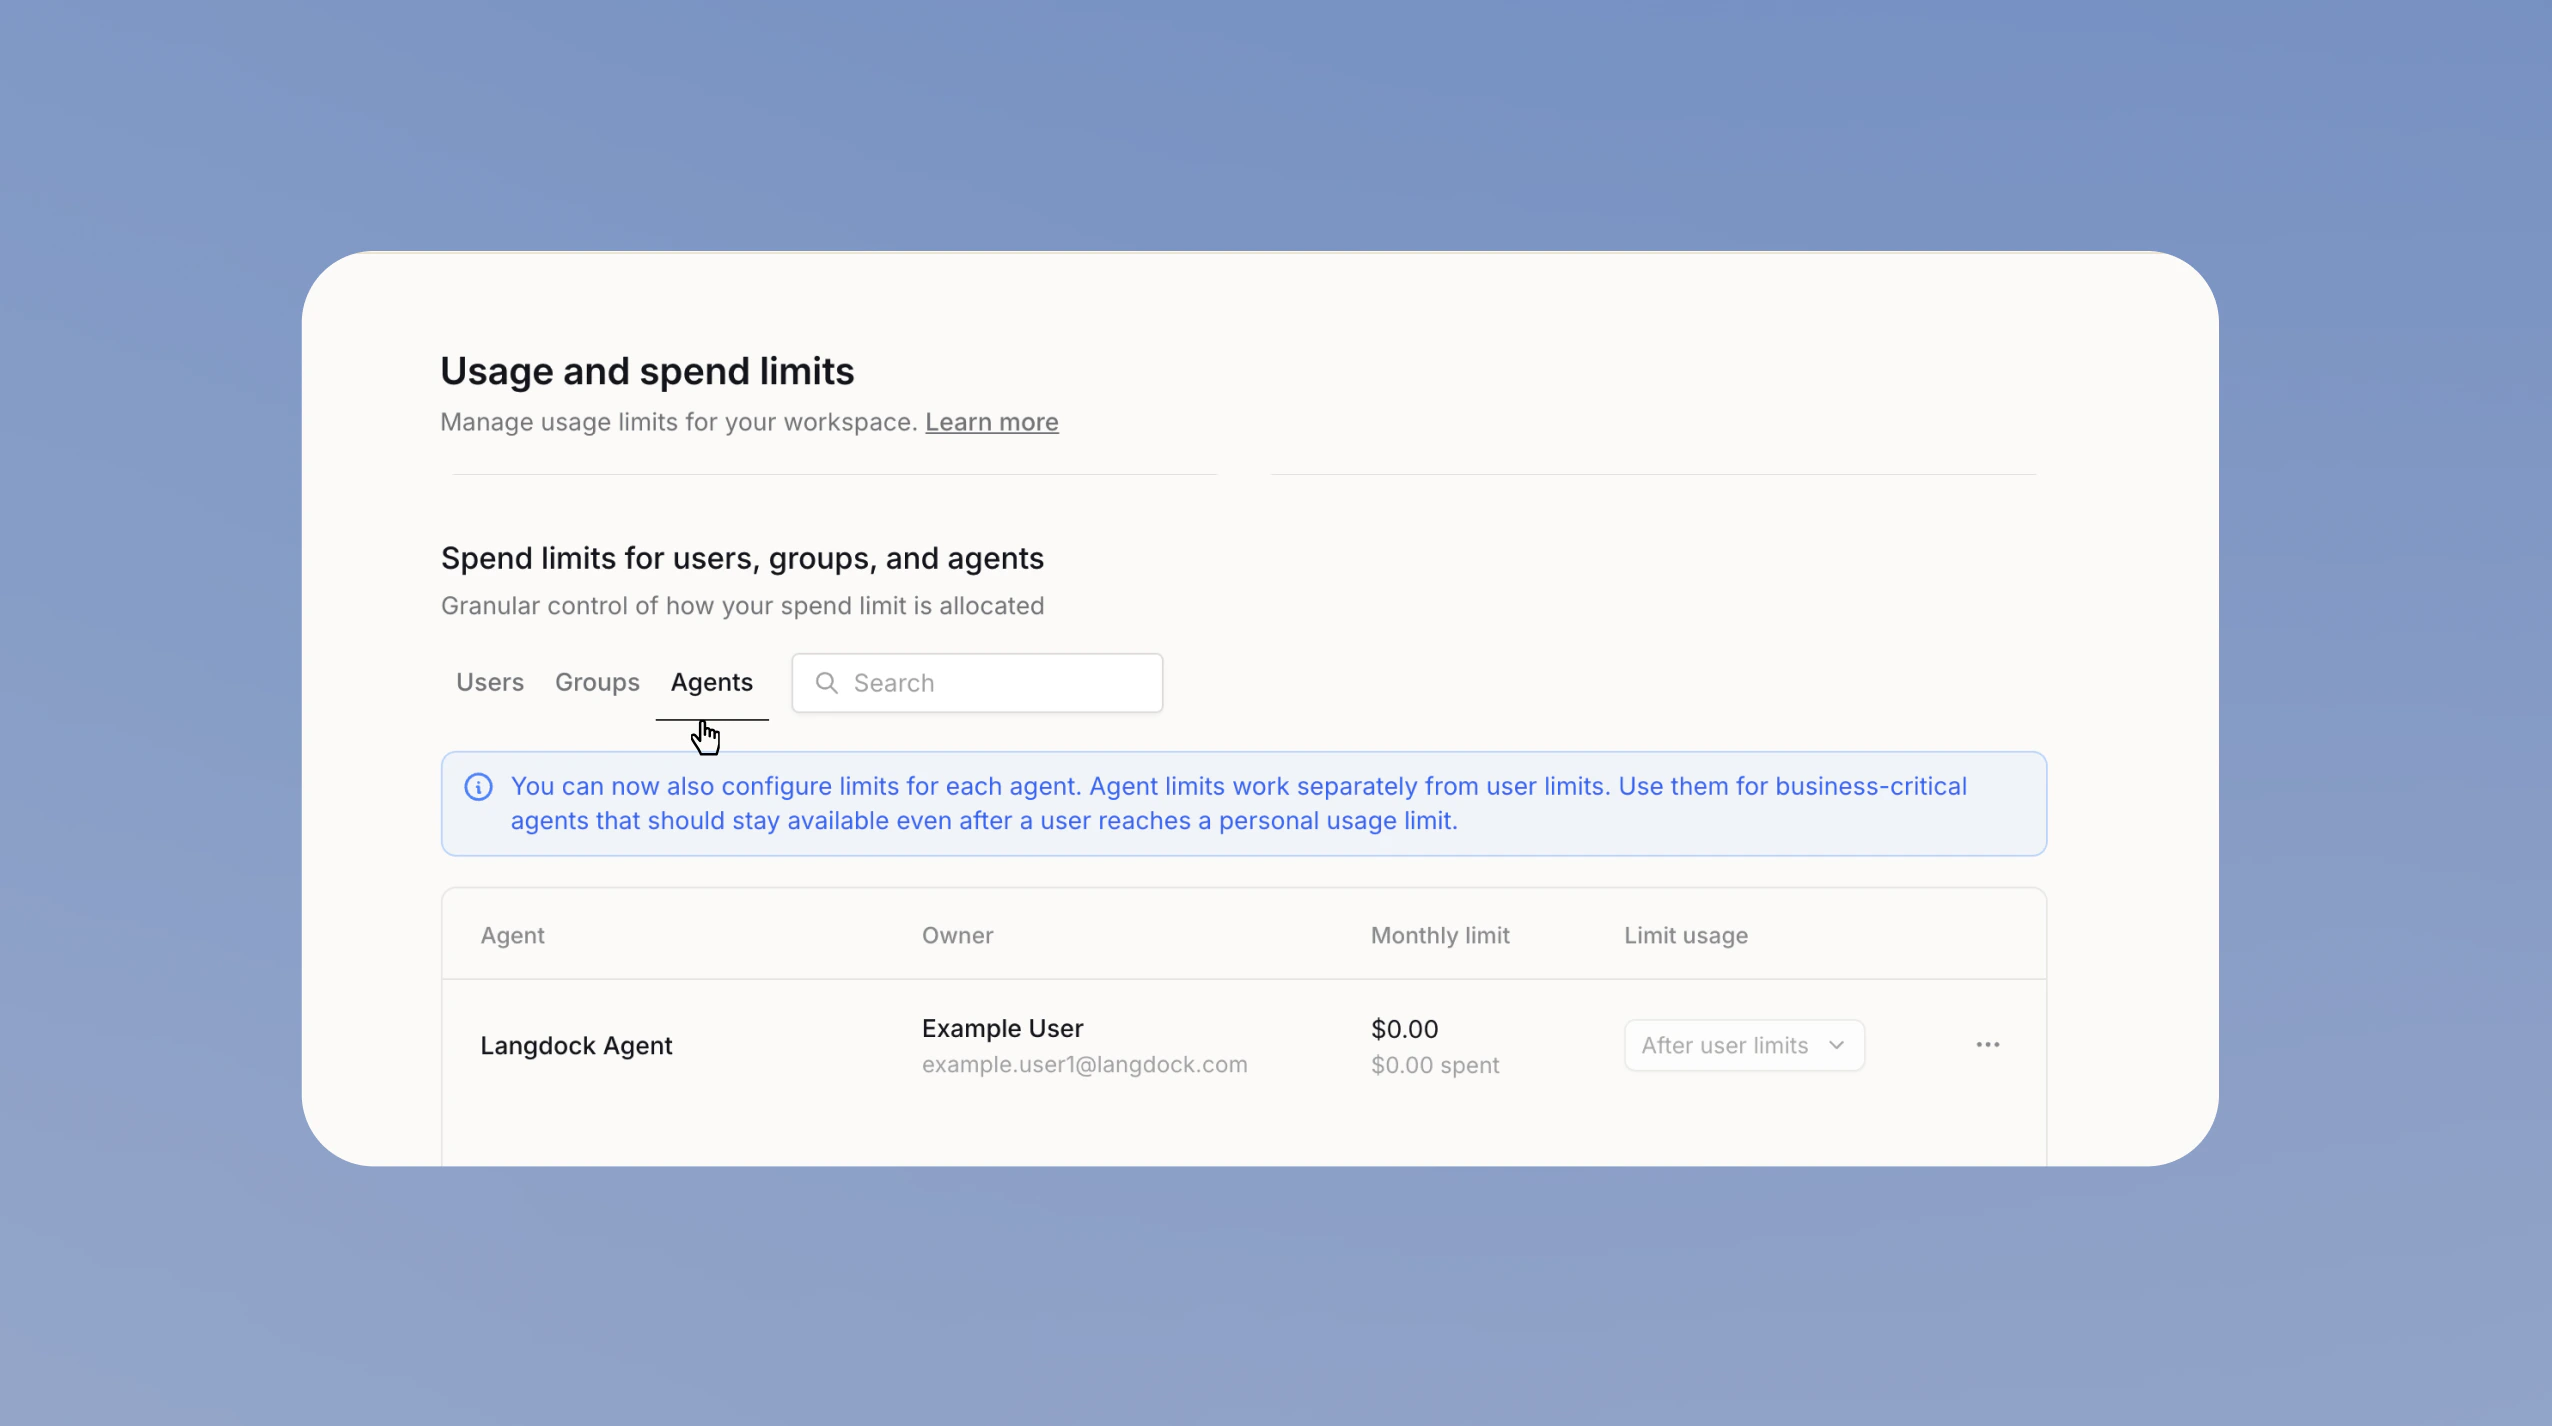
For workspaces with user-level data disabled, private agents aren’t listed. Ask the owner to share the agent first.
Choose when usage counts
The Limit usage column controls when usage counts against the agent’s limit.| Mode | When usage counts against the agent’s limit |
|---|---|
| After user limits (default) | Usage counts against each user’s personal limits first. Once a user reaches a personal limit, further usage counts against the agent’s limit. |
| Always | Usage counts against the agent’s limit immediately, so it never draws on personal limits. |
When limits are reached
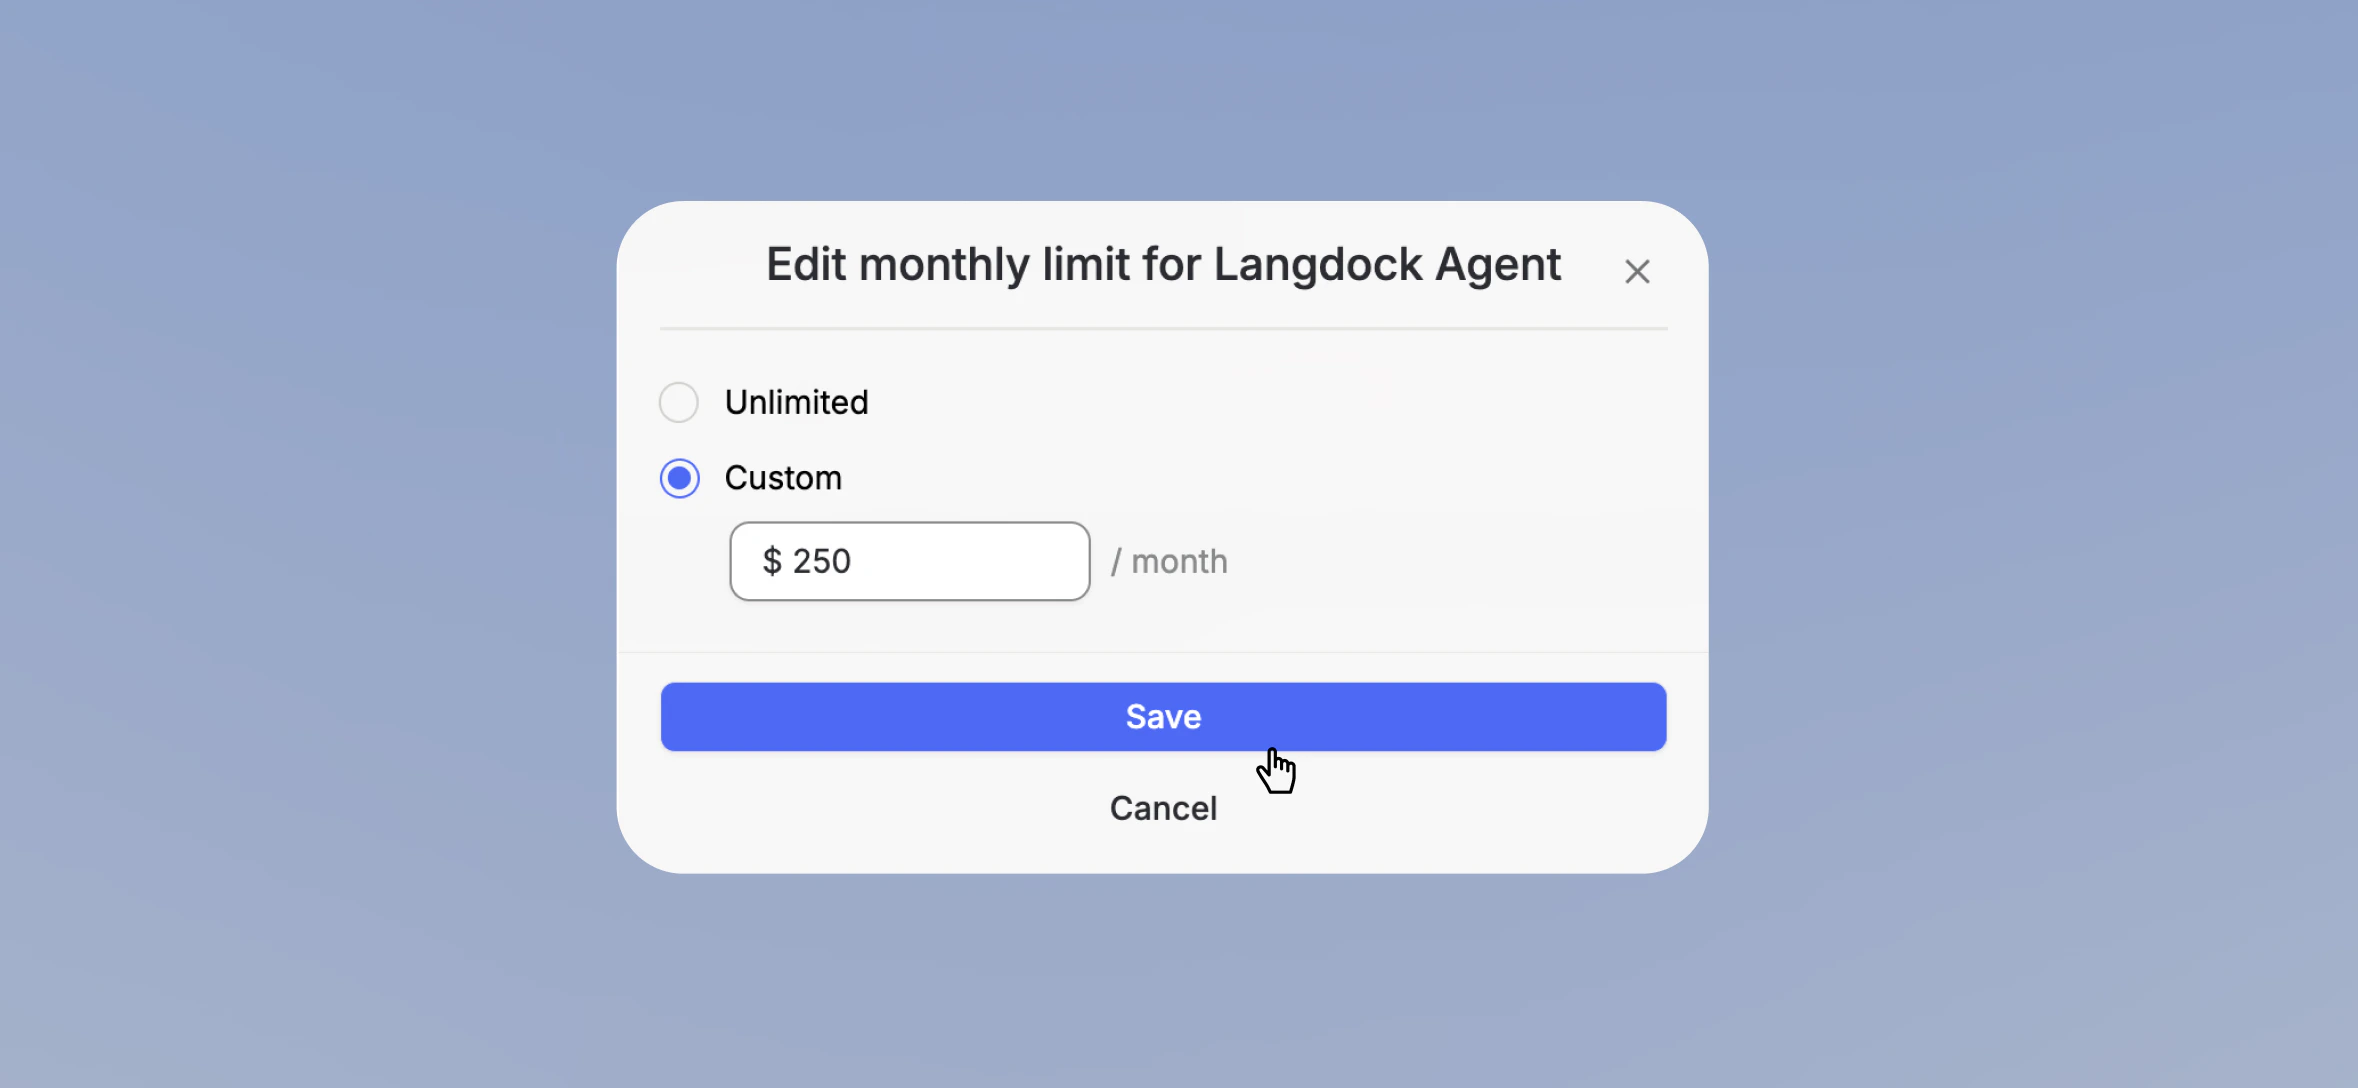
Decide what an agent does once a user, workspace, or agent limit is reached. Set this for the whole workspace in Usage and spend limits in your Workspace Settings, or let each agent owner set it on the agent’s edit page. The options are:- Switch model (default): the agent answers with the fallback model.
- Block usage: the agent can’t be used until the limit resets.
What users see
Users see that an agent has a limit, but not how high it is. When the limit is reached, the agent answers with the fallback model or shows that it’s unavailable until the limit resets.Requirements and Cost limit fallback model
- Langdock Models
- Bring your own keys (BYOK)
Agent limits become available once Extra Usage is enabled for your workspace. Until then, an agent has no limit of its own and its usage counts against each user’s personal limits. When an agent reaches its limit and is set to switch models, it stays available by answering with GPT-5.2.