How usage limits work
Limits are set as a monthly spend amount and measured against your provider cost. Three scopes combine:- Workspace spend limit caps total spend across the workspace.
- Per-user limits cap spend for each user, set through plans or groups, with an individual override for exceptions.
- Per-agent limits cap spend on a specific agent. See Agent limits.
These limits apply to chat and agents. Backbone model usage, workflow runs, and API usage are not counted. For workflows, see Workflow limits.
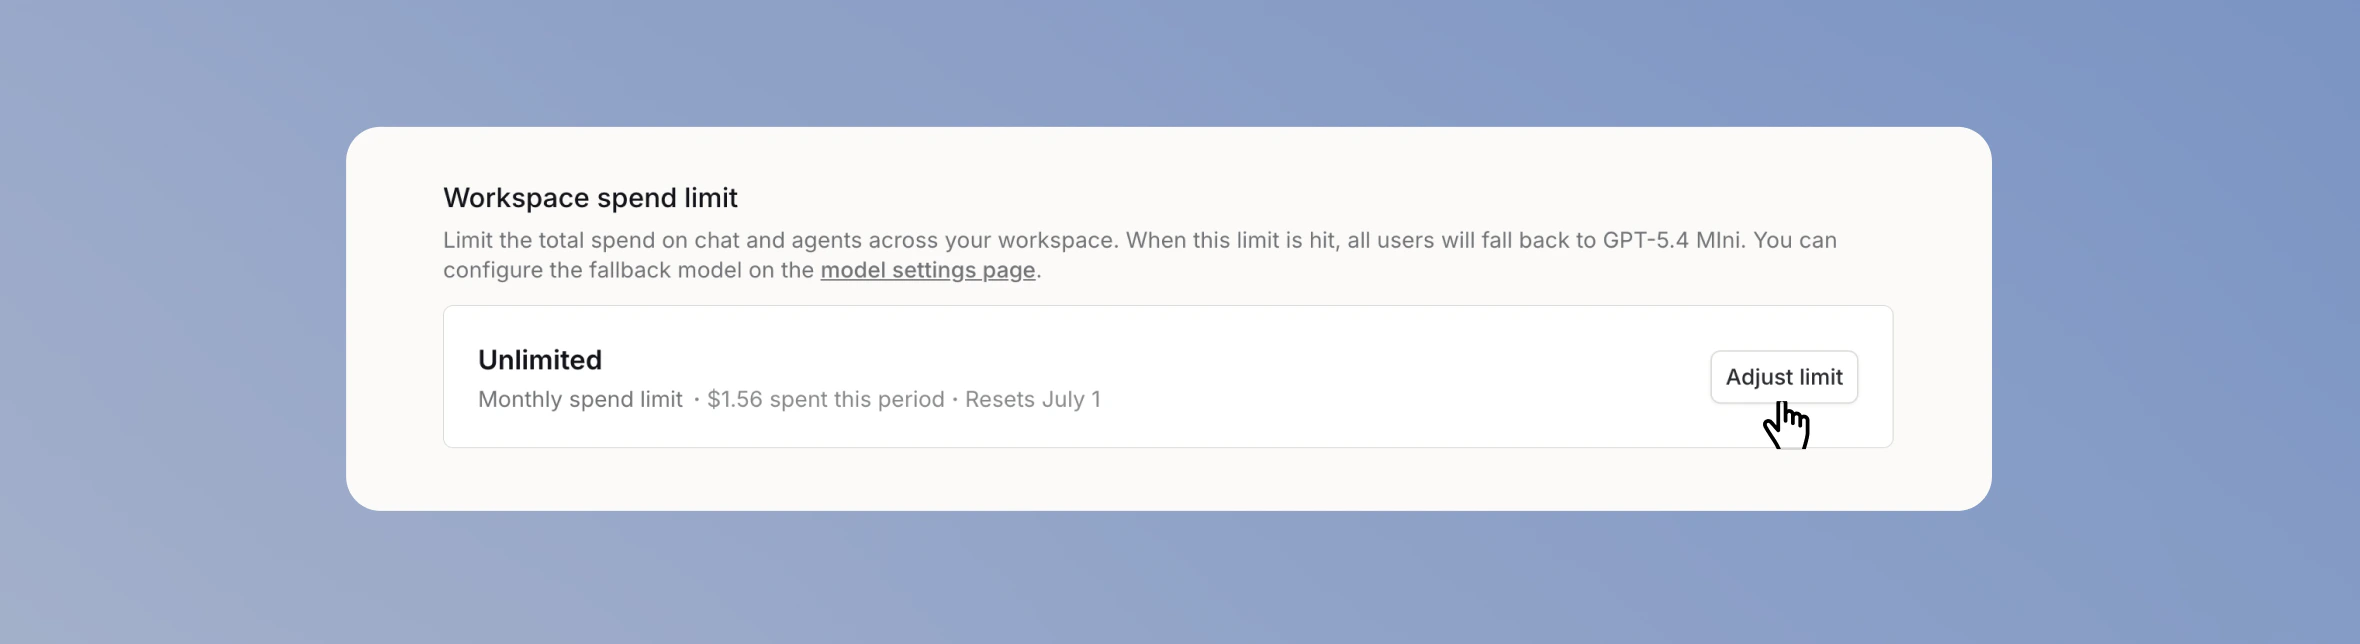
Workspace spend limit
Set the maximum monthly spend across all chat and agent usage. 1. Open usage settings Navigate to Usage and spend limits in your Workspace Settings.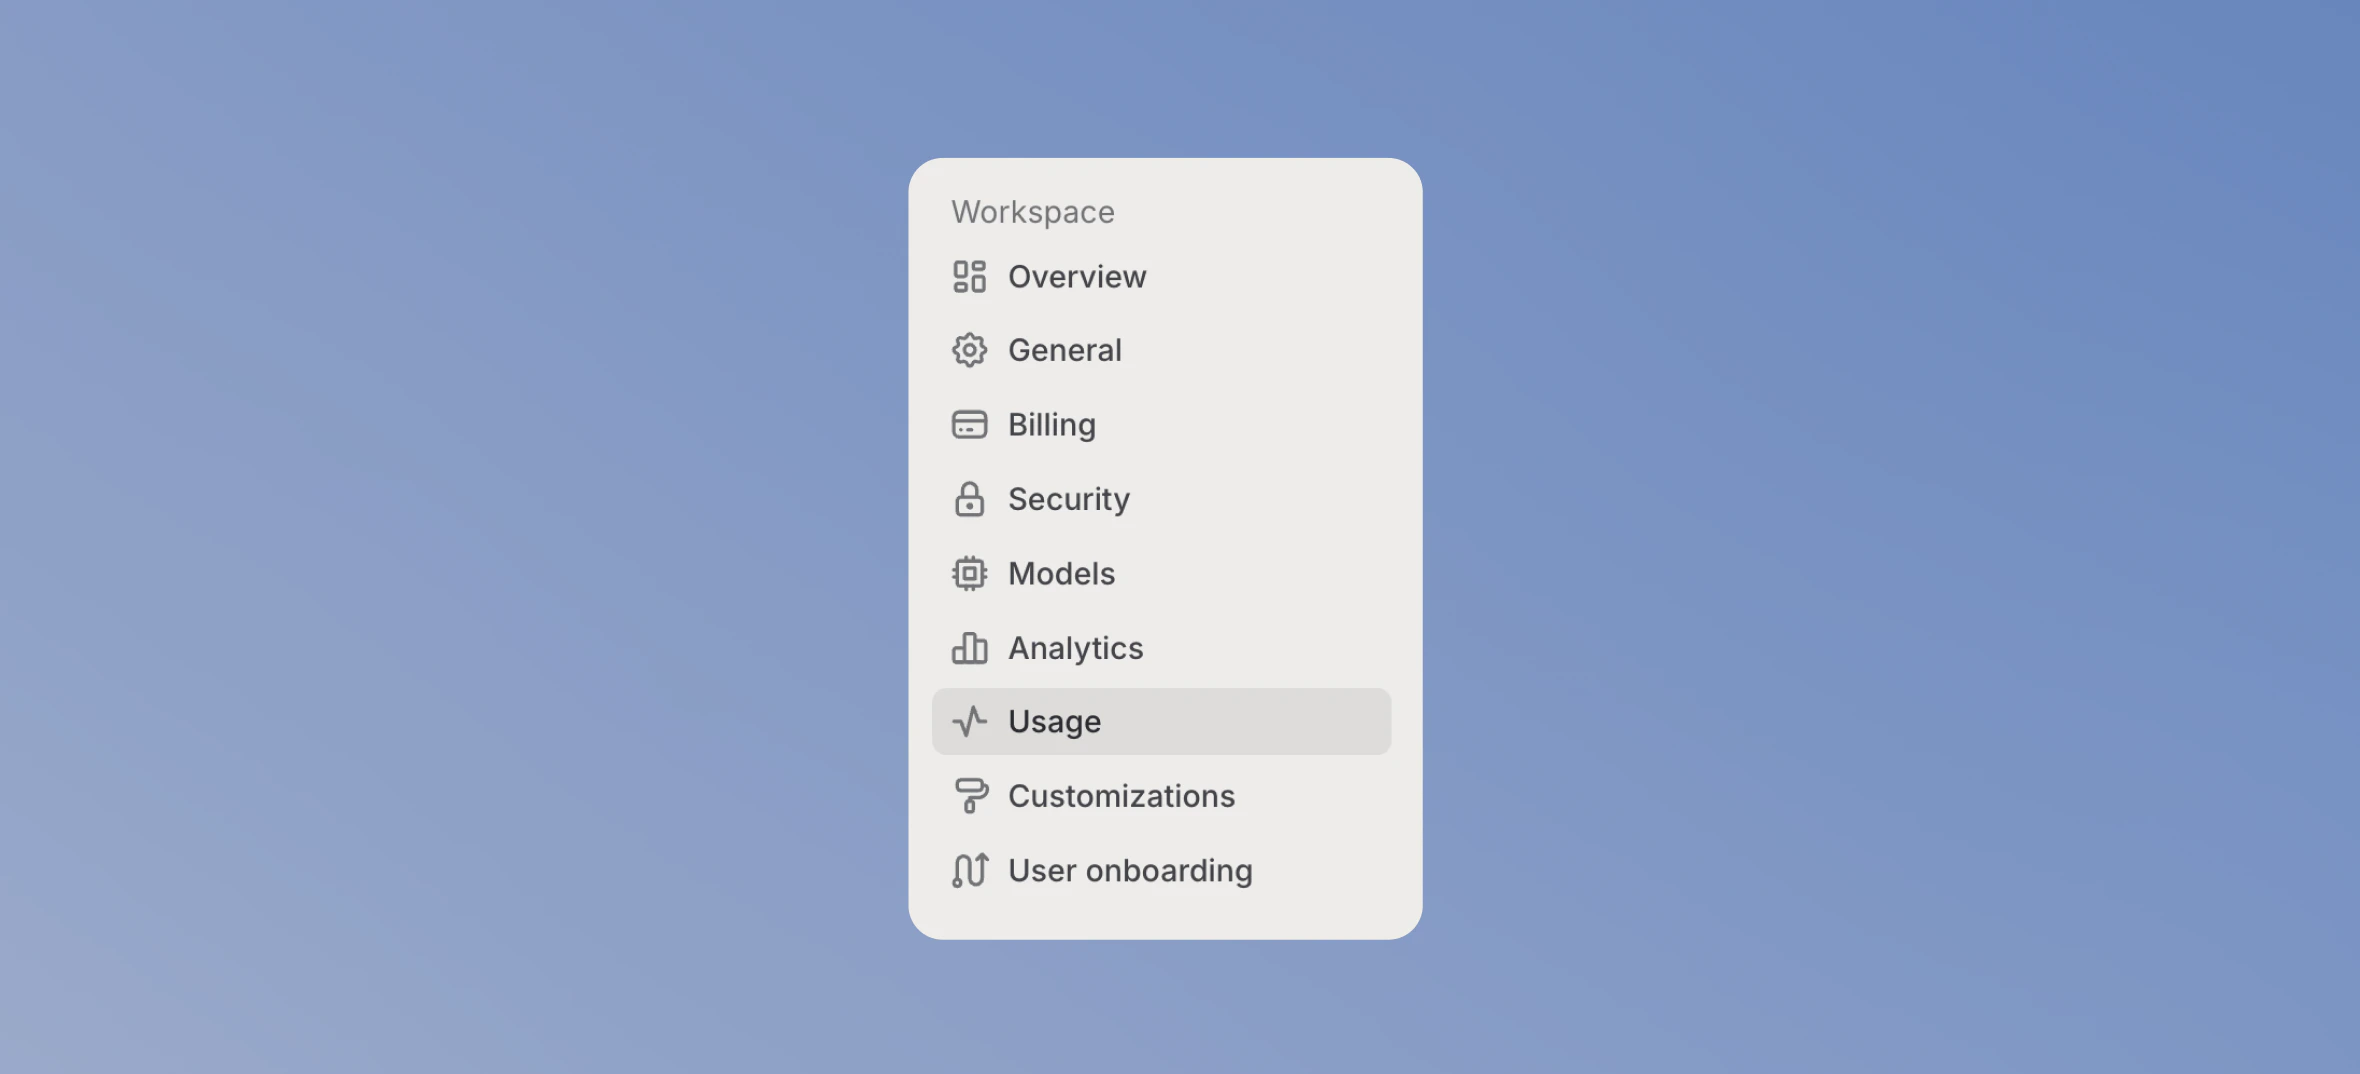
Per-user limits
Set a default monthly limit per user for each plan under the Spend limits per plan section. Users have different needs, so BYOK workspaces have two plans: Standard (the default) and Power user.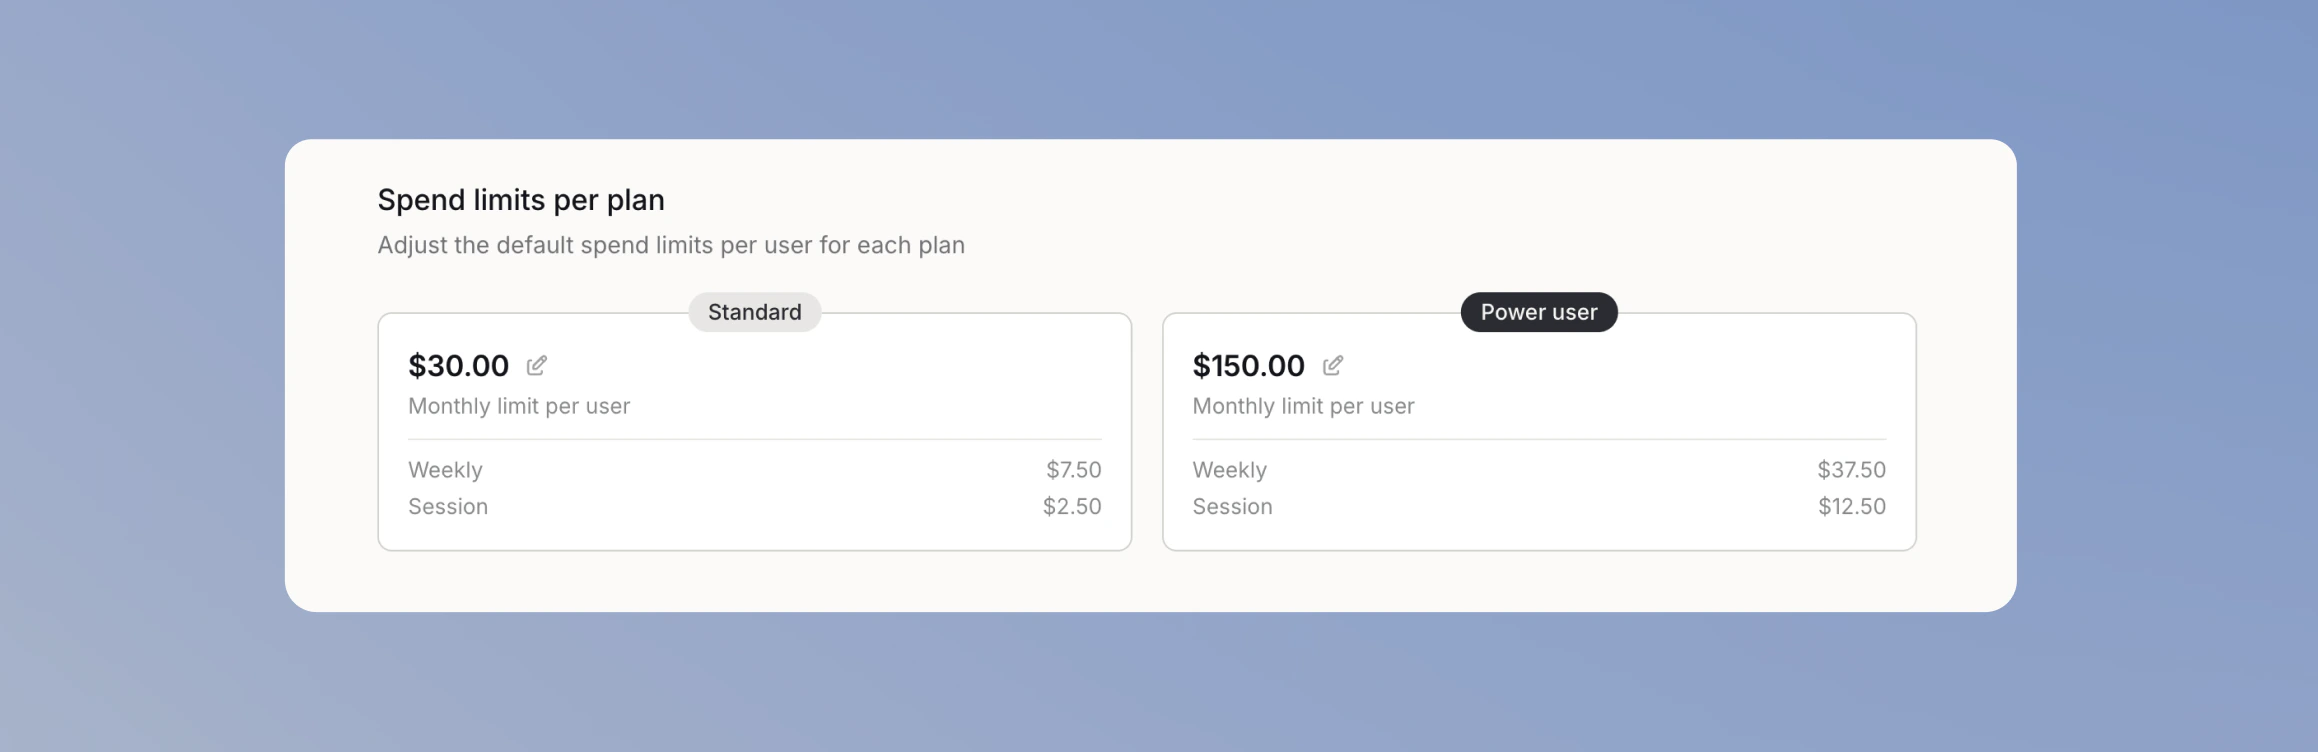
- Weekly is a quarter of the monthly limit.
- Session is a third of the weekly limit, over a 5-hour window.
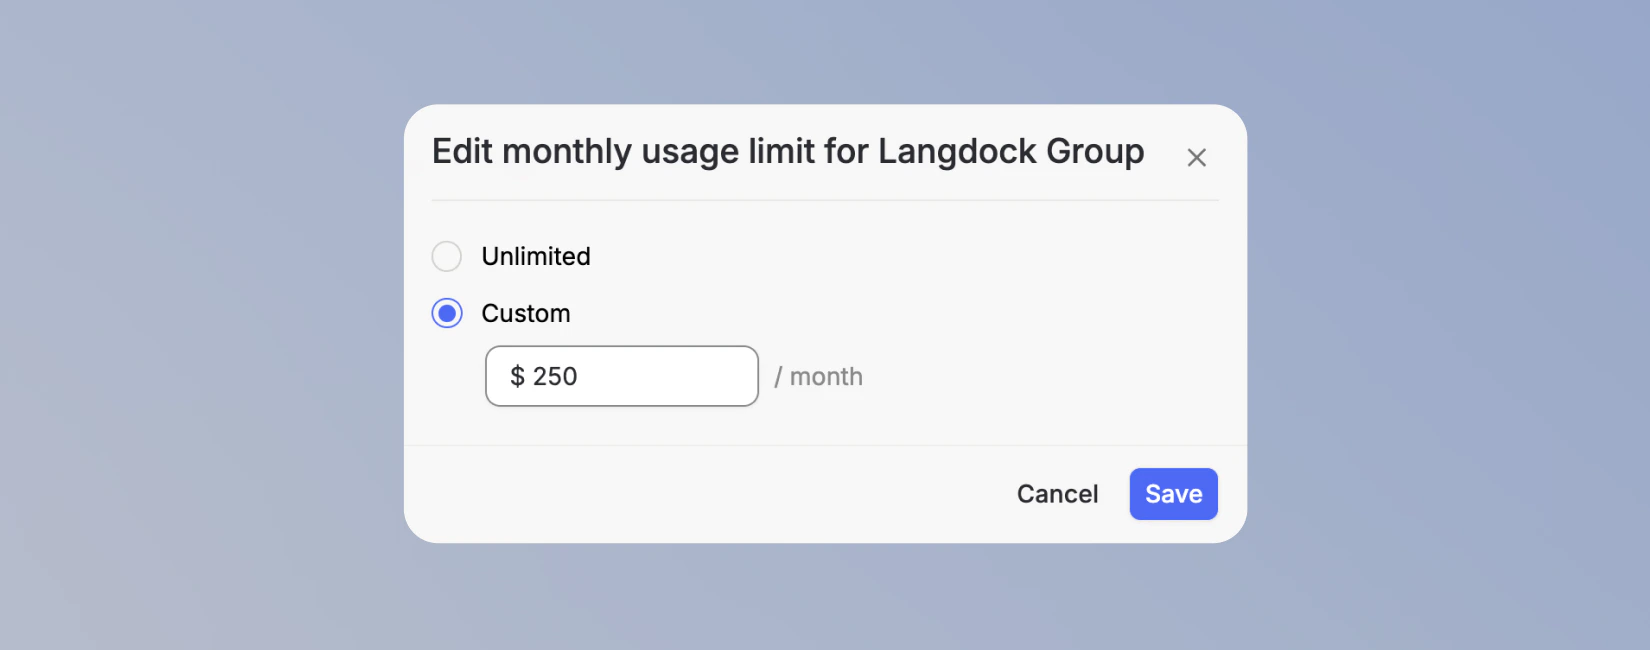
Group limits
Set one monthly limit for everyone in a group when a team needs a shared budget that differs from the plan defaults. 1. Open the Groups tab On the usage settings page, switch to the Groups tab.
Individual limits
You can also set extra usage to give individual users more spending capacity without changing their plan. It’s a flat monthly budget on top of their plan or group limit, with no weekly or session breakdown, and it applies once the user reaches their session or weekly limit. Set it on the Users tab with Edit individual limit.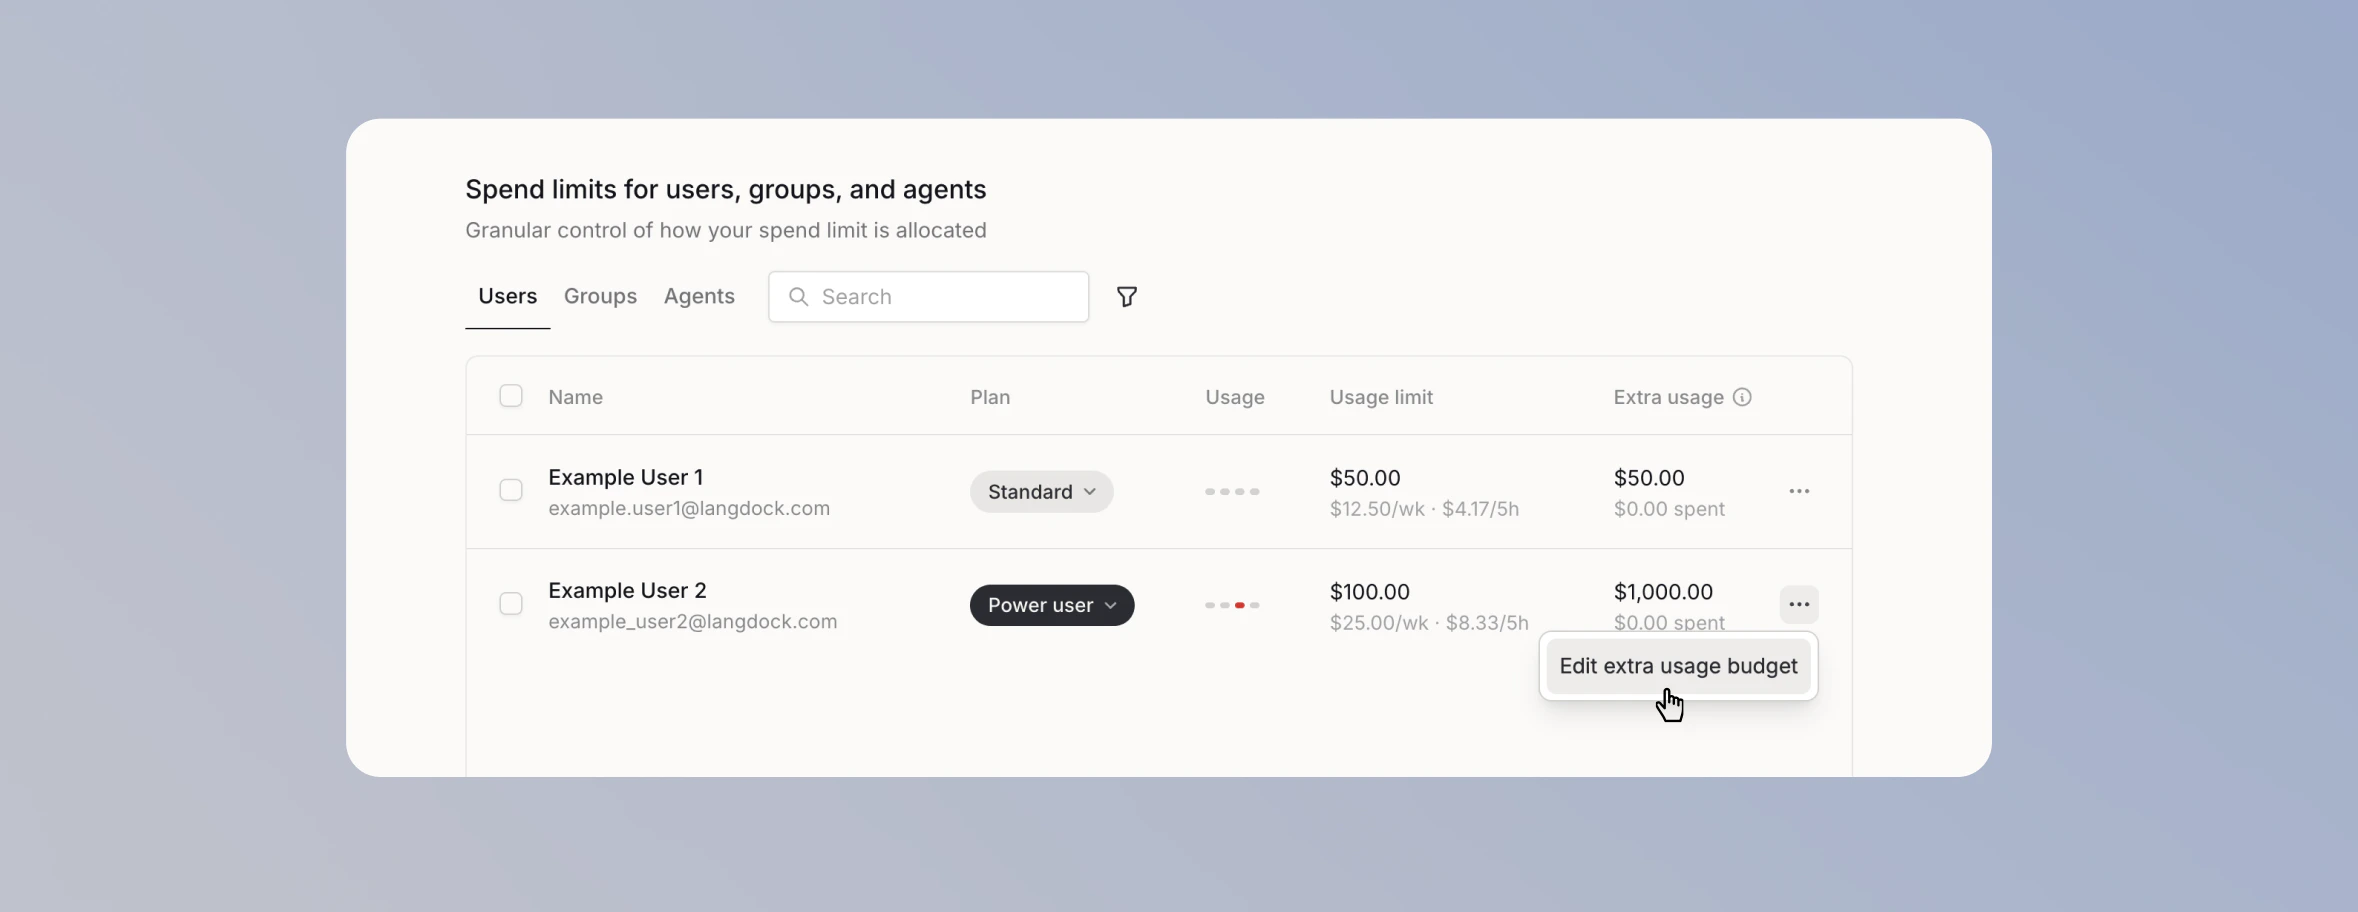
Each user on the Users tab has a usage indicator. It stays gray until you set a limit for that user. After you set a limit, the indicator shows how close the user is to it.
Cost limit fallback model
When a user reaches a limit, their next message uses the fallback model so they can keep working. Set the Cost limit fallback model in Models in your Workspace Settings. If you don’t set one, Langdock uses the workspace backbone model.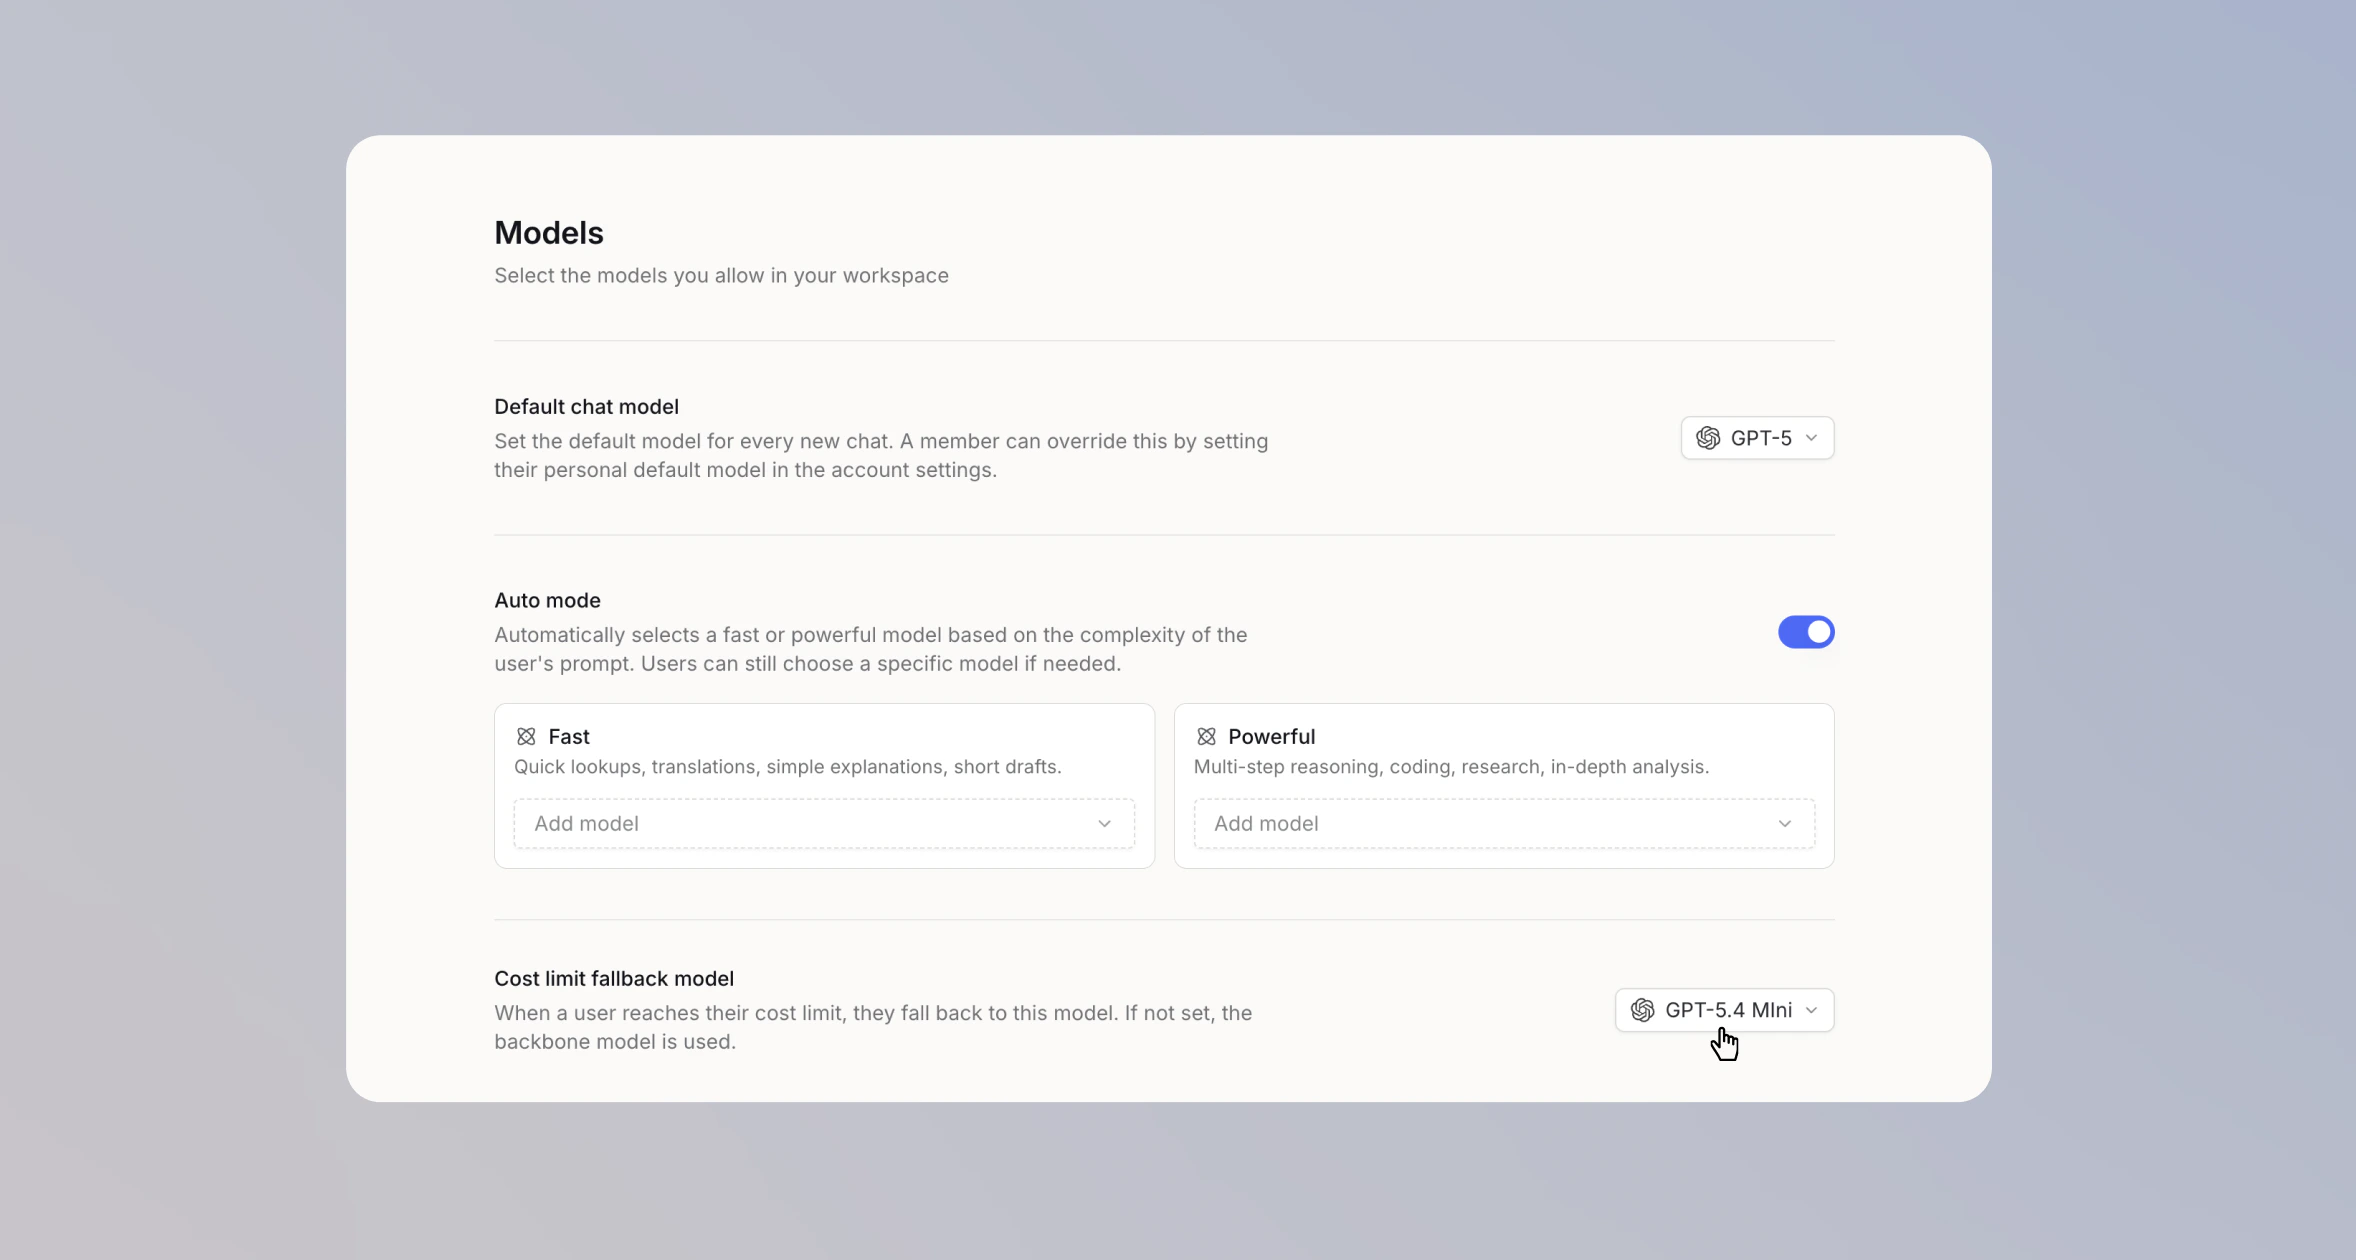
Usage requests
Turn on Allow usage requests so users can ask for a higher limit when they hit one. Admins are notified and can respond by raising the user’s individual limit, moving them to another plan, or dismissing the request.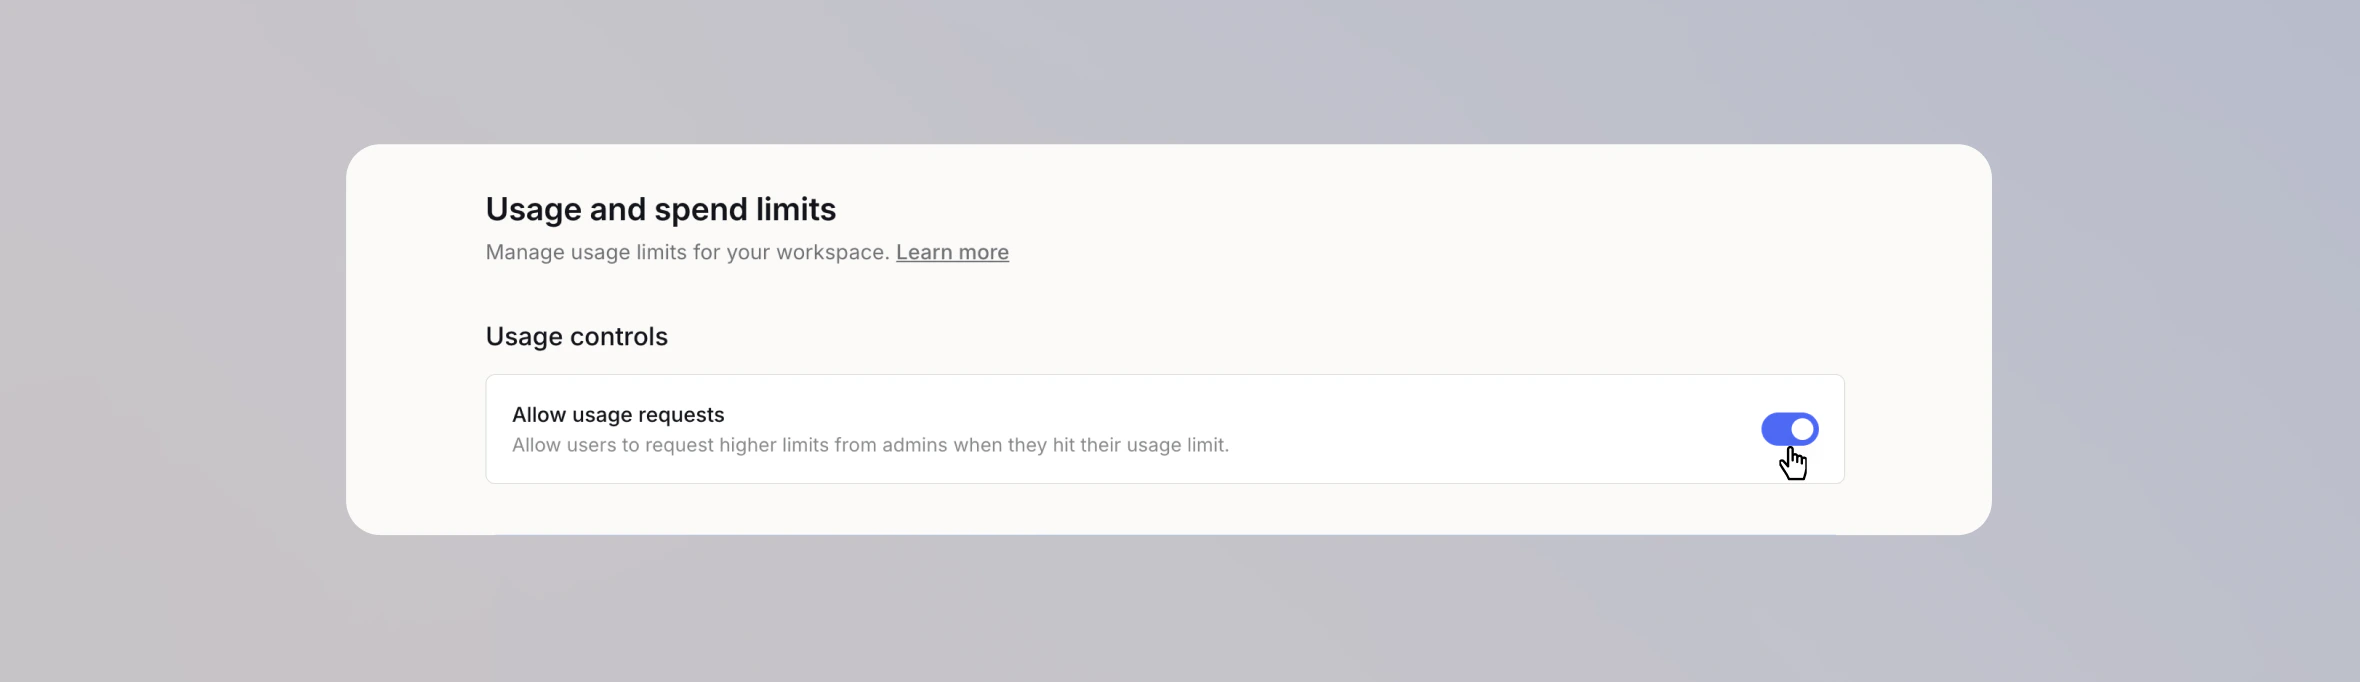
What users see
Users see no indication of a usage limit until you configure per-user limits. Once limits are set, they track their usage on the Usage page in their Account Settings, shown as percentages of their limits. The context window indicator next to the model selector also shows their usage directly in the chat. See Usage limit indicator. When they reach a limit, a notice above the chat input names the limit and its reset time, and their next message uses the fallback model. If a limit is reached while a model is responding, it finishes that response before the fallback model takes over.Models without cost data
Cost tracking needs input and output token prices for each model. If an enabled model is missing them, the usage page shows a warning and usage on that model isn’t counted. Add prices in Models in your Workspace Settings. See How to add your own models.Last updated: June 2026