SAML Overview

Security Assertion Markup Language (SAML) 2.0 is the standard protocol Langdock uses for Single Sign-On (SSO) authentication. With SAML, your users can sign in to Langdock using their existing corporate identity provider credentials.

Setup Checklist

Before configuring SAML, complete the following steps:
  1. Navigate to the Security section in your workspace settings

Security section in Workspace settings
  1. Ensure you have admin access to your Langdock workspace and your identity provider
  2. Enable Join by domain
Join by domain toggle enabled in security settings
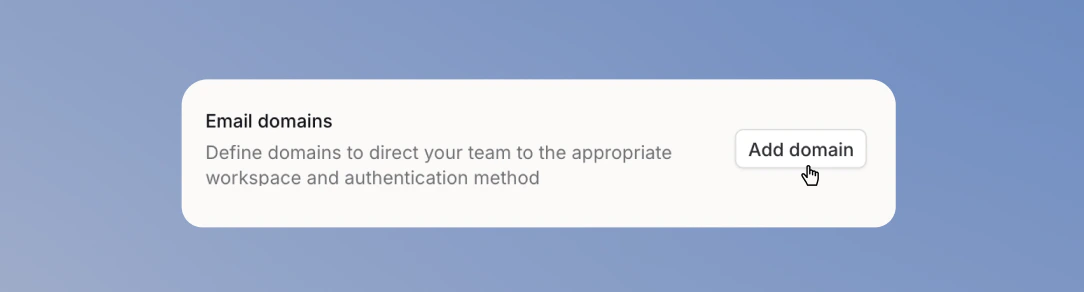
  1. Add your domain
Add domain button in the Email domains section
  1. Verify your domain before enabling SAML
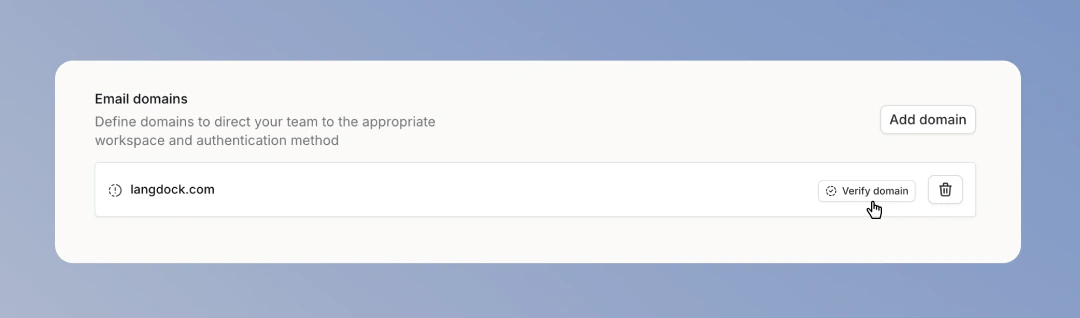
Verify domain button for an added email domain
  1. Create and configure a SAML application in your identity provider
  2. Copy the SAML values into Langdock: Issuer, Sign on URL, Certificate, and Audience URI
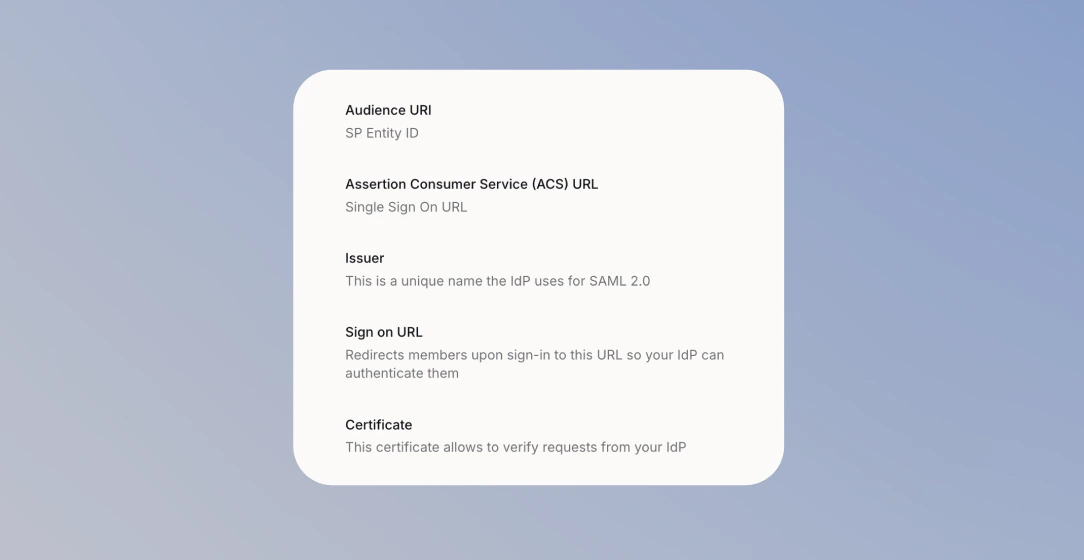
SAML configuration fields for identity provider information
Continue only after Langdock has verified your domain. You cannot turn on SAML Active before verification is complete.
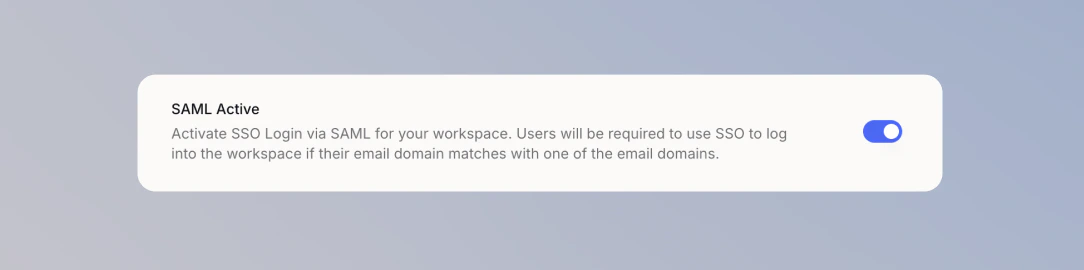
  1. Turn on SAML Active
SAML Active toggle in security settings
  1. Test SAML login in a separate browser or incognito window before signing out

Supported Identity Providers

Langdock supports SAML 2.0 with any compatible identity provider. We provide step-by-step guides for:

Password Login and SAML

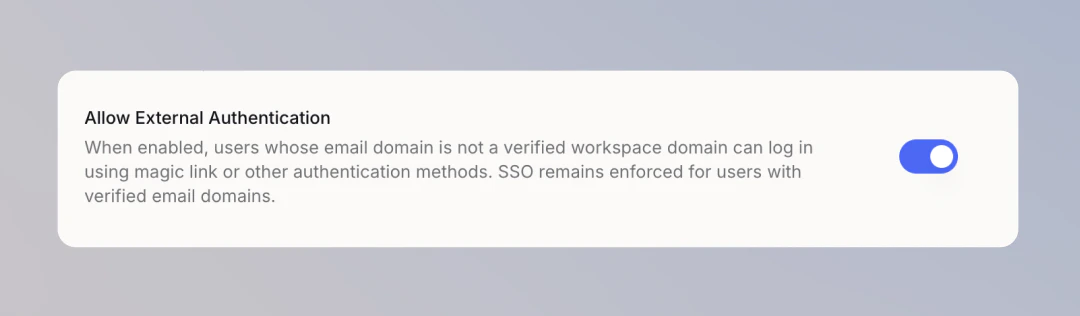
SAML SSO stays required for your verified domains. Turn on Allow External Authentication if you want people outside those domains to sign in with a magic link or another available method. That also covers people you invite through the User Management API. This setting does not open SAML sign-in for arbitrary domains.
Allow External Authentication toggle in security settings

Sign SAML requests

Some identity providers require the service provider to sign outgoing AuthnRequest messages so they can verify the request came from Langdock. Turning on Sign SAML requests enables signed AuthnRequests and generates a stable Langdock signing certificate that you upload to your identity provider. Leave this off unless your identity provider requires signed requests — most Entra ID, Google Workspace, and Okta setups work without it. To enable request signing:
  1. In workspace security settings, turn on Sign SAML requests under the SAML configuration.
  2. Select Download SP certificate to save the Langdock service provider certificate.
  3. Upload the certificate to your identity provider’s SAML application as the request-verification certificate.
  4. Test SAML login in an incognito window and confirm the login completes.
The Download SP certificate button only appears after you enable Sign SAML requests. If you rotate or reconfigure the certificate on the identity provider side, re-download it from Langdock to keep both sides in sync.

Multi-Factor Authentication (MFA)

Langdock doesn’t offer standalone MFA. When you use SAML SSO, MFA is enforced at the identity provider level as part of the login flow. If you need an extra layer of security, IP restrictions are a good interim measure — they limit workspace access to specific IP ranges.

Need Help?

If you encounter any issues during setup, reach out to support@langdock.com for assistance.