Introduction
Variables are the lifeblood of your workflows—they carry data between nodes, making your automations dynamic and context-aware. Every time a node completes execution, its output becomes available as a variable that subsequent nodes can access and use.Think of variables as containers that hold data as it flows through your workflow. Understanding how to access and manipulate them is key to building powerful automations.
Accessing Variables
Langdock provides two intuitive ways to access variables from previous nodes in your workflow:Method 1: Double Curly Braces ({{}})
The most direct way to reference variables is using the double curly brace syntax. Simply type {{ in any field, and you’ll see a dropdown of all available variables from previous nodes.
Basic syntax:
Method 2: Output Selector
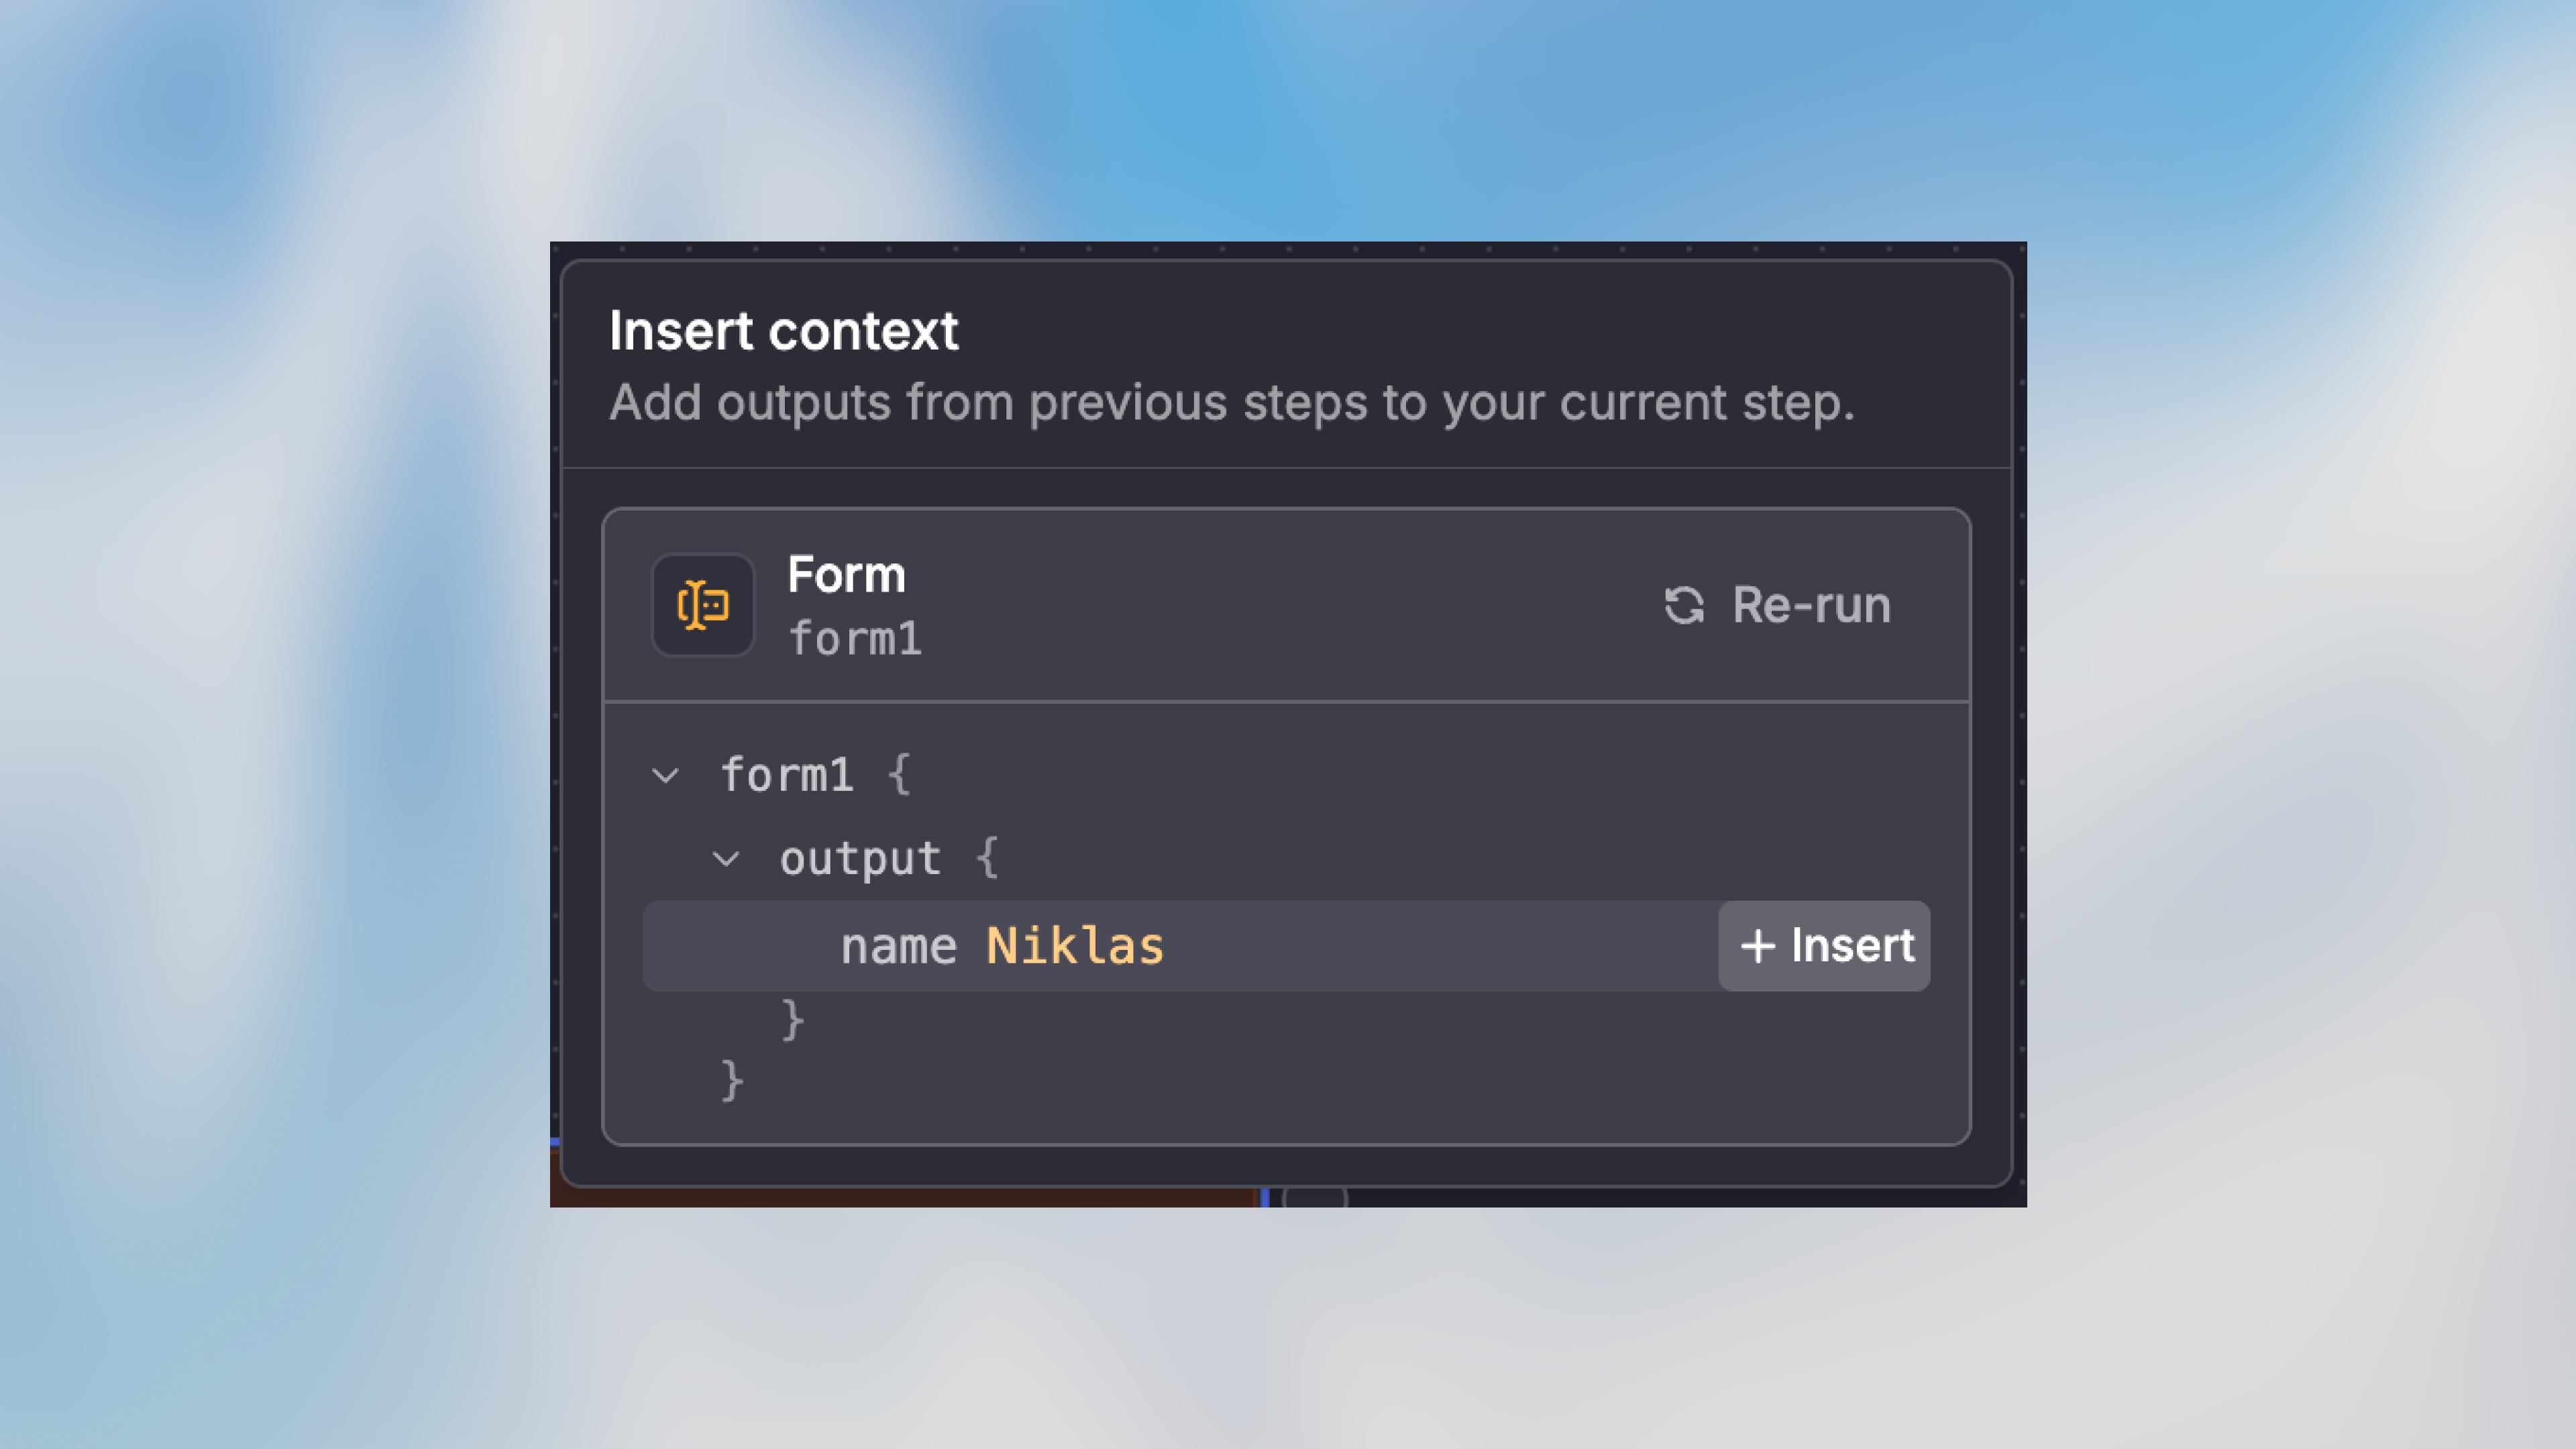
- Click on a field that supports variable selection
- Look for the variable picker icon or dropdown
- Browse available outputs from previous nodes
- Select the exact field you need
Understanding Variable Structure
Variables follow a consistent structure that makes them predictable and easy to work with:node_name: The unique name you gave the node (e.g.,form1,analyze_data,http_request)output: The standard output object every node producesproperty: The specific data field you want to access
Accessing Nested Data
Real-world data often has nested structures. You can access deeply nested properties using dot notation:Working with Arrays
When your data includes arrays, you can access specific elements by index:Agent Output Structure
Agent nodes have two output types depending on configuration: When an output schema is defined:structured property only exists when you’ve configured an output schema in the agent node. Without a schema, use the messages array to access the conversation.
Optional Chaining with ?
Use ? to safely access properties that might not exist:
undefined or null, the entire expression returns undefined instead of throwing an error.
What Happens When You Rename Nodes
Node names are tied to variables. When you rename a node, all variables referencing that node are automatically updated throughout your workflow—no manual fixes needed.
Automatic Variable Updates
Let’s say you have a form trigger node namedform1 being used in multiple places:
form1 to PMApplicantForm, all references automatically update:
- Manual mode fields
- AI Prompt mode instructions
- Code node references
- Condition node comparisons
- All other node configurations
Best Practice: Name Nodes Meaningfully
Since renaming is seamless, invest time in giving nodes clear, descriptive names from the start: Good node names:ExtractCustomerDataAnalyzeSentimentSendWelcomeEmailCheckInventoryStatus
- ❌
agent1 - ❌
http_node - ❌
trigger - ❌
action
Reusing Variables Across Multiple Nodes
One of the most powerful features of variables is that you can use them multiple times across many different nodes. Once a node produces output, that data is available to all subsequent nodes in your workflow.Basic Variable Reuse
Use the same variable in multiple nodes:form1.output simultaneously since they all come after the trigger.
Use Case: Multi-Channel Notifications
Send the same information through different channels:Advanced Variable Techniques
Combining Multiple Variables
Mix data from different nodes in a single field:Variables in Code Nodes
Use Code nodes to access variables in custom code. Learn more about Code nodes.path property that Python Code nodes can pass directly to open():
Variables in AI Prompt Mode
Reference multiple variables in AI instructions:Filtering and Transformation
Use variables to filter or transform data: In a Condition node:The entire expression must be inside
{{ }}. The expression is evaluated as JavaScript.Troubleshooting Variables
Variable Not Available
Problem: The variable you want doesn’t appear in the autocomplete. Common causes:- The node hasn’t been connected yet
- The node is downstream (comes after) the current node
- The node hasn’t been executed in a test run yet
Undefined or Null Values
Problem: Variable exists but returnsundefined or null.
Common causes:
- The source node failed or returned empty data
- The field path is incorrect
- Optional data wasn’t provided
{{node_name.output.error}}.
Solution:
Wrong Data Type
Problem: Variable contains unexpected data type. Solution: Check the output tab of the source node after a test run to see the actual data structure.Quick Reference
Variable Syntax Cheat Sheet
Best Practices
Use Descriptive Node Names
Use Descriptive Node Names
Name nodes clearly so variables are self-documenting:
{{AnalyzeCustomerFeedback.output.sentiment}} is much clearer than {{agent1.output.sentiment}}Test Variables After Each Node
Test Variables After Each Node
After adding a node, run a test and click on the node to inspect its output. This confirms the data structure before using it in downstream nodes.
Provide Fallback Values
Provide Fallback Values
Use default values for optional fields:
Keep Variable Paths Simple
Keep Variable Paths Simple
If you find yourself writing deeply nested paths like
{{node.output.data.items[0].meta.tags[2].value}}, consider using a Code node to simplify the data structure first.Document Complex Variable Usage
Document Complex Variable Usage
Add comments in Code nodes or descriptions in nodes when using complex variable logic, especially for team workflows.
Next Steps
Now that you understand variables, explore how to use them effectively in different contexts:Field Modes
Learn how to use variables in Auto, Manual, and AI Prompt modes
Code Node
Transform and manipulate variables with custom code
Condition Node
Use variables to create dynamic routing logic
Core Concepts
Understand how variables fit into the bigger picture
FAQ
When should I use variables in a workflow?
When should I use variables in a workflow?
Use variables when a later node needs data from a trigger or earlier node. Variables make workflows dynamic by passing user input, API responses, generated text, or extracted values between steps.
What should I check if a variable does not resolve?
What should I check if a variable does not resolve?
Check the variable path, whether the earlier node actually produced the value, and whether the value exists for the current run. If the data is nested, verify the exact field name and structure.