Agent Configurator
Within the agent configurator, create an agent that should be able to use the integration. You can use the guide on creating an agent to learn more about creating great agents.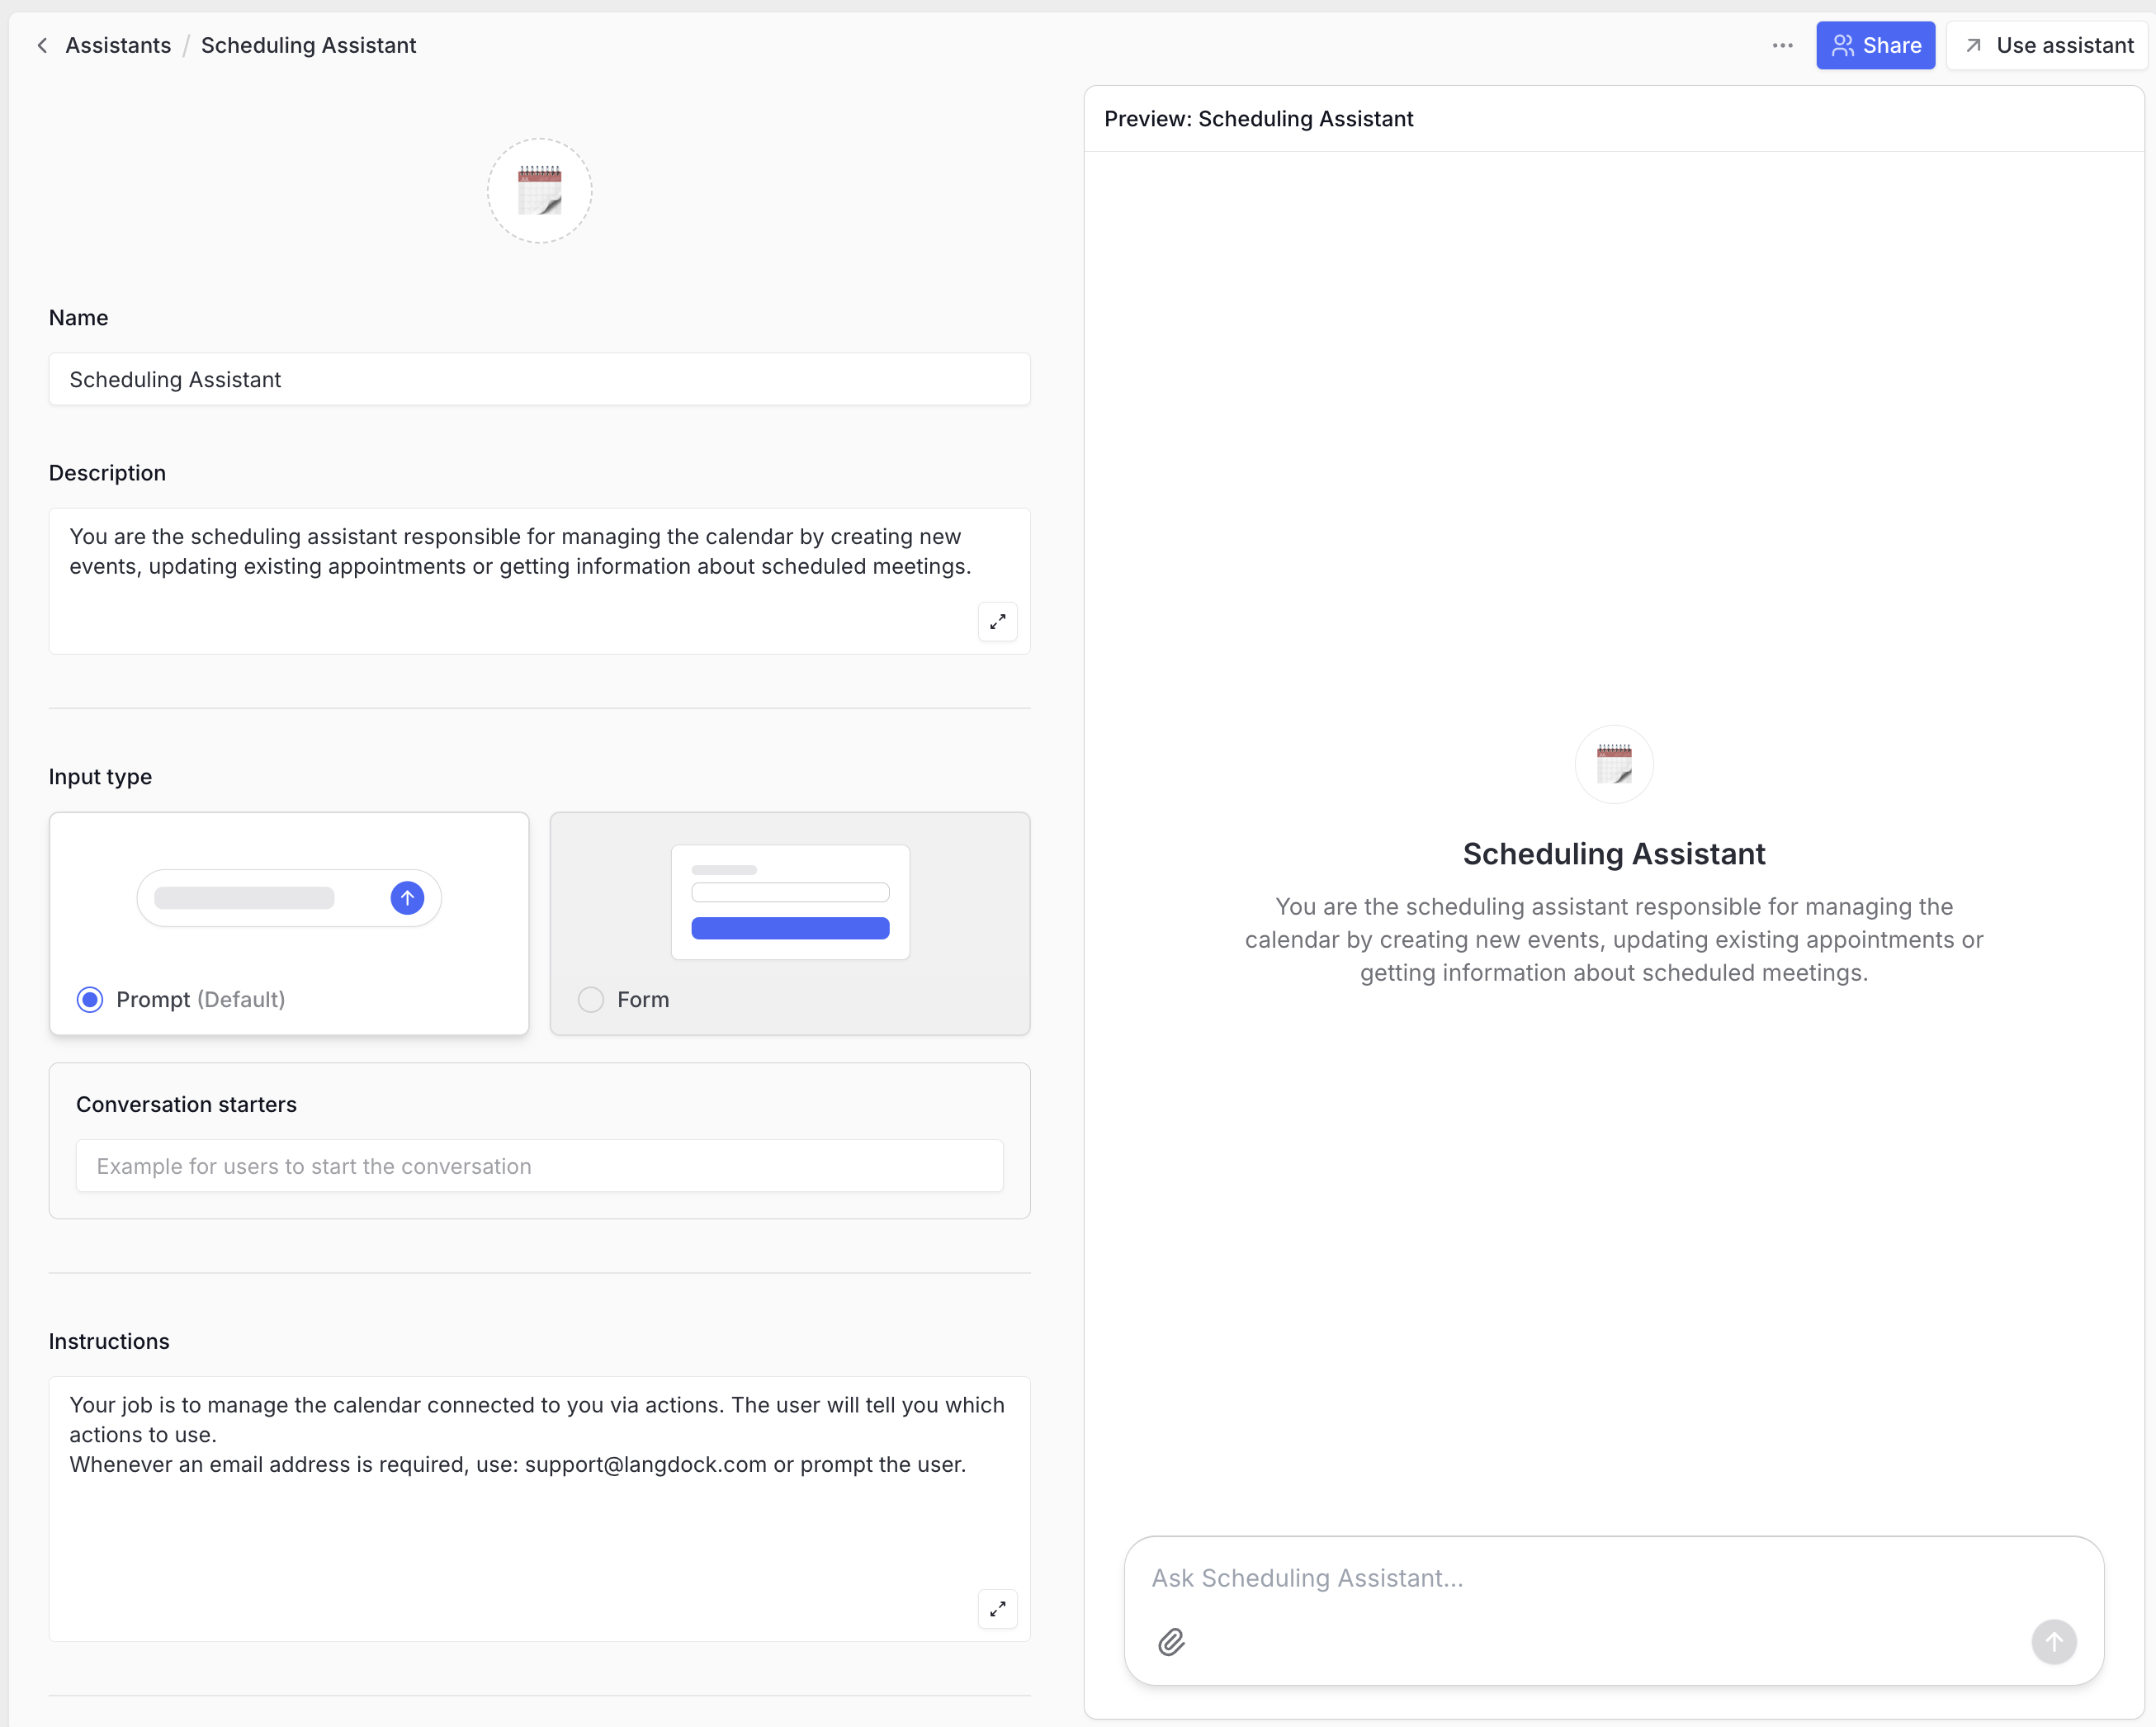
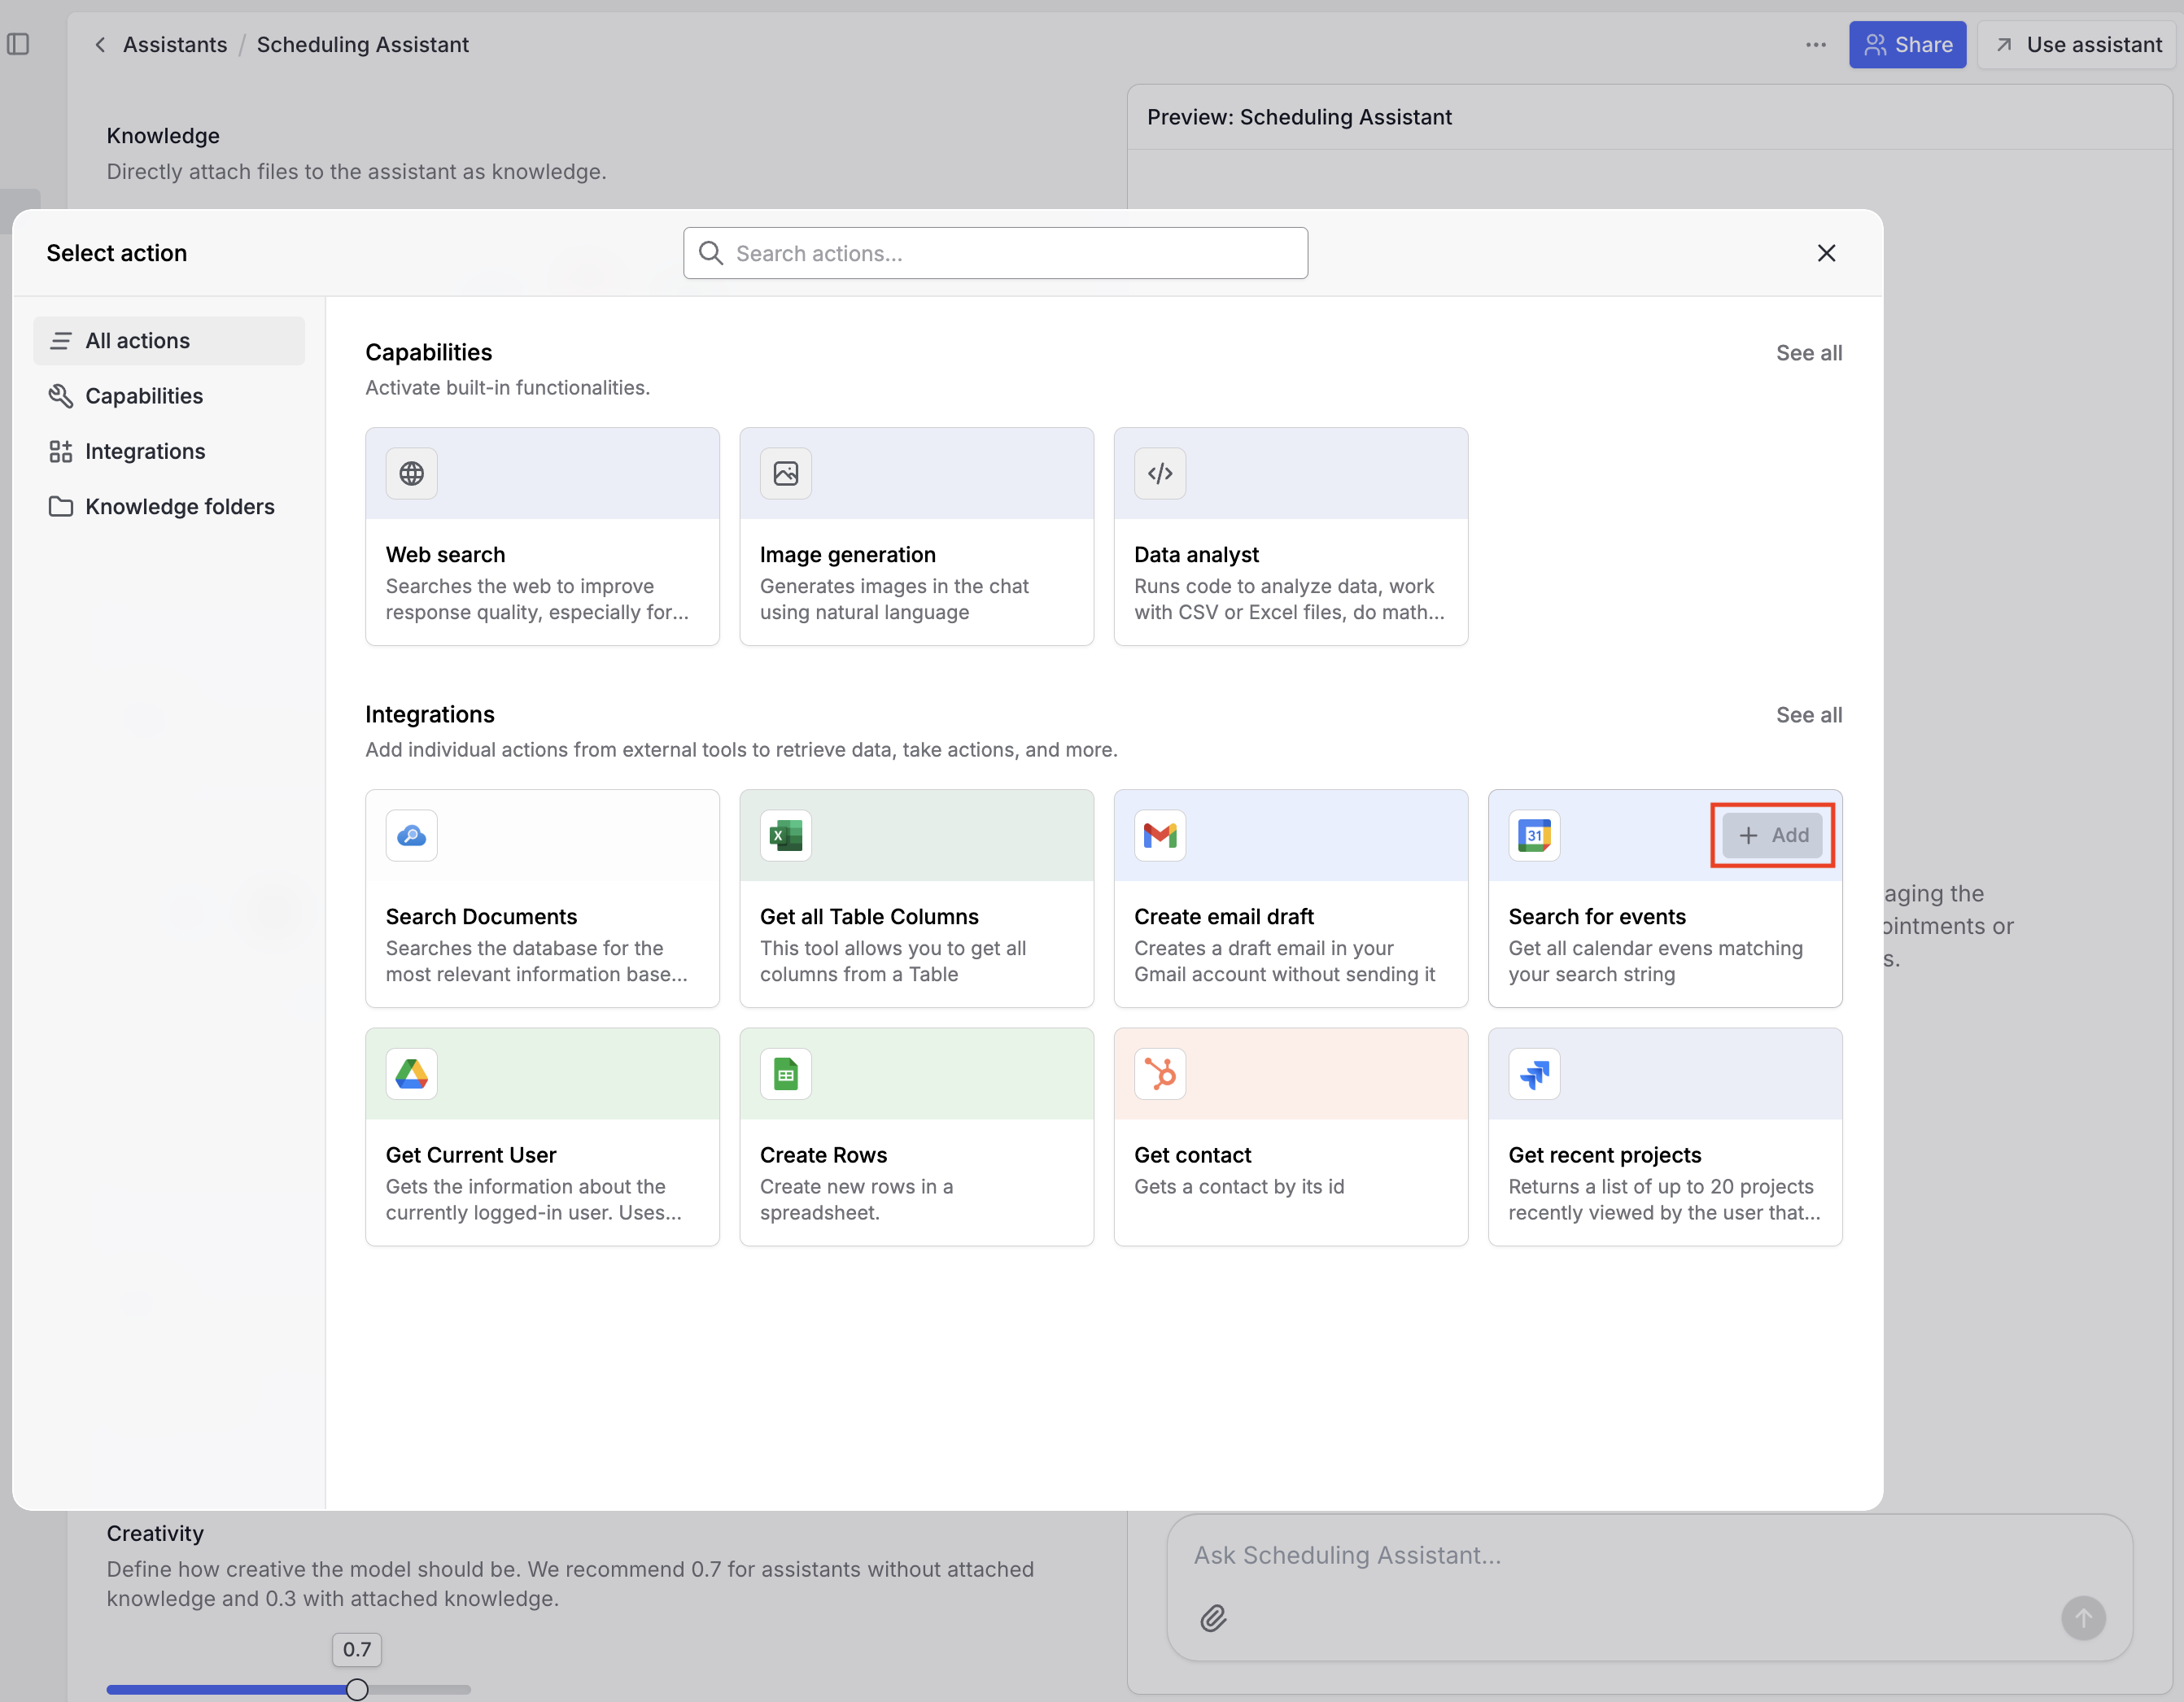
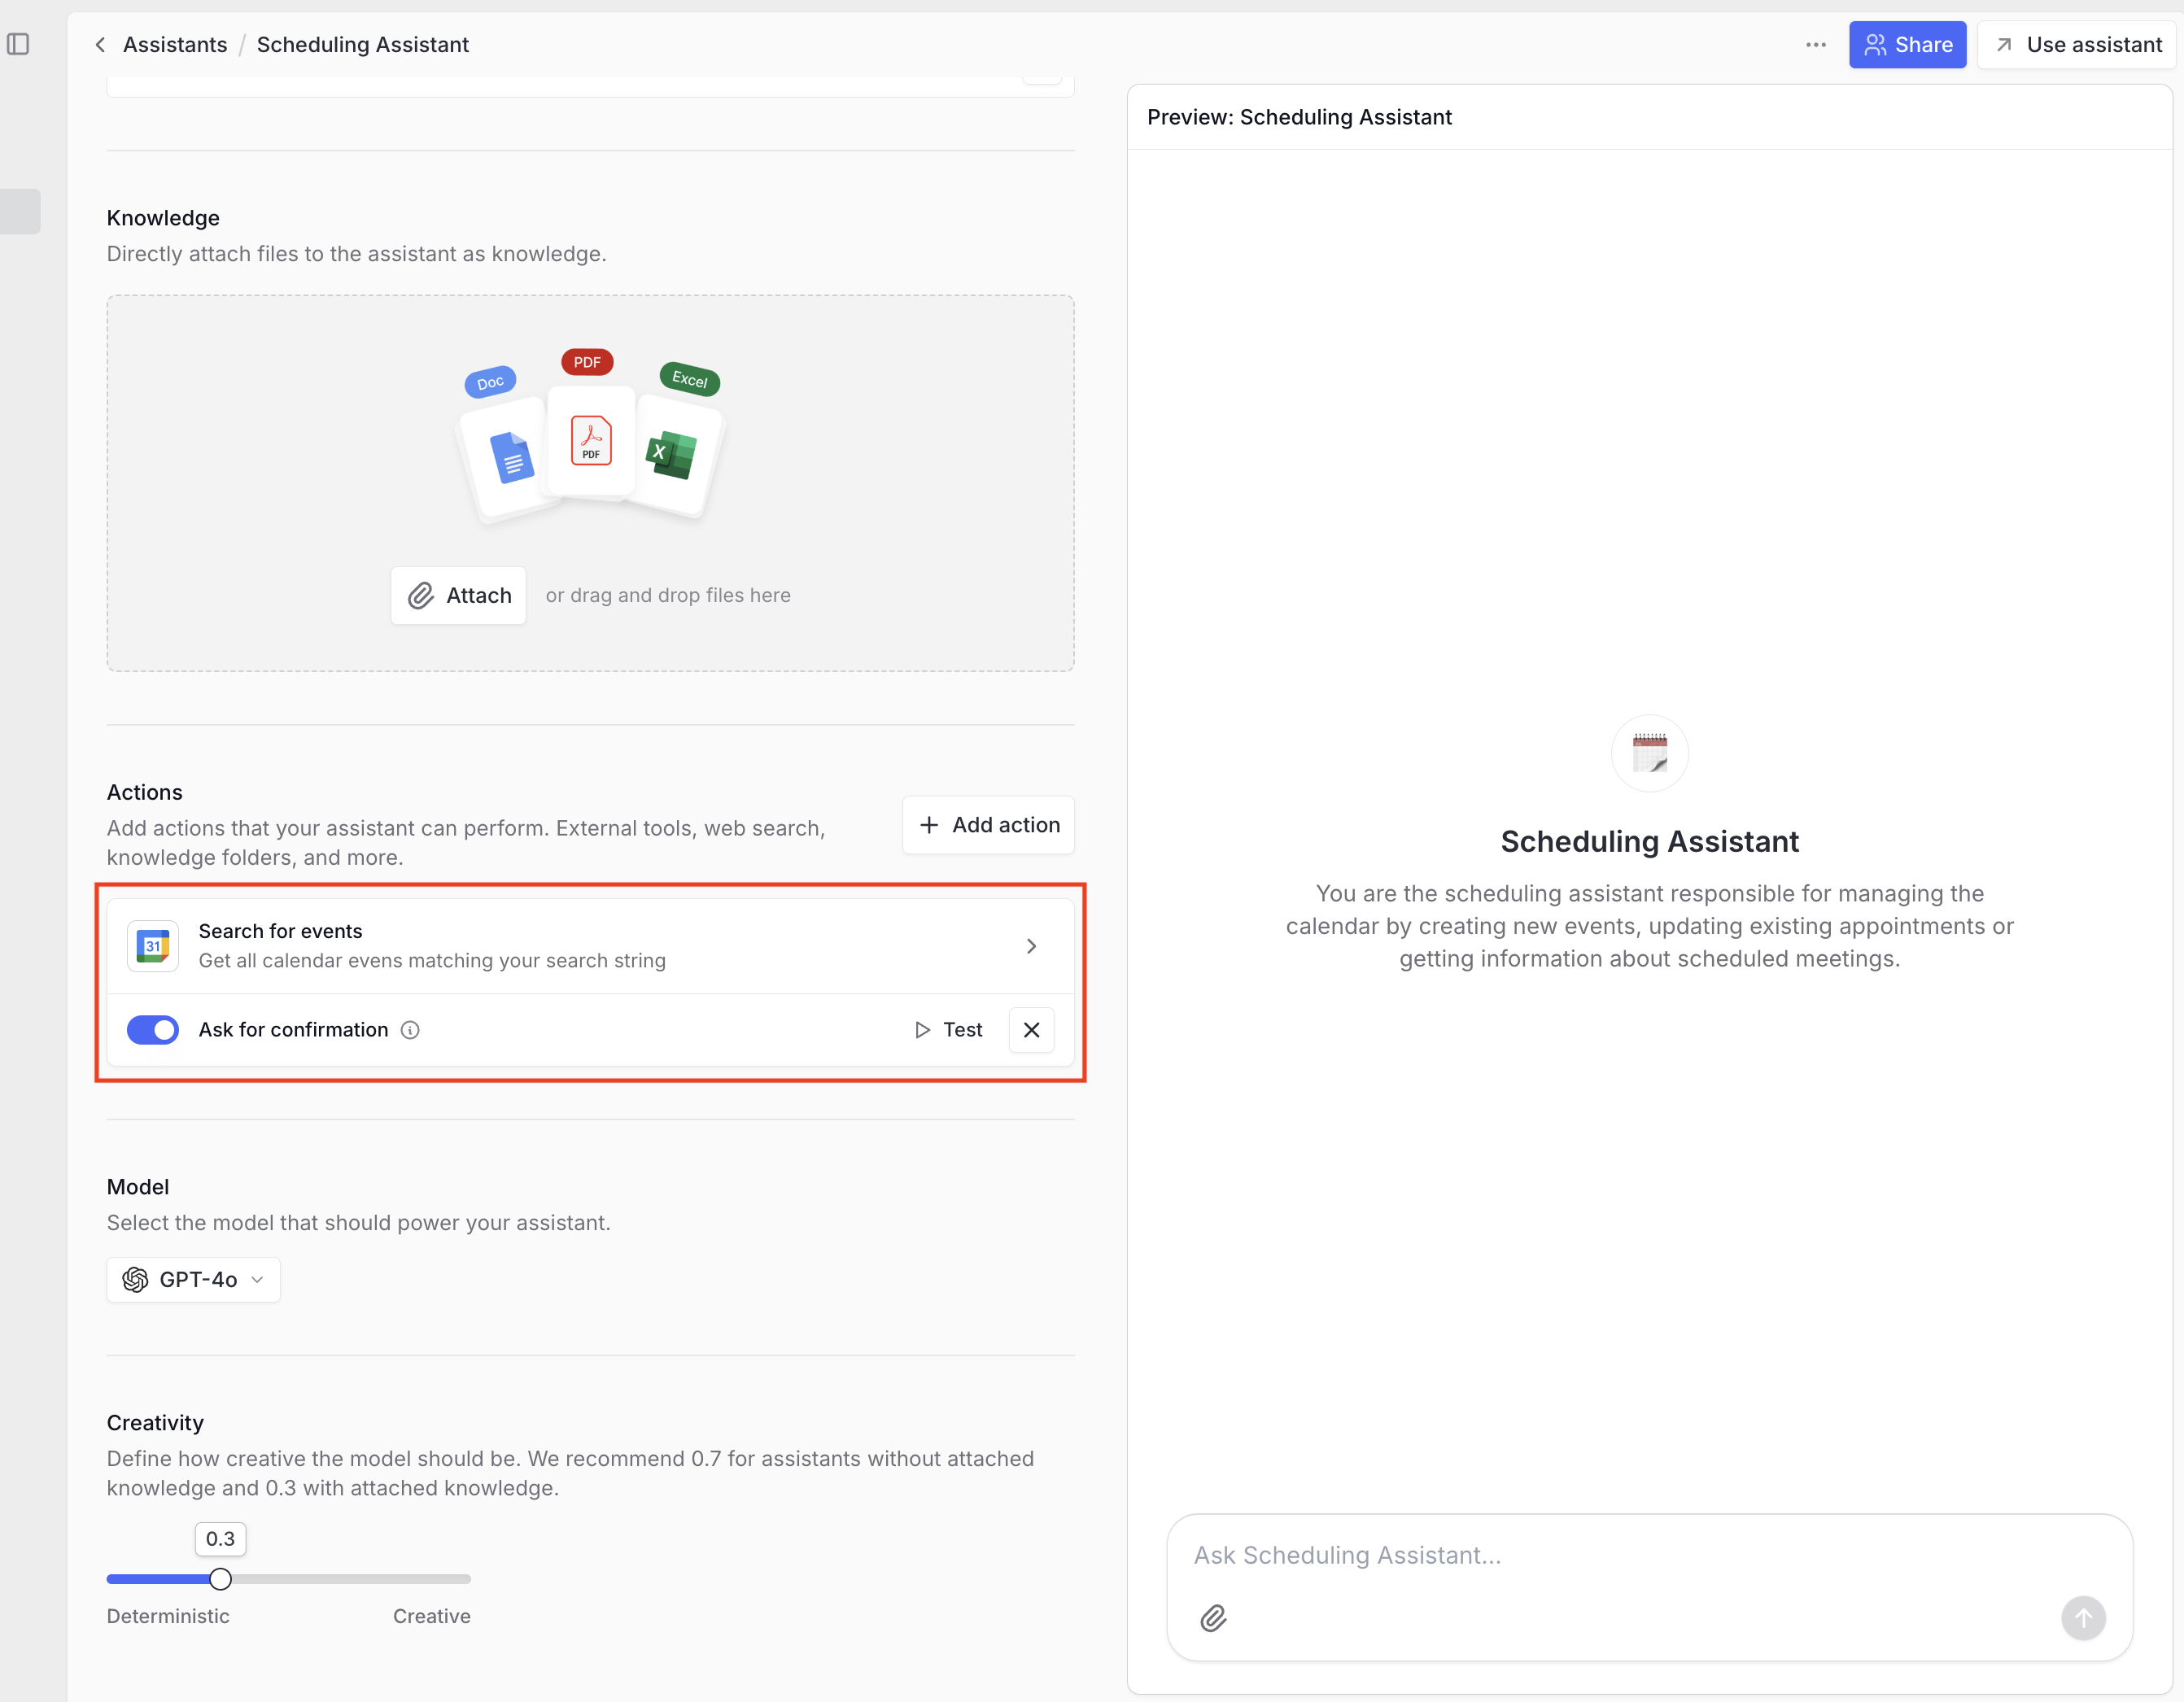
Adding actions
Within the agent configurator, you can now add actions of the integrations enabled in your workspace.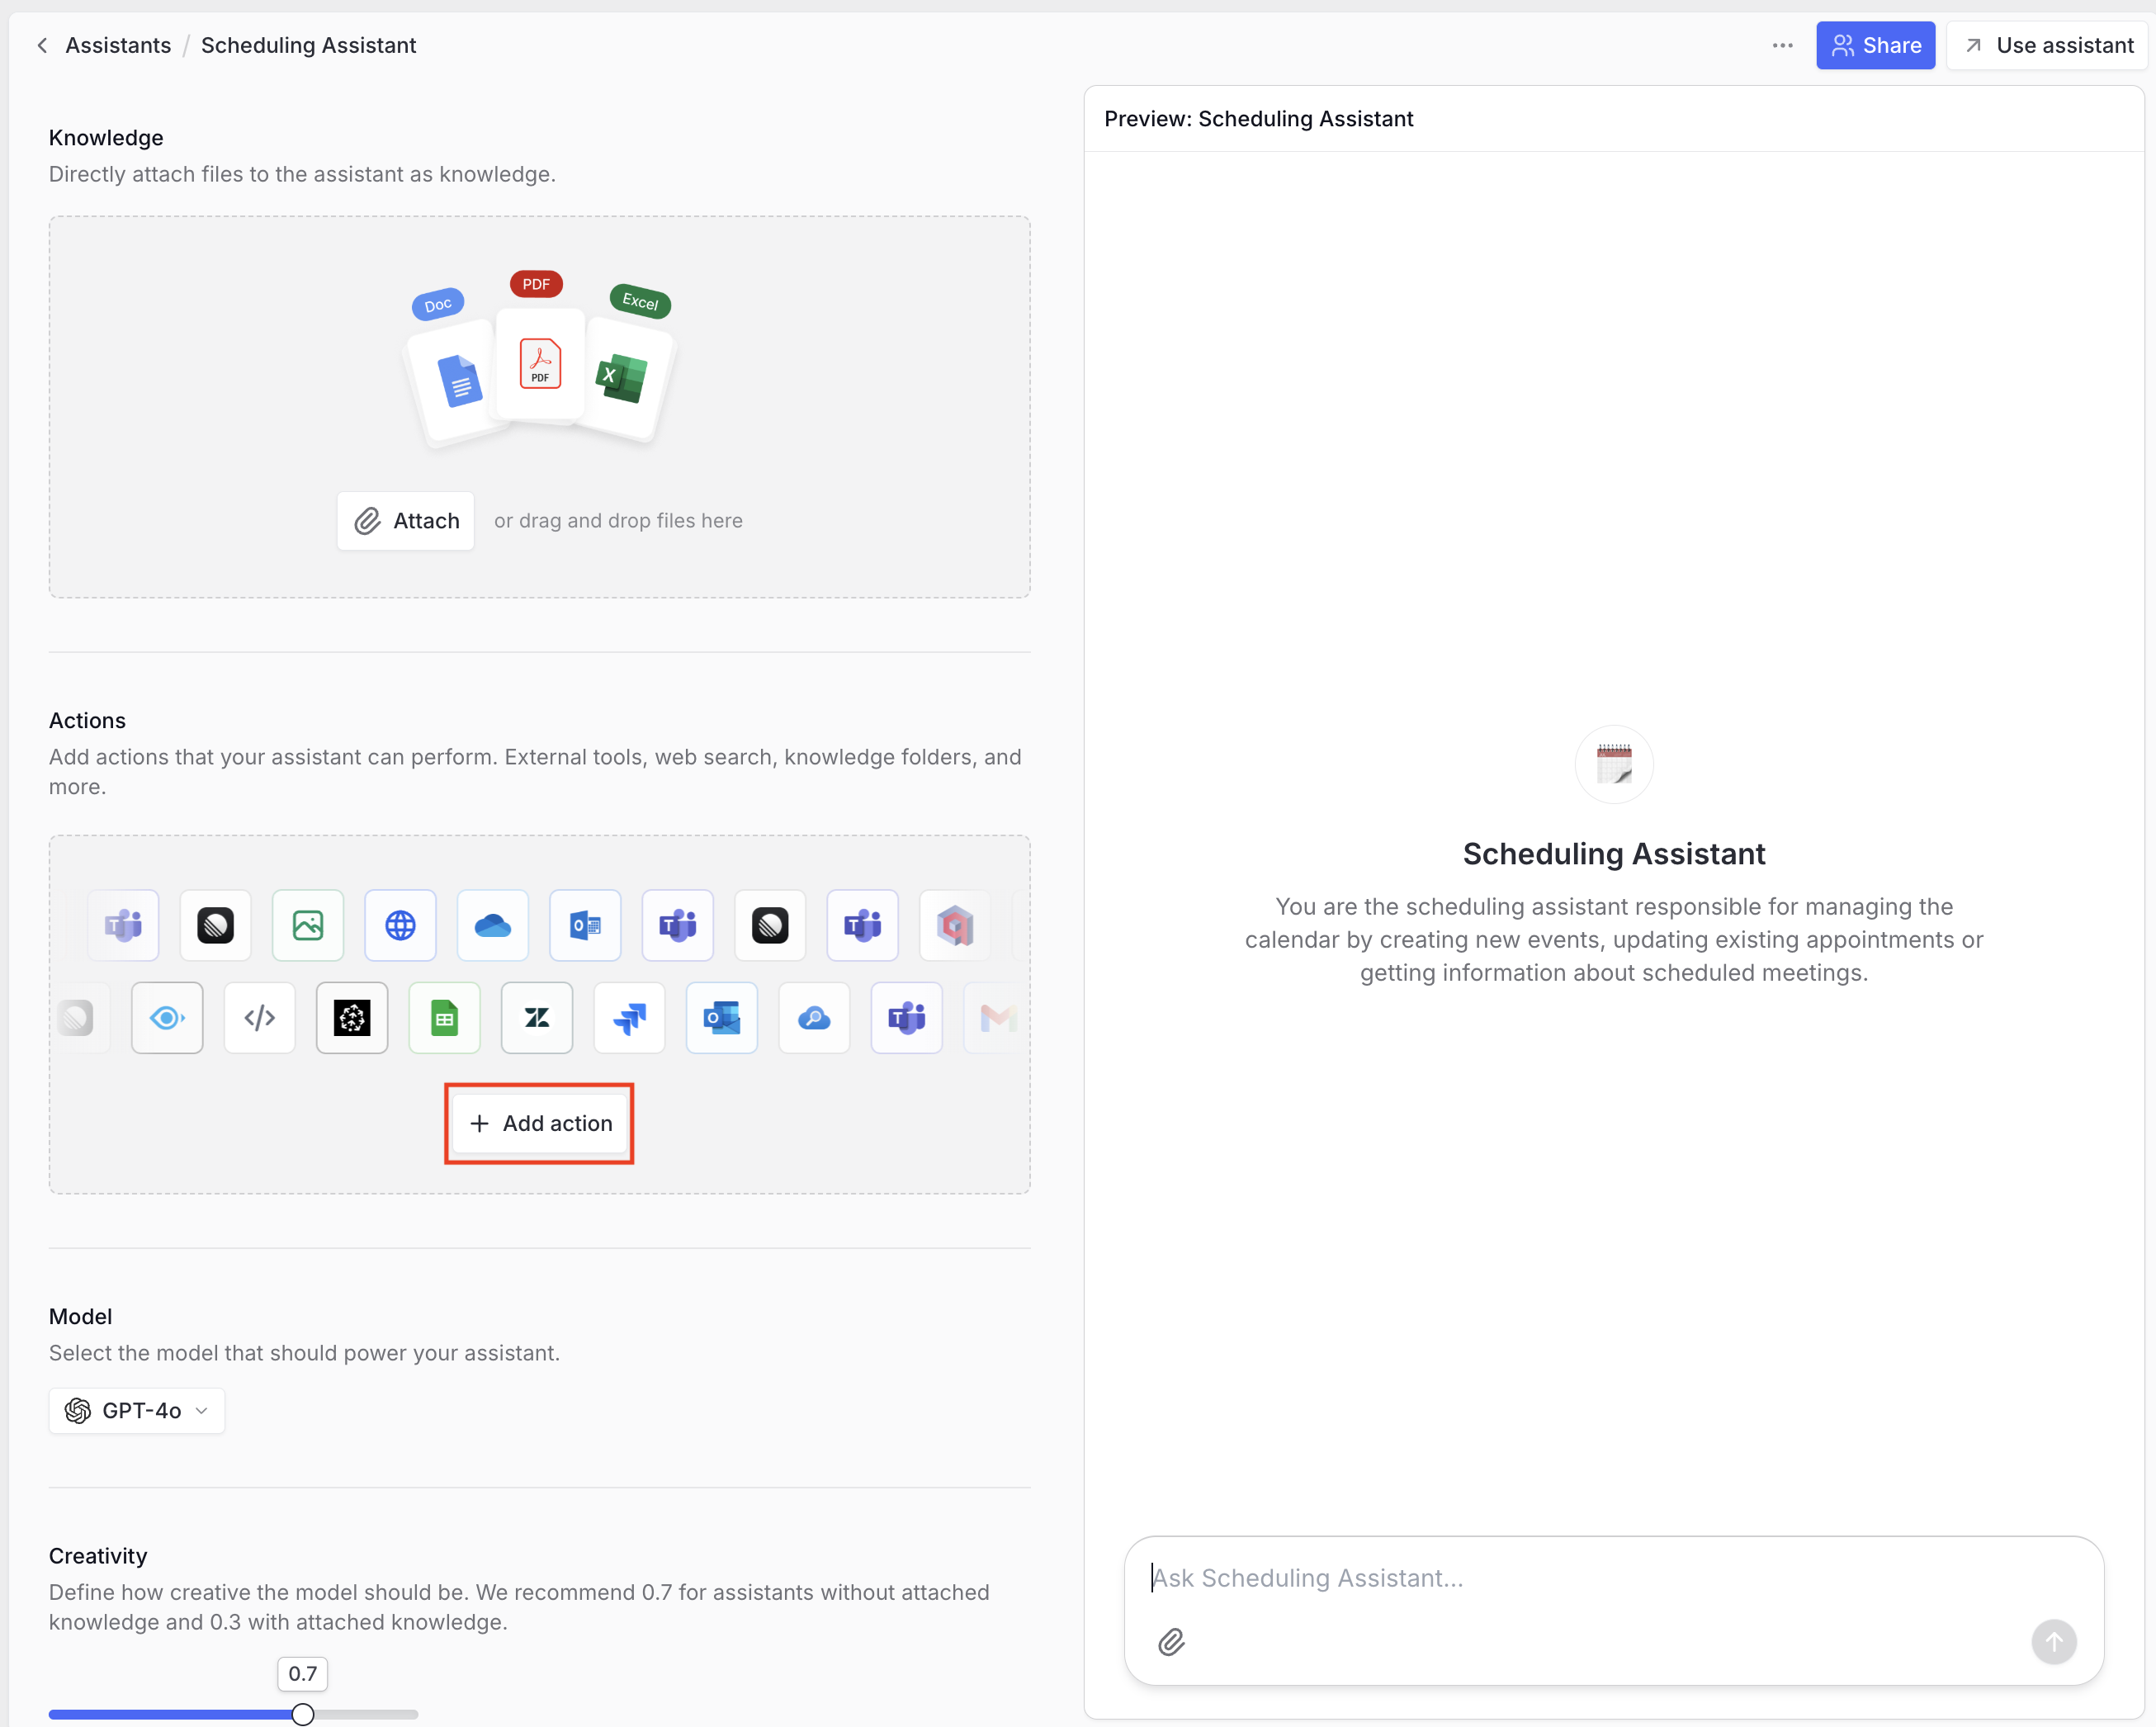
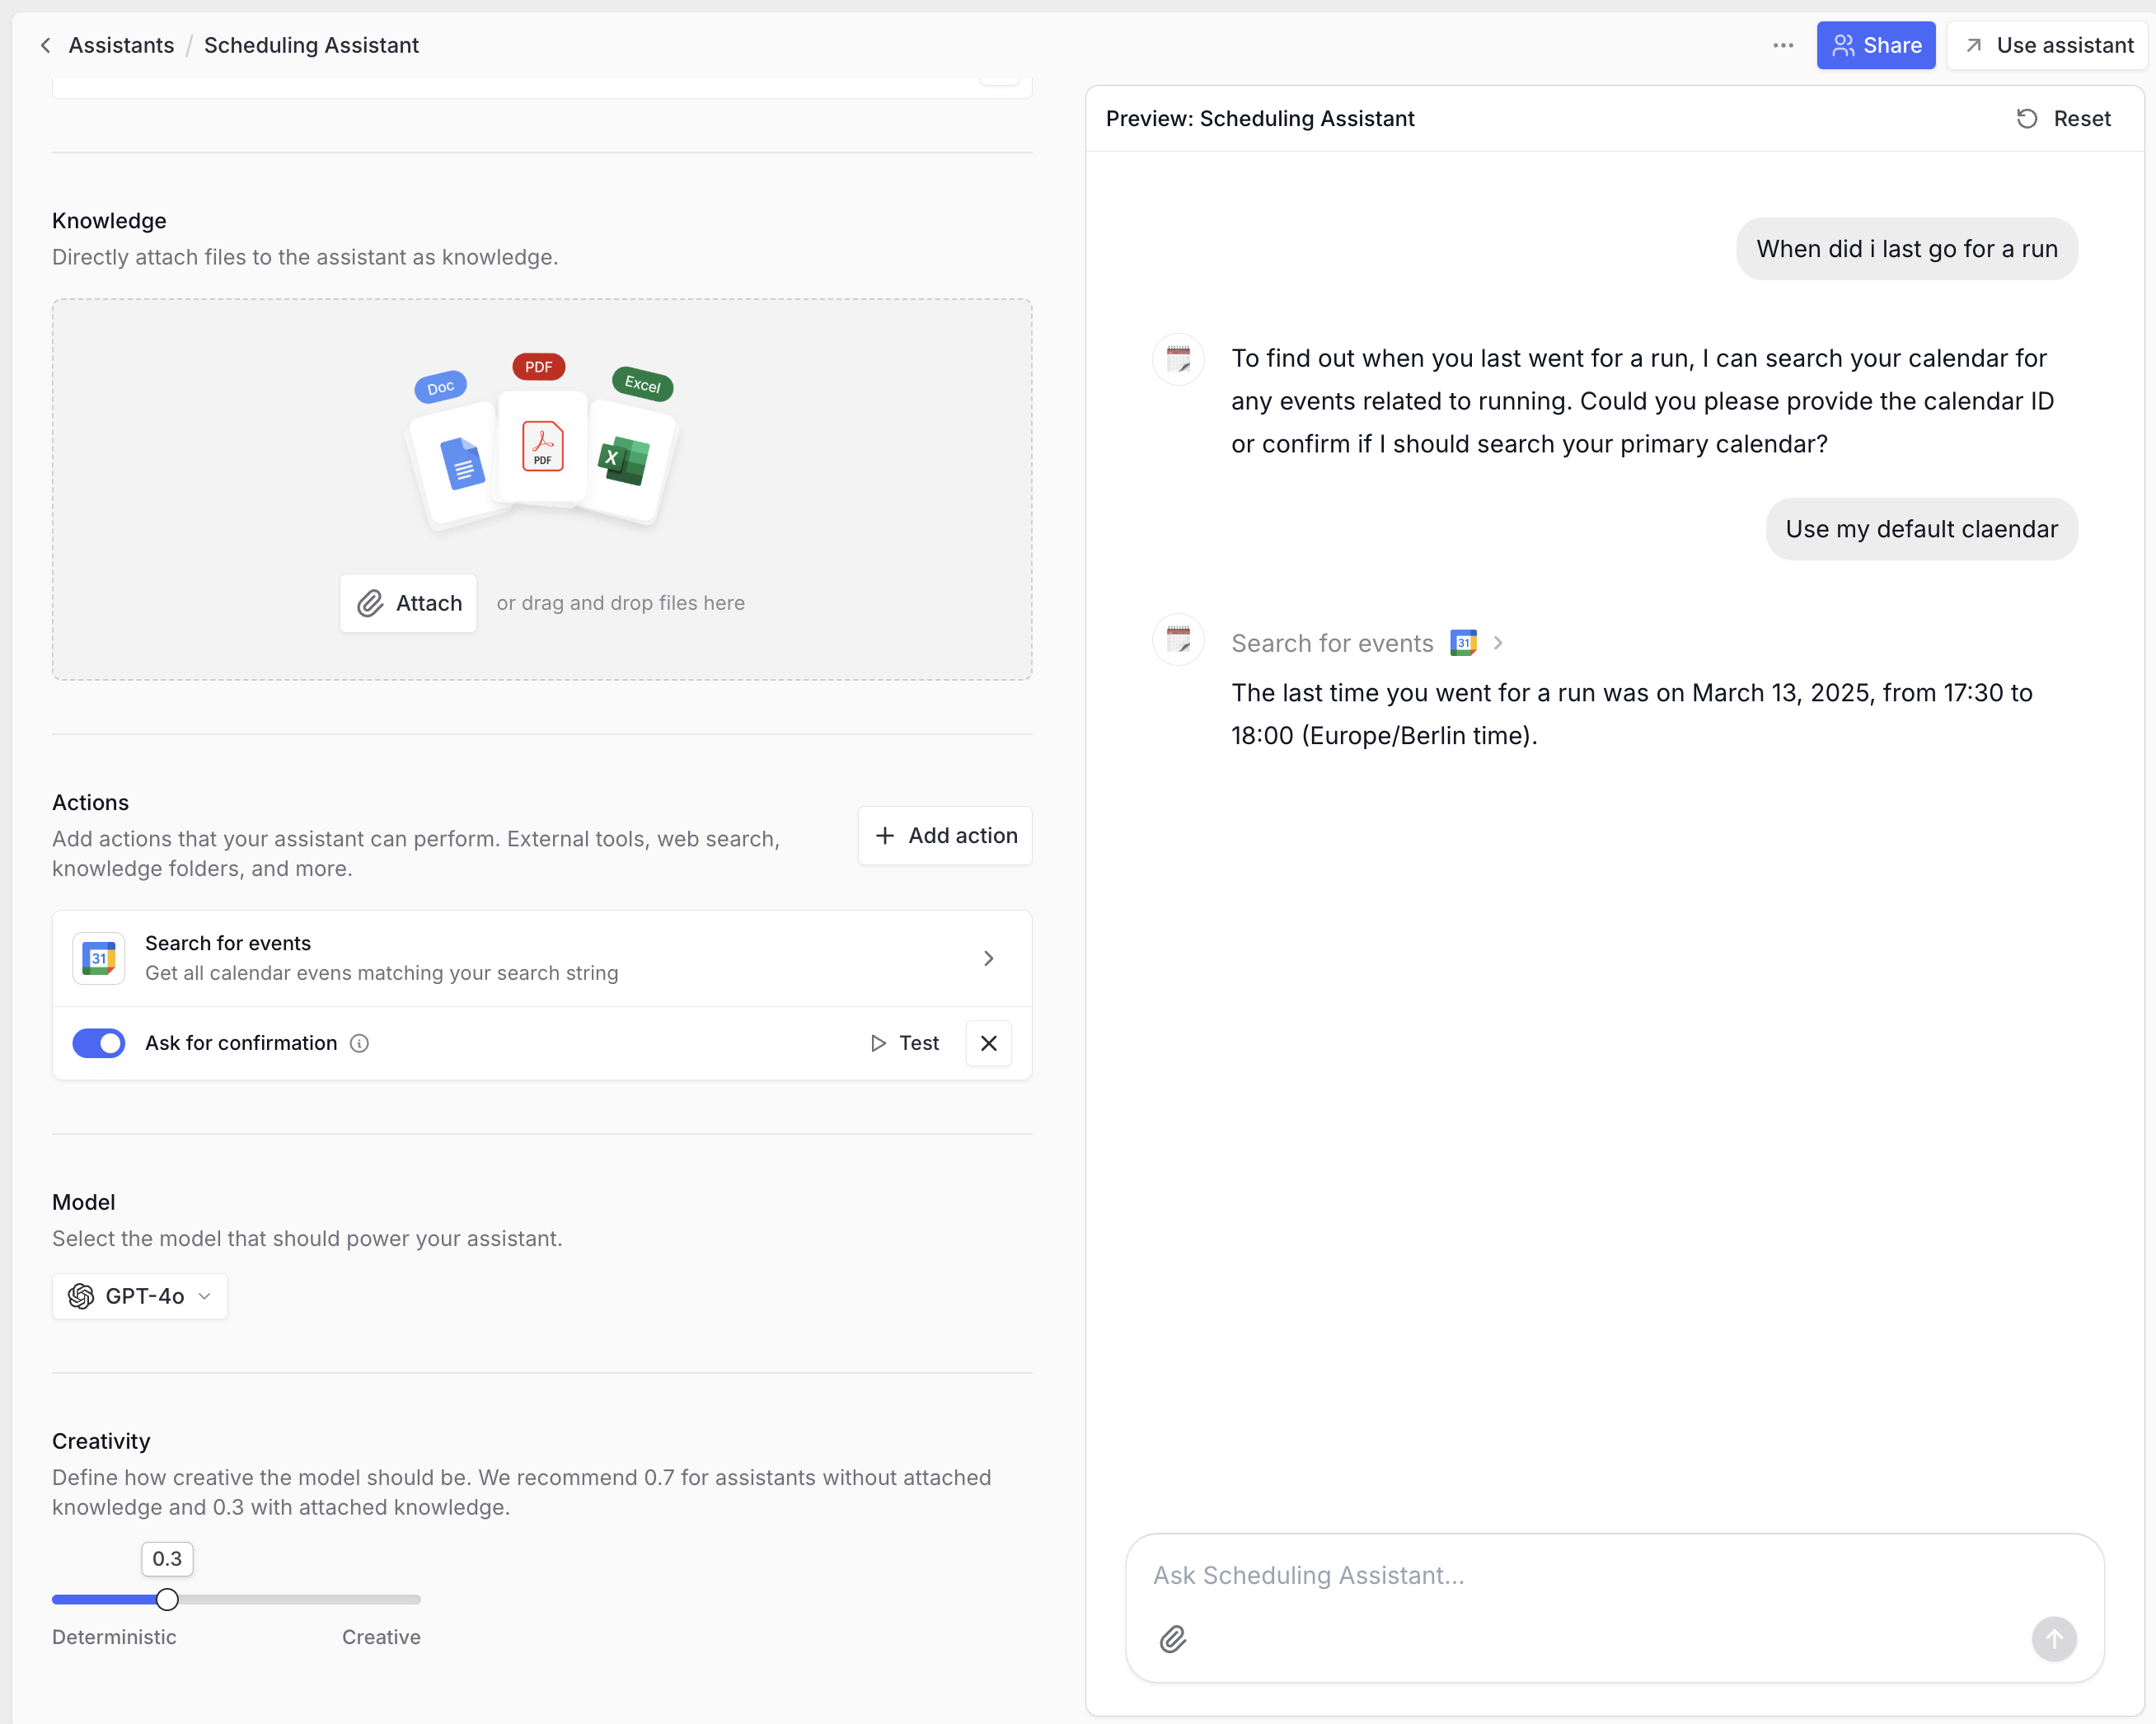
Using actions
Now you can use integrations within your agent. The agent will trigger actions automatically based on conversation context. If an action requires confirmation, you’ll see the specific request with input parameters. Pressing “Confirm” triggers the action.
Usability recommendations
Adding actions to an agent
Be generous when adding actions to an agent. Some integrations have context-gathering actions like HubSpot’s Get deal context, which retrieves internal IDs for pipelines and stages. This enables smoother use of actions like Create deal or Update deal because you can ask the agent to get all existing pipelines and specify in natural language which one to use, rather than looking up IDs in your HubSpot settings.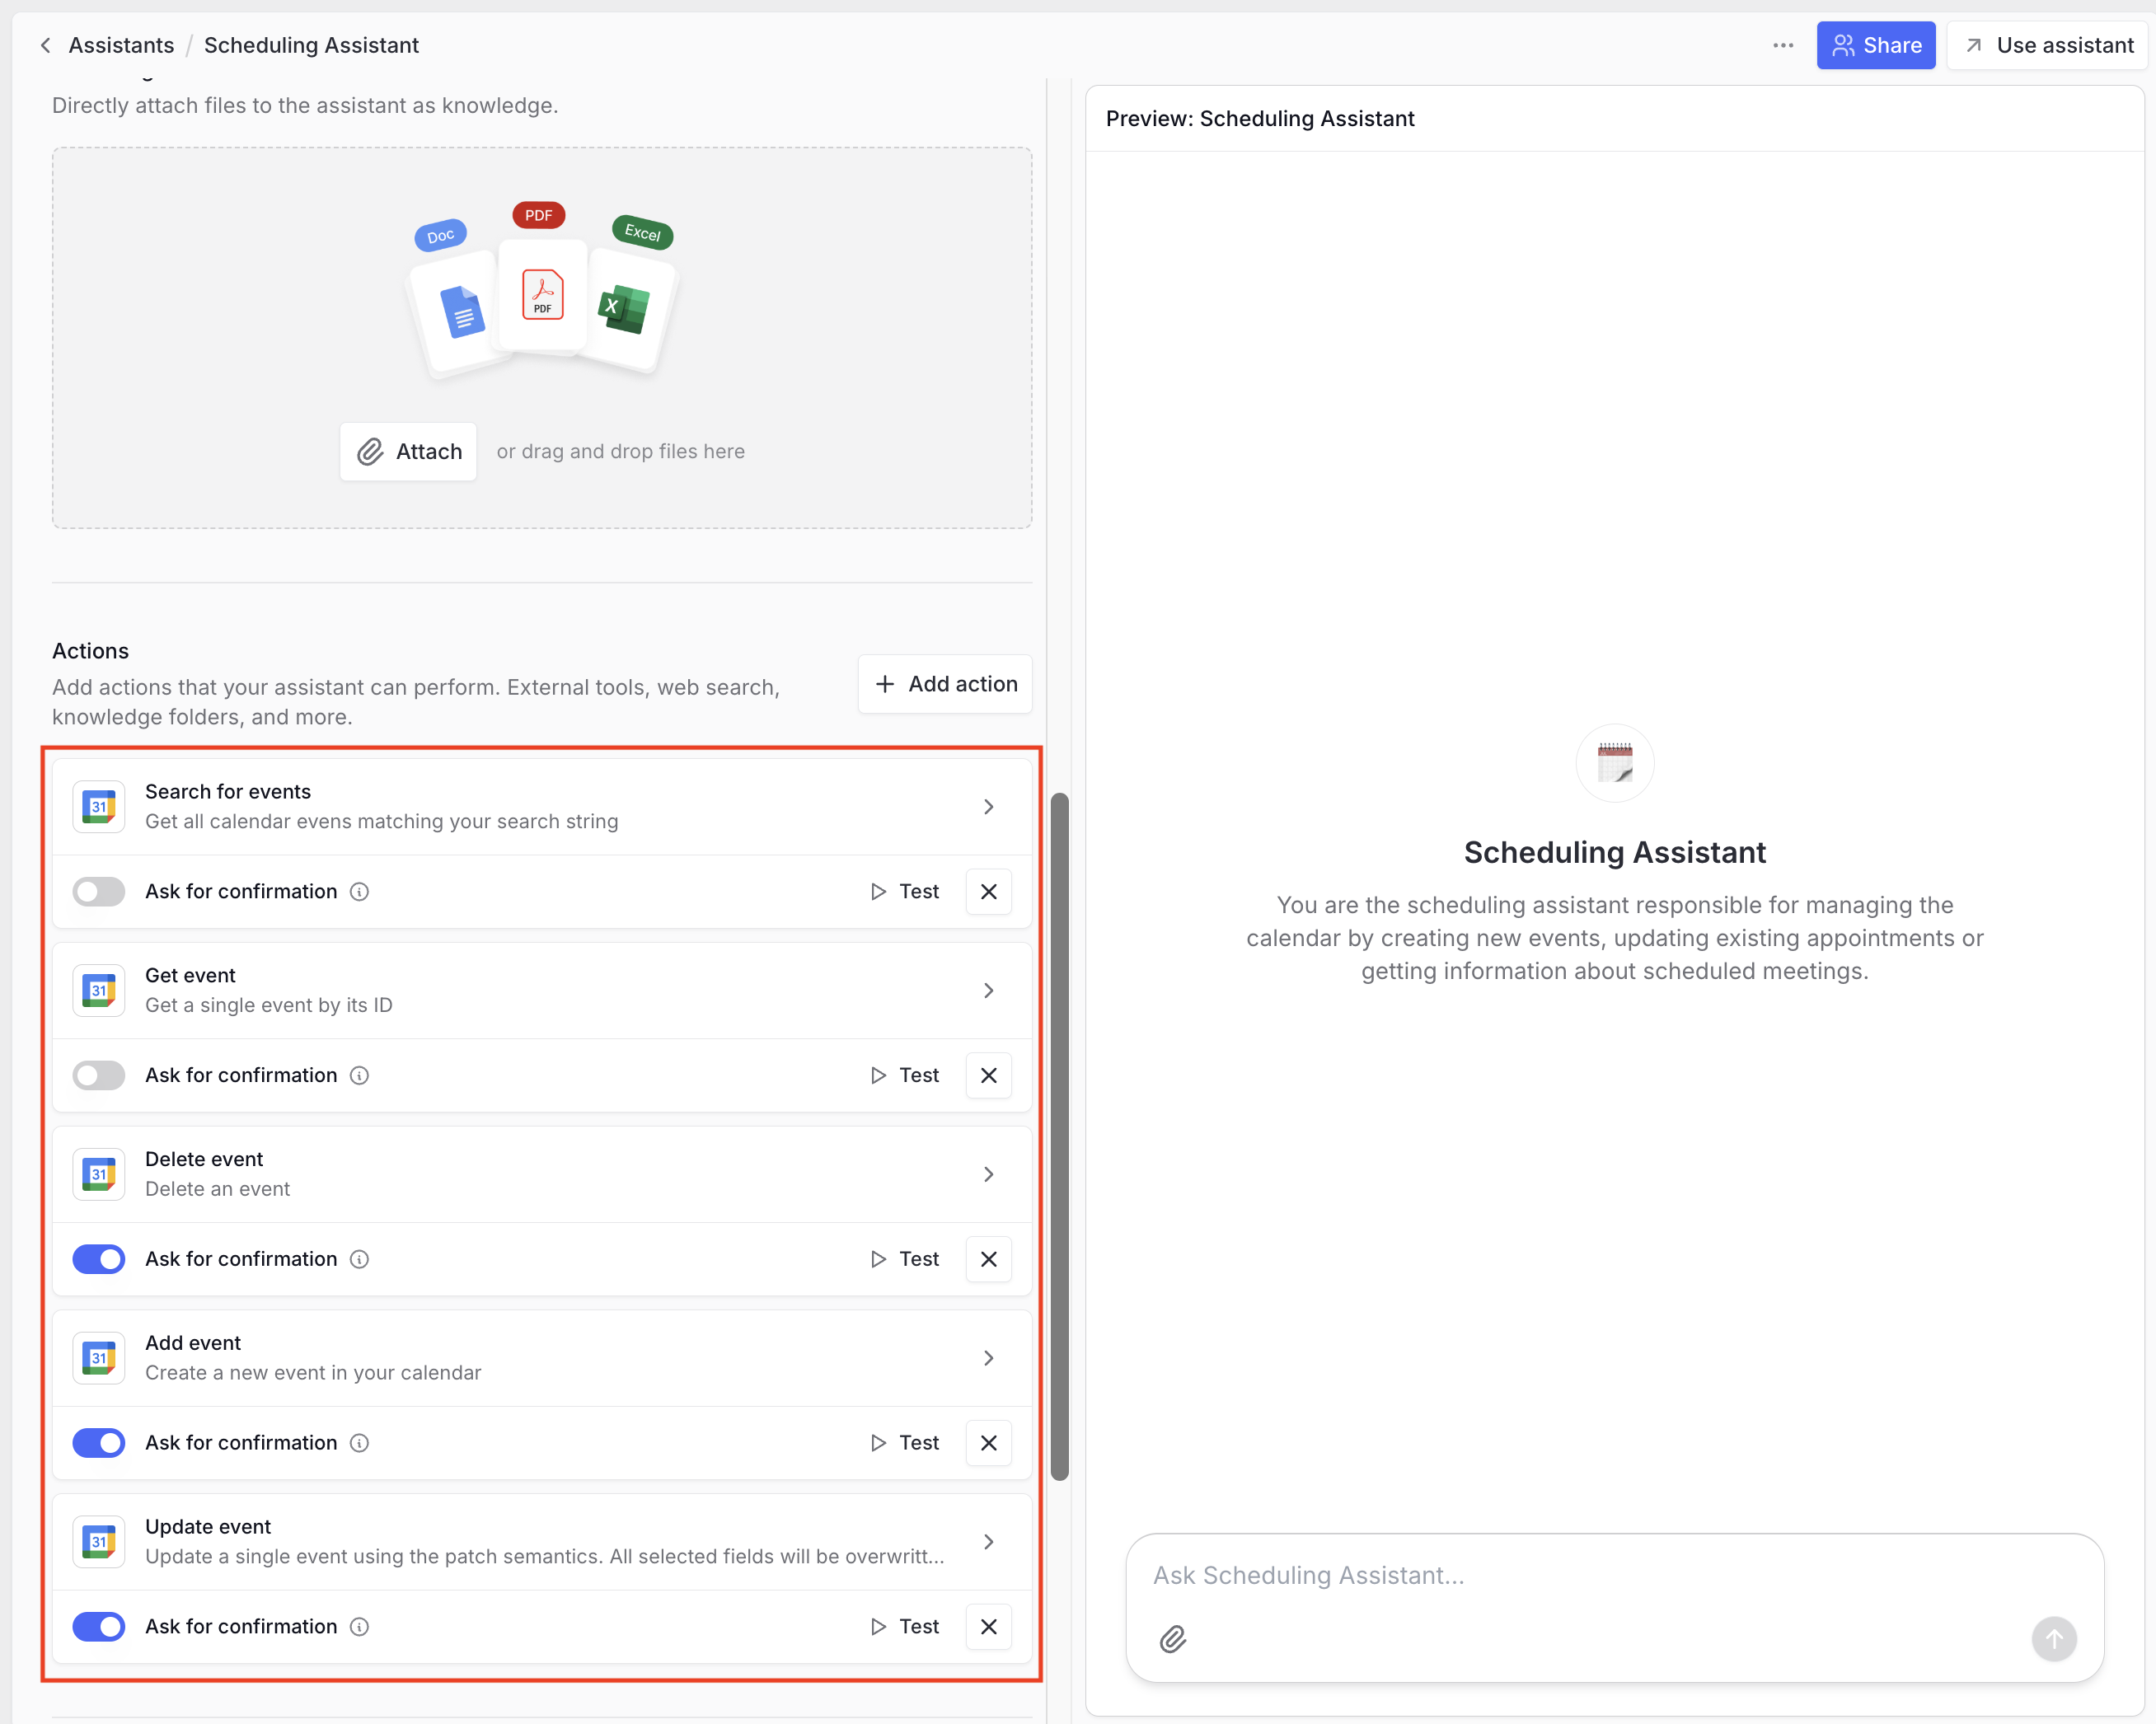
Actions requiring confirmation
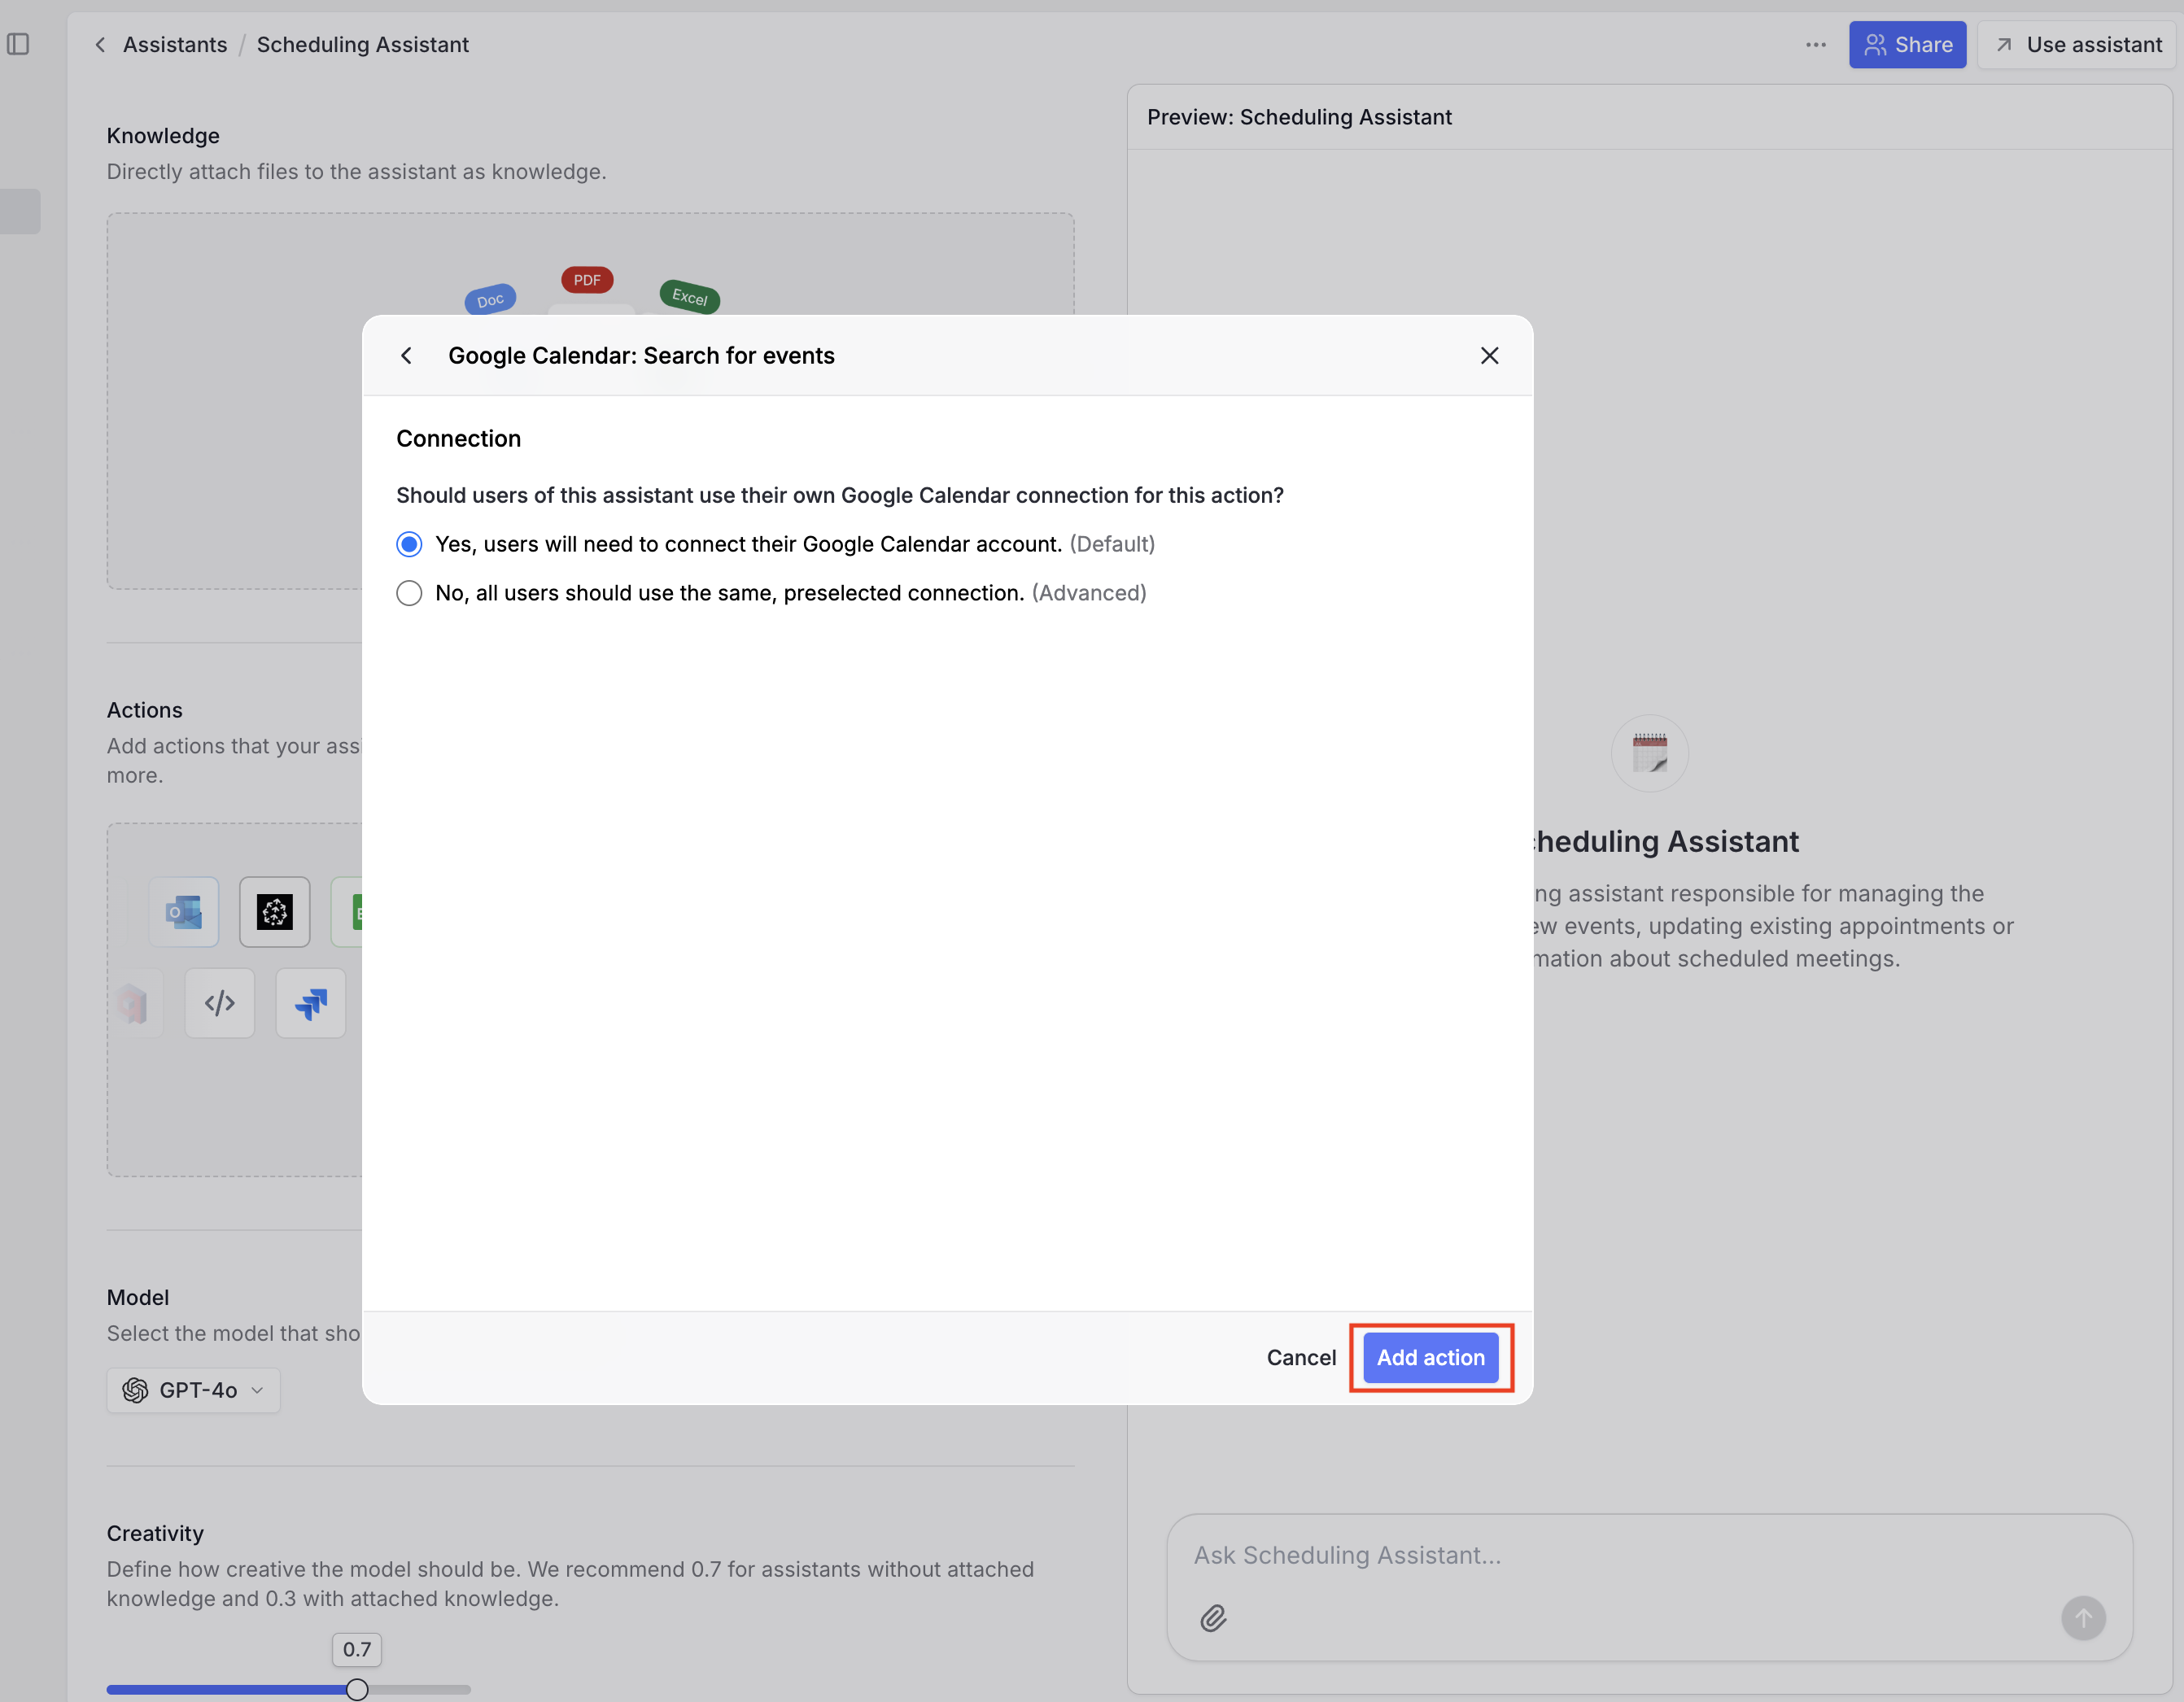
By default, all actions require confirmation. Here’s how we recommend configuring this based on the action type: No confirmation needed: Actions that collect, download, search, or read information. This allows faster information gathering with minimal risk. Confirmation recommended: Actions that create, update, or delete objects. This lets you verify the model-generated parameters before execution.FAQ
When should I use integrations?
When should I use integrations?
Use integrations when Langdock should access or act on information in external tools. Integrations are useful for retrieving company data, triggering actions, updating records, or connecting agents and workflows to your tool stack.
What should I check if an integration does not work as expected?
What should I check if an integration does not work as expected?
Check the connection, permissions, OAuth scopes, enabled actions, and whether the connected account can access the requested resource in the external tool. If the integration works for one user but not another, compare their permissions.