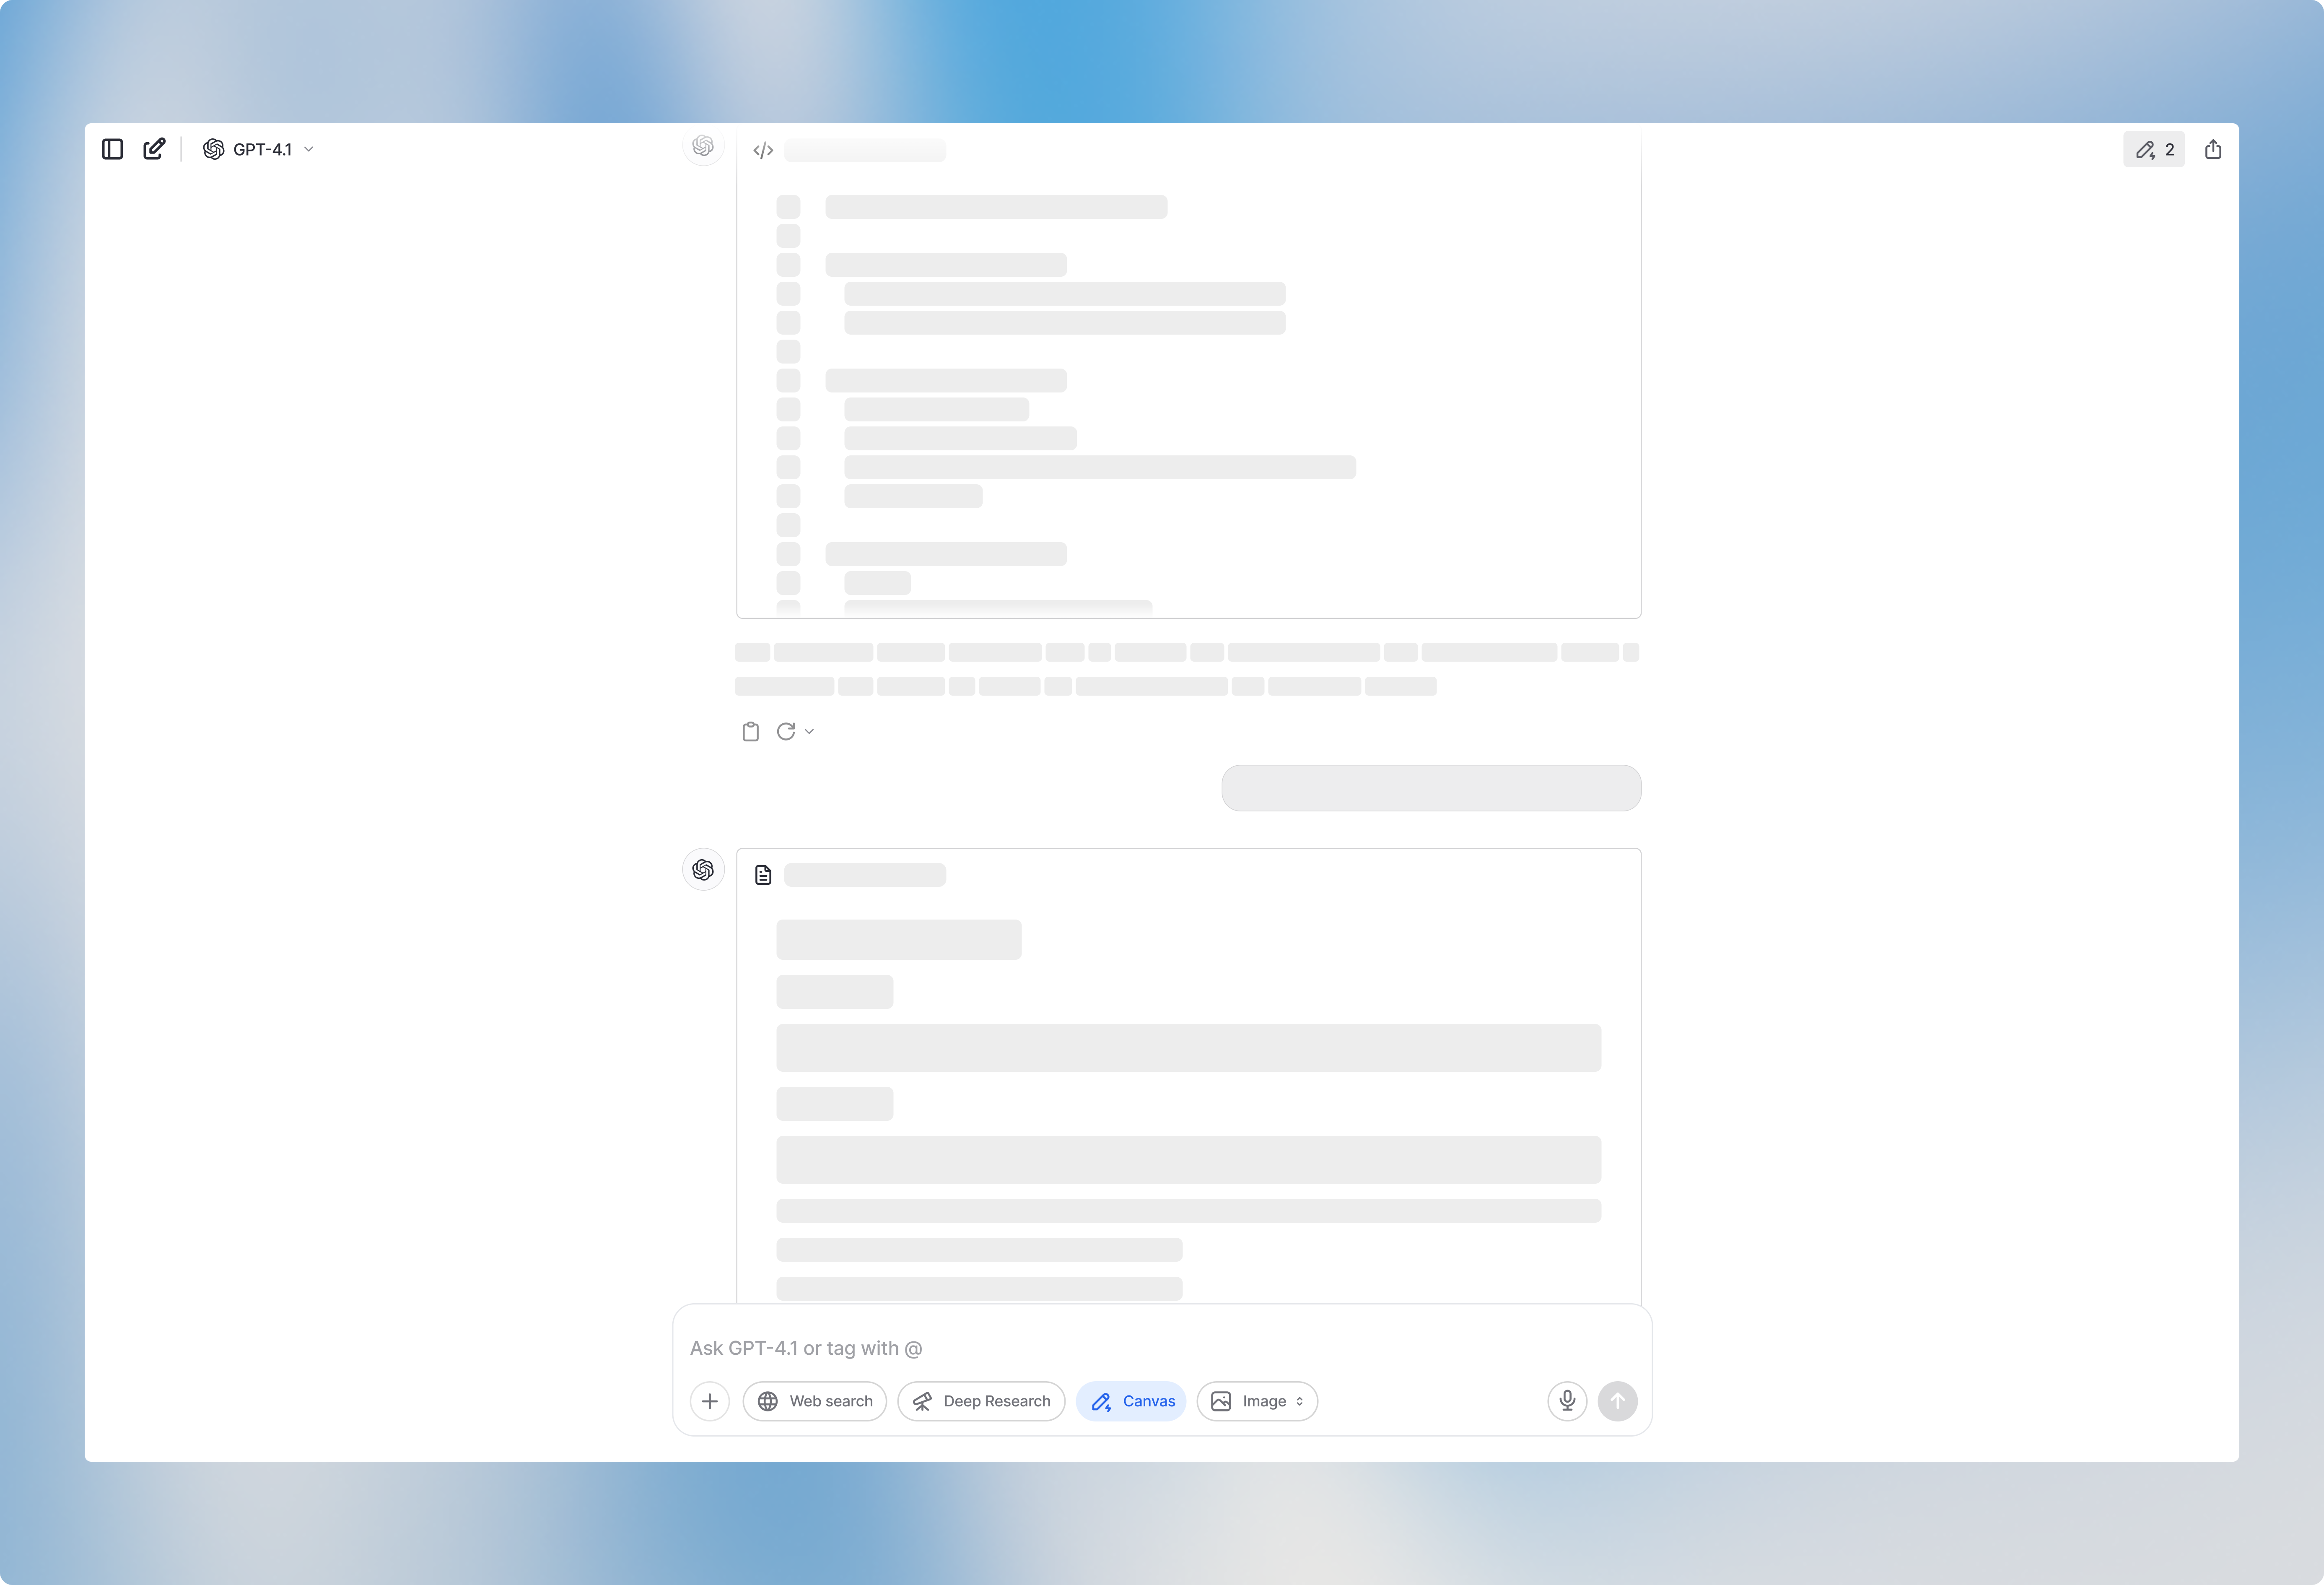
Canvas gives you a dedicated editing screen alongside your chat where you can iterate on code or text much more easily. This page focuses specifically on Canvas for development tasks like adding debug logs, fixing bugs, or generating new code from scratch.
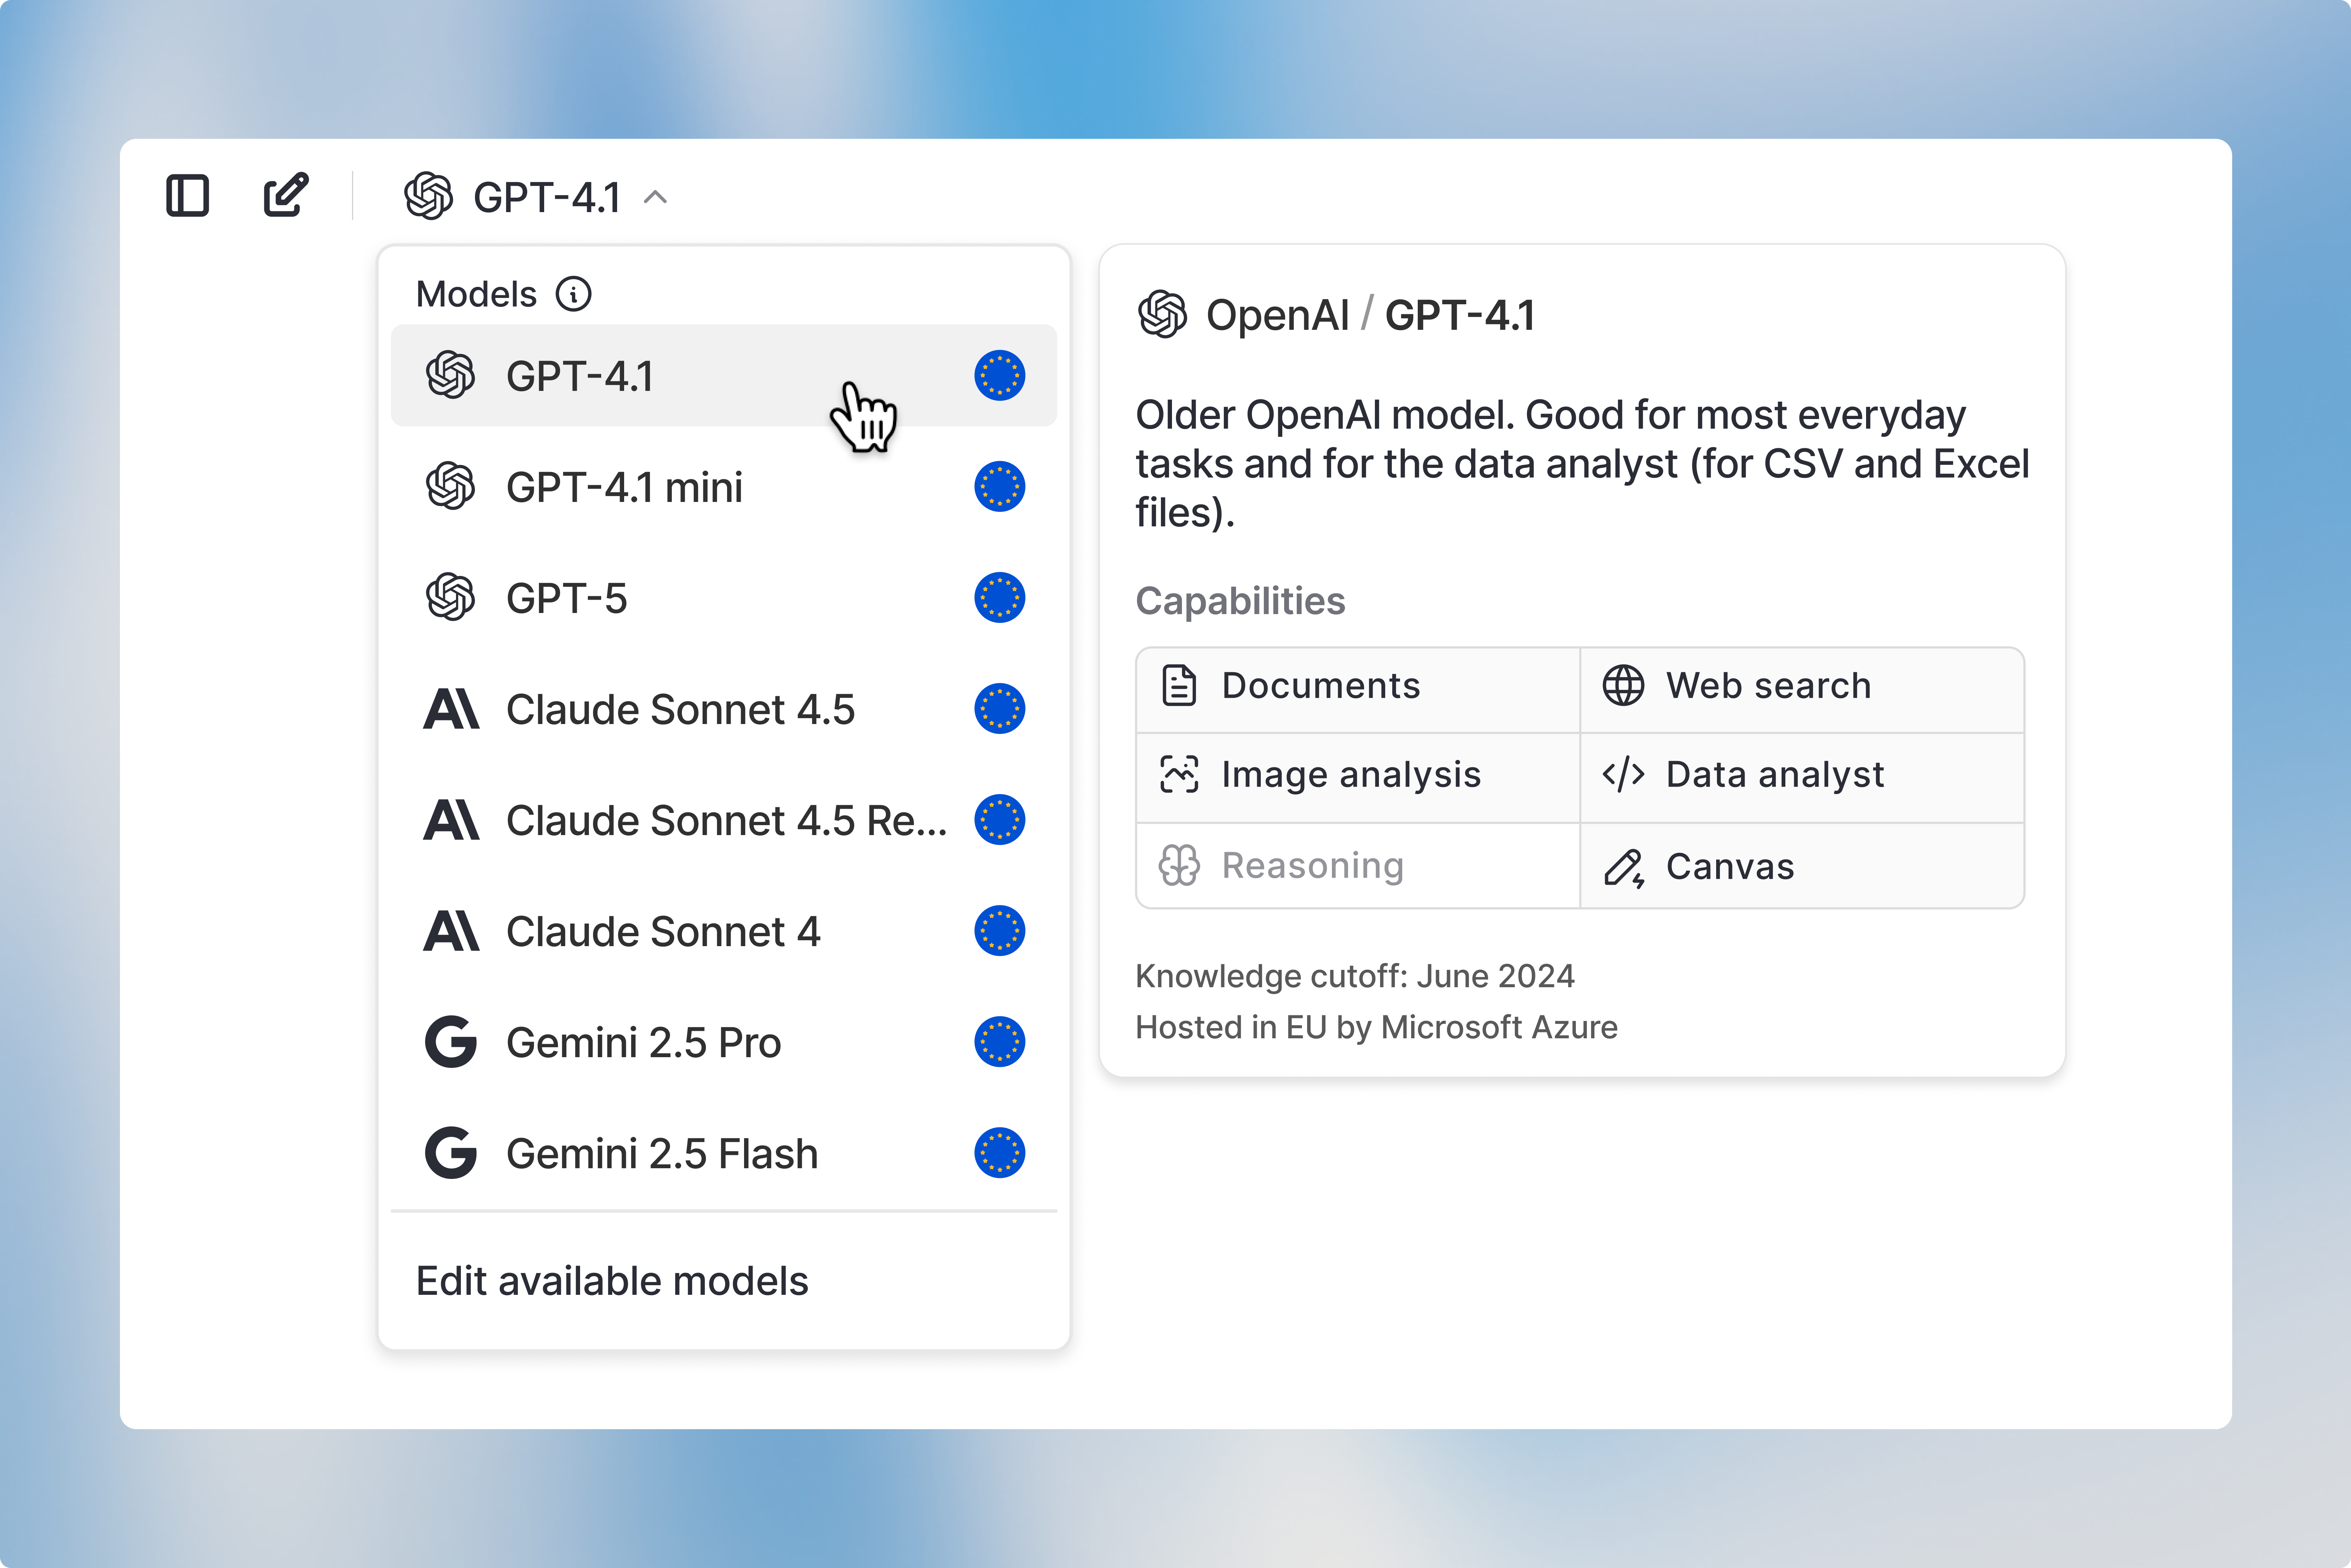
To use Canvas, open a new chat and select a model that supports Canvas. You’ll see Canvas availability indicated by icons in the model selector if the Canvas icon is greyed out, that model doesn’t support Canvas.
Canvas works best with GPT-4.1 at the moment.
When using models that support Canvas, activate it by clicking the Canvas button in the input bar at the bottom of your screen. You can also use keyboard shortcuts: ⌥+C (macOS) or Alt+C (Windows).
Once you activate Canvas, the button will highlight to confirm it’s active, and you can begin creating and editing in Canvas.
Canvas automatically opens on the right side after you send your prompt and the AI generates a response. You now have several options to continue:
You can edit the output directly in the Canvas editor on the right. You can type and modify text manually, or select specific sections to have the model reformat or rewrite just those parts.
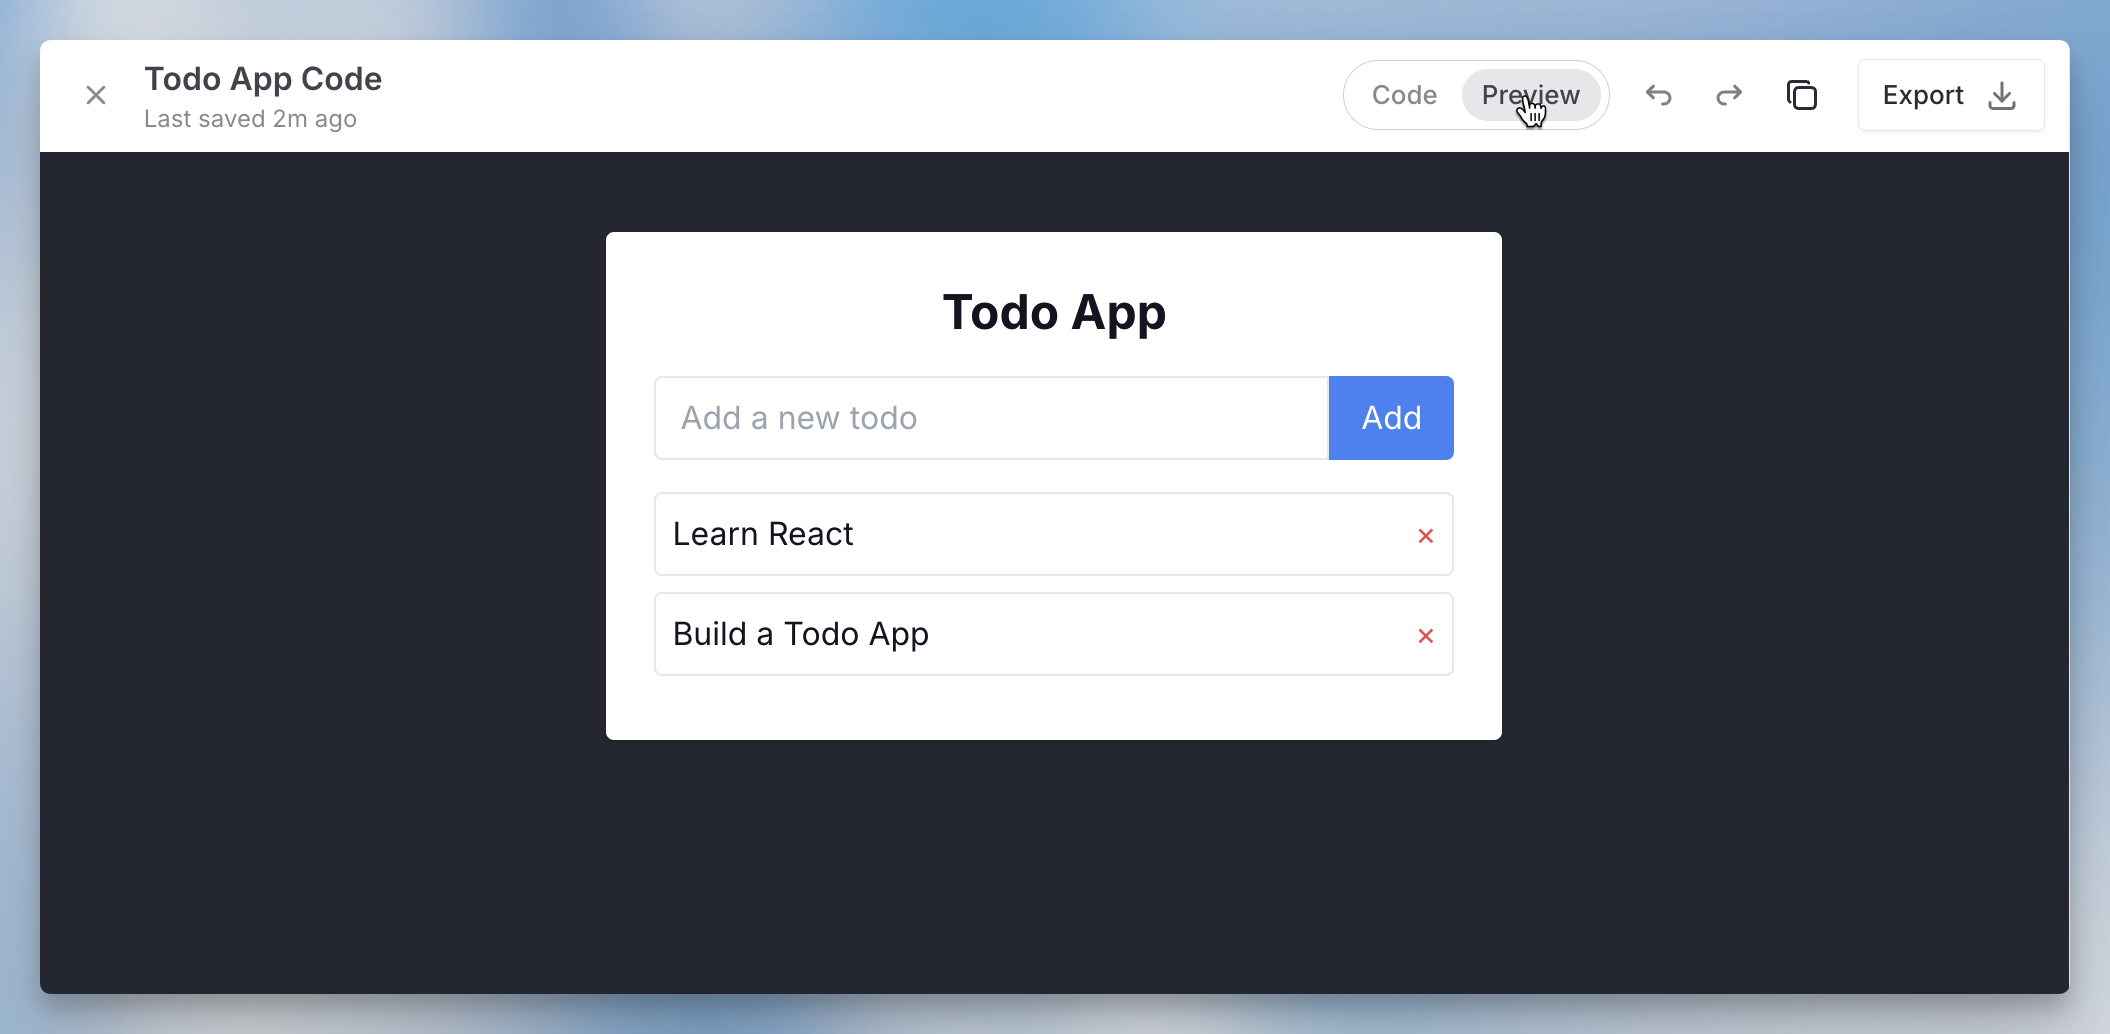
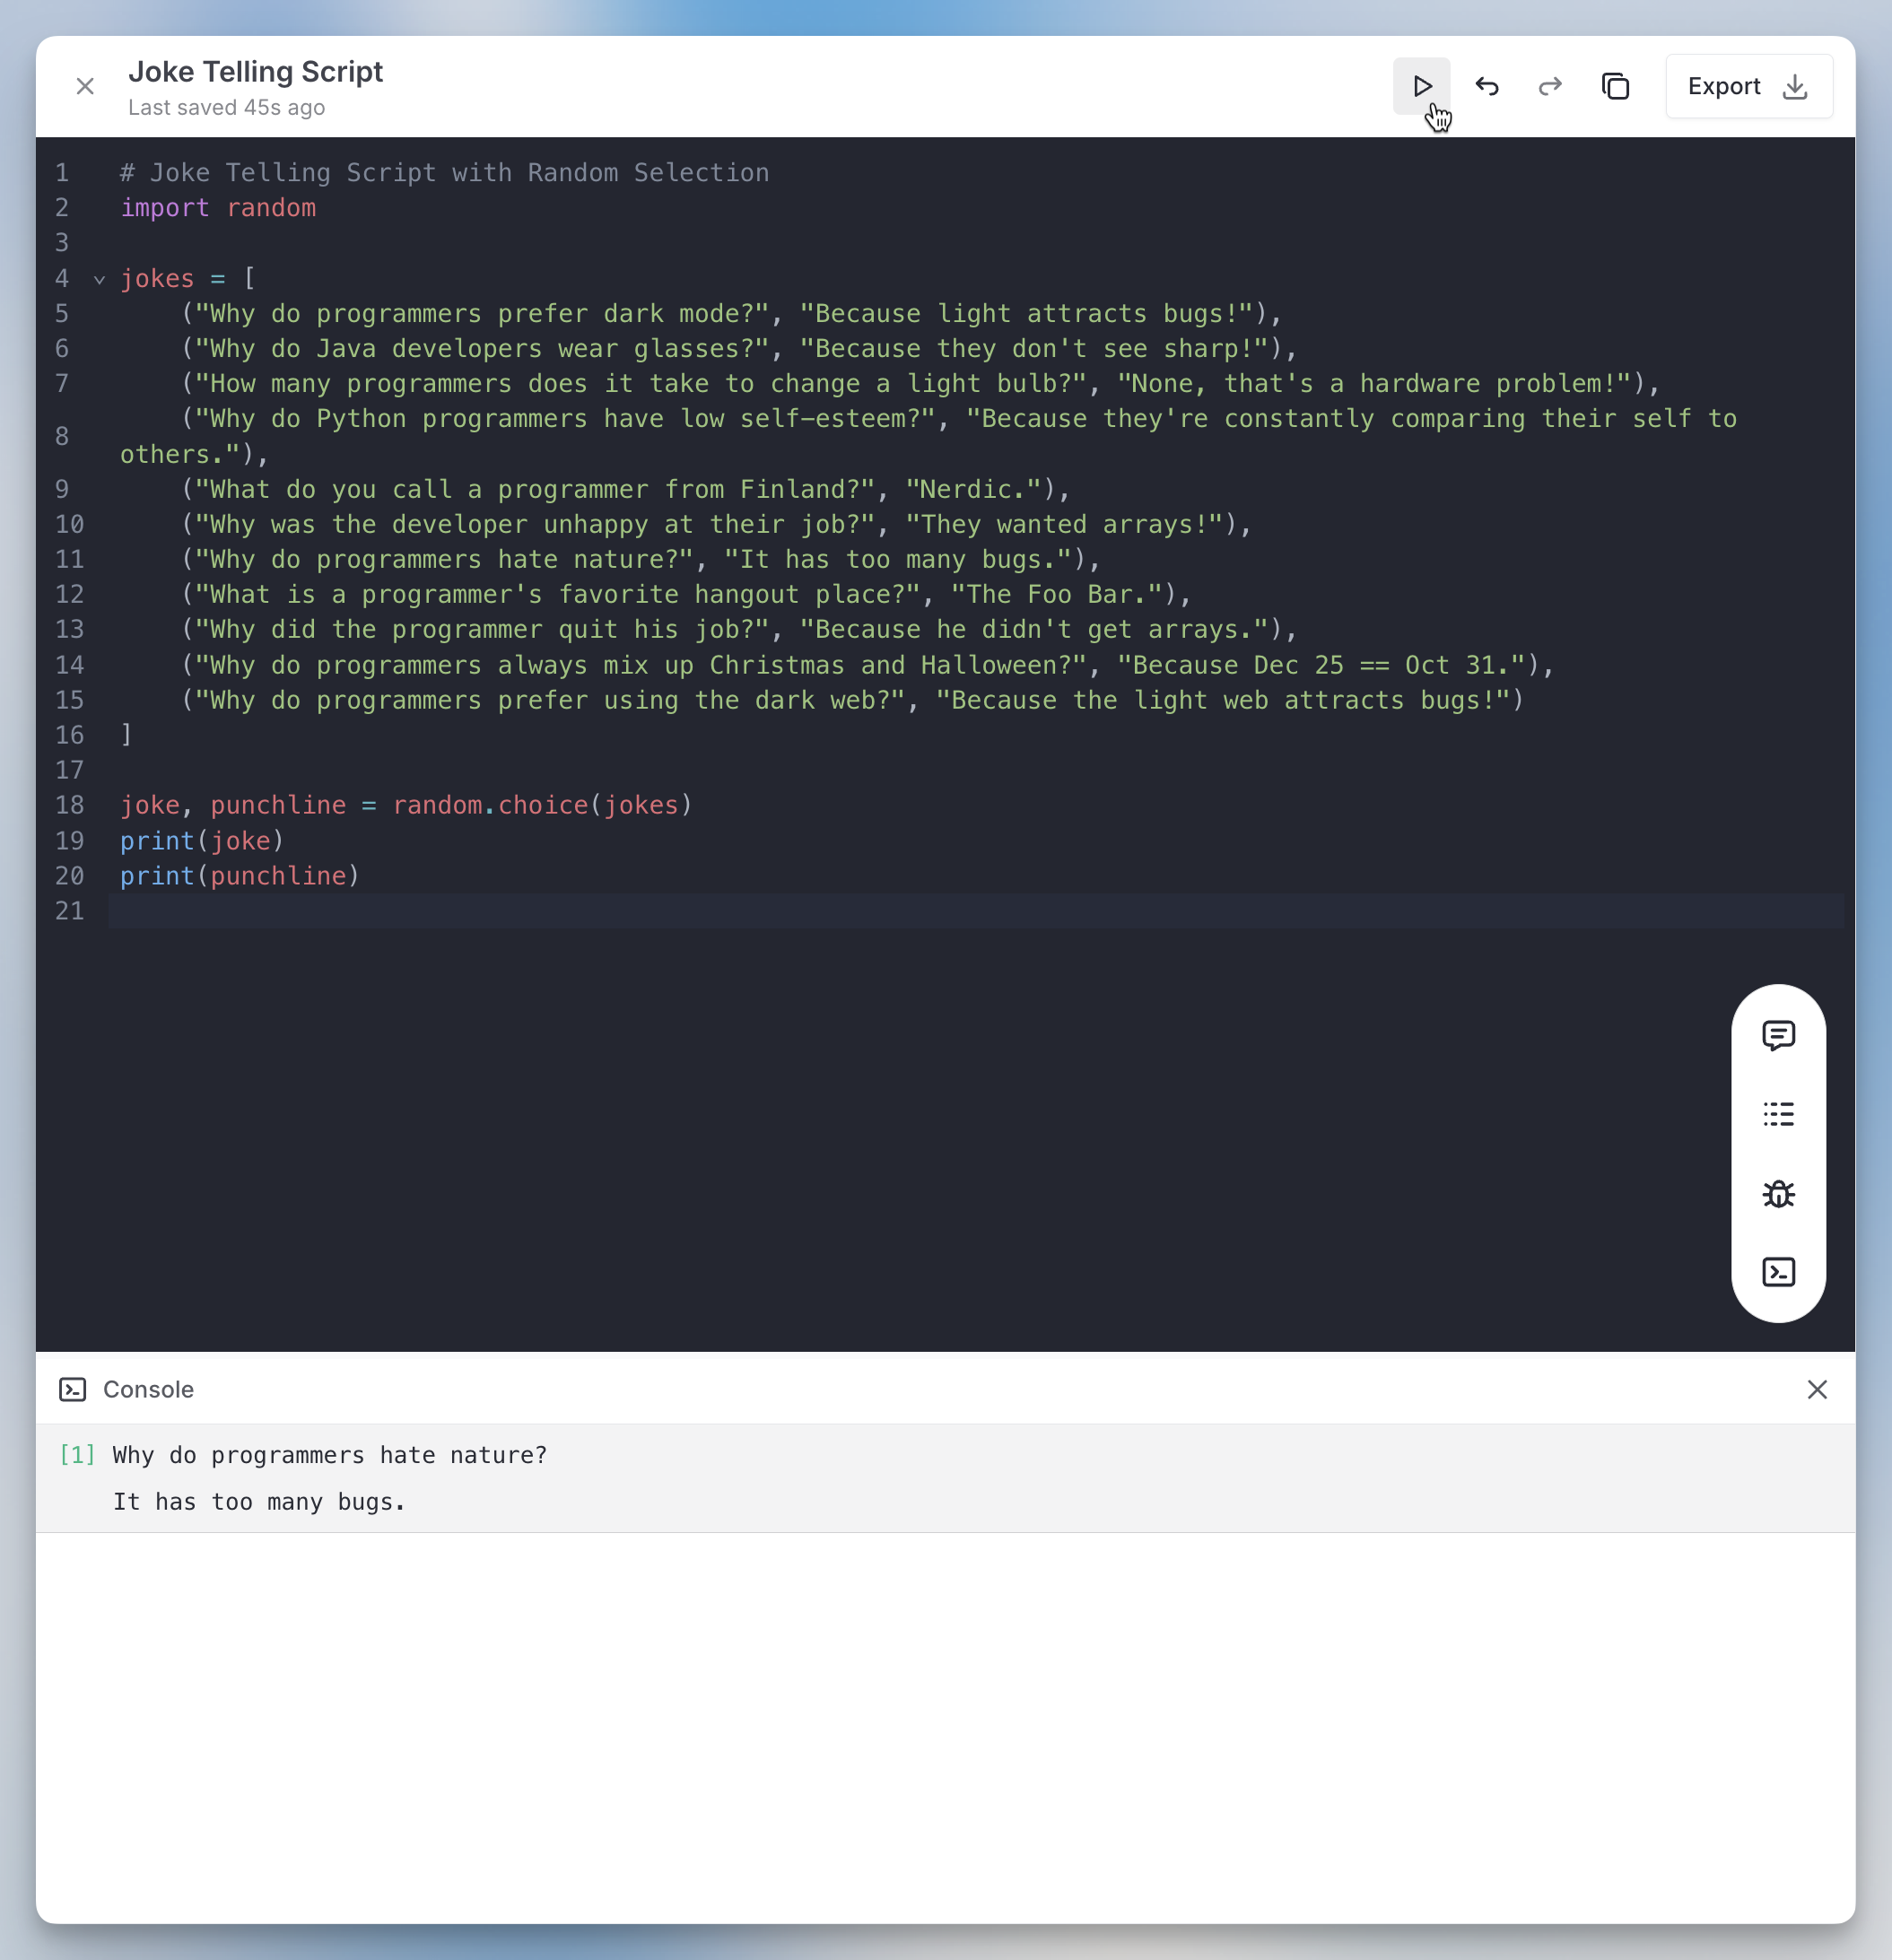
You can now execute your code directly in Canvas! This means you can preview React components or run Python scripts without switching back to your IDE.
Look for the “Run Code” button or “Preview” toggle in the top right corner. Click either one to execute your code instantly.
This works because Canvas now includes a sandboxed runtime environment that can handle both React rendering and Python execution, making your development workflow much smoother.
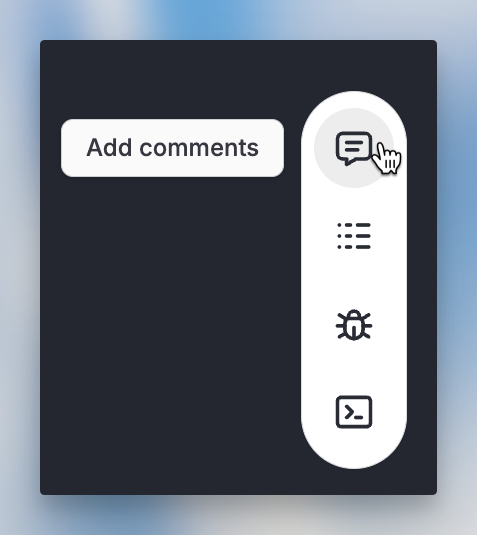
By clicking this button, the model will analyze your code structure and add inline comments explaining the logic, function purposes, and complex operations throughout your codebase.
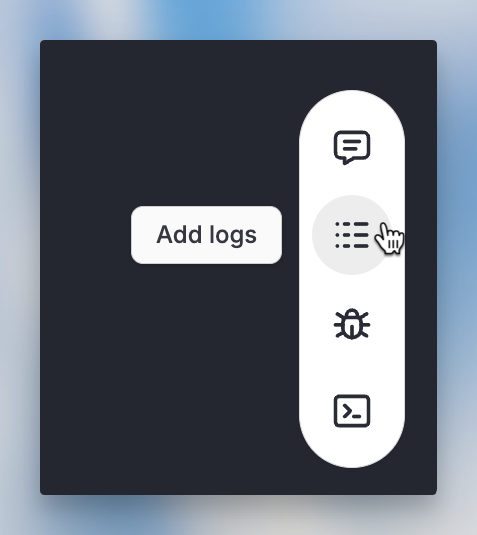
By clicking this button, the model will automatically insert console.log statements at key execution points to help you debug your code.
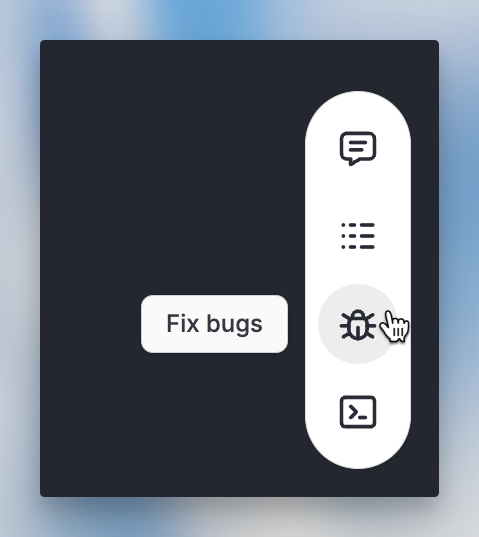
By clicking this button, the model will analyze your code for common issues (syntax errors, logic bugs, security vulnerabilities) and automatically apply fixes where possible.
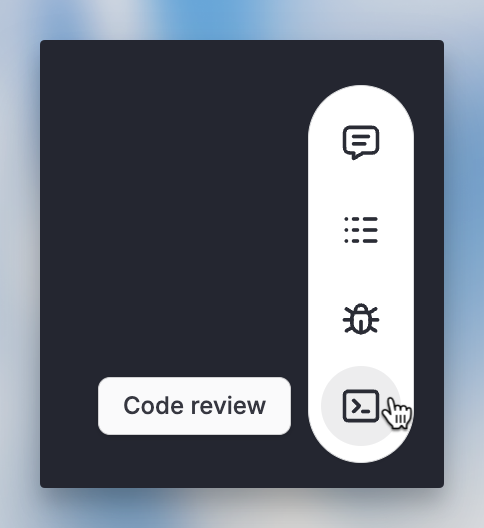
By clicking this button, the LLM will analyze your code structure, and provide specific suggestions for improvement (like refactoring opportunities, performance enhancements, or best practices).
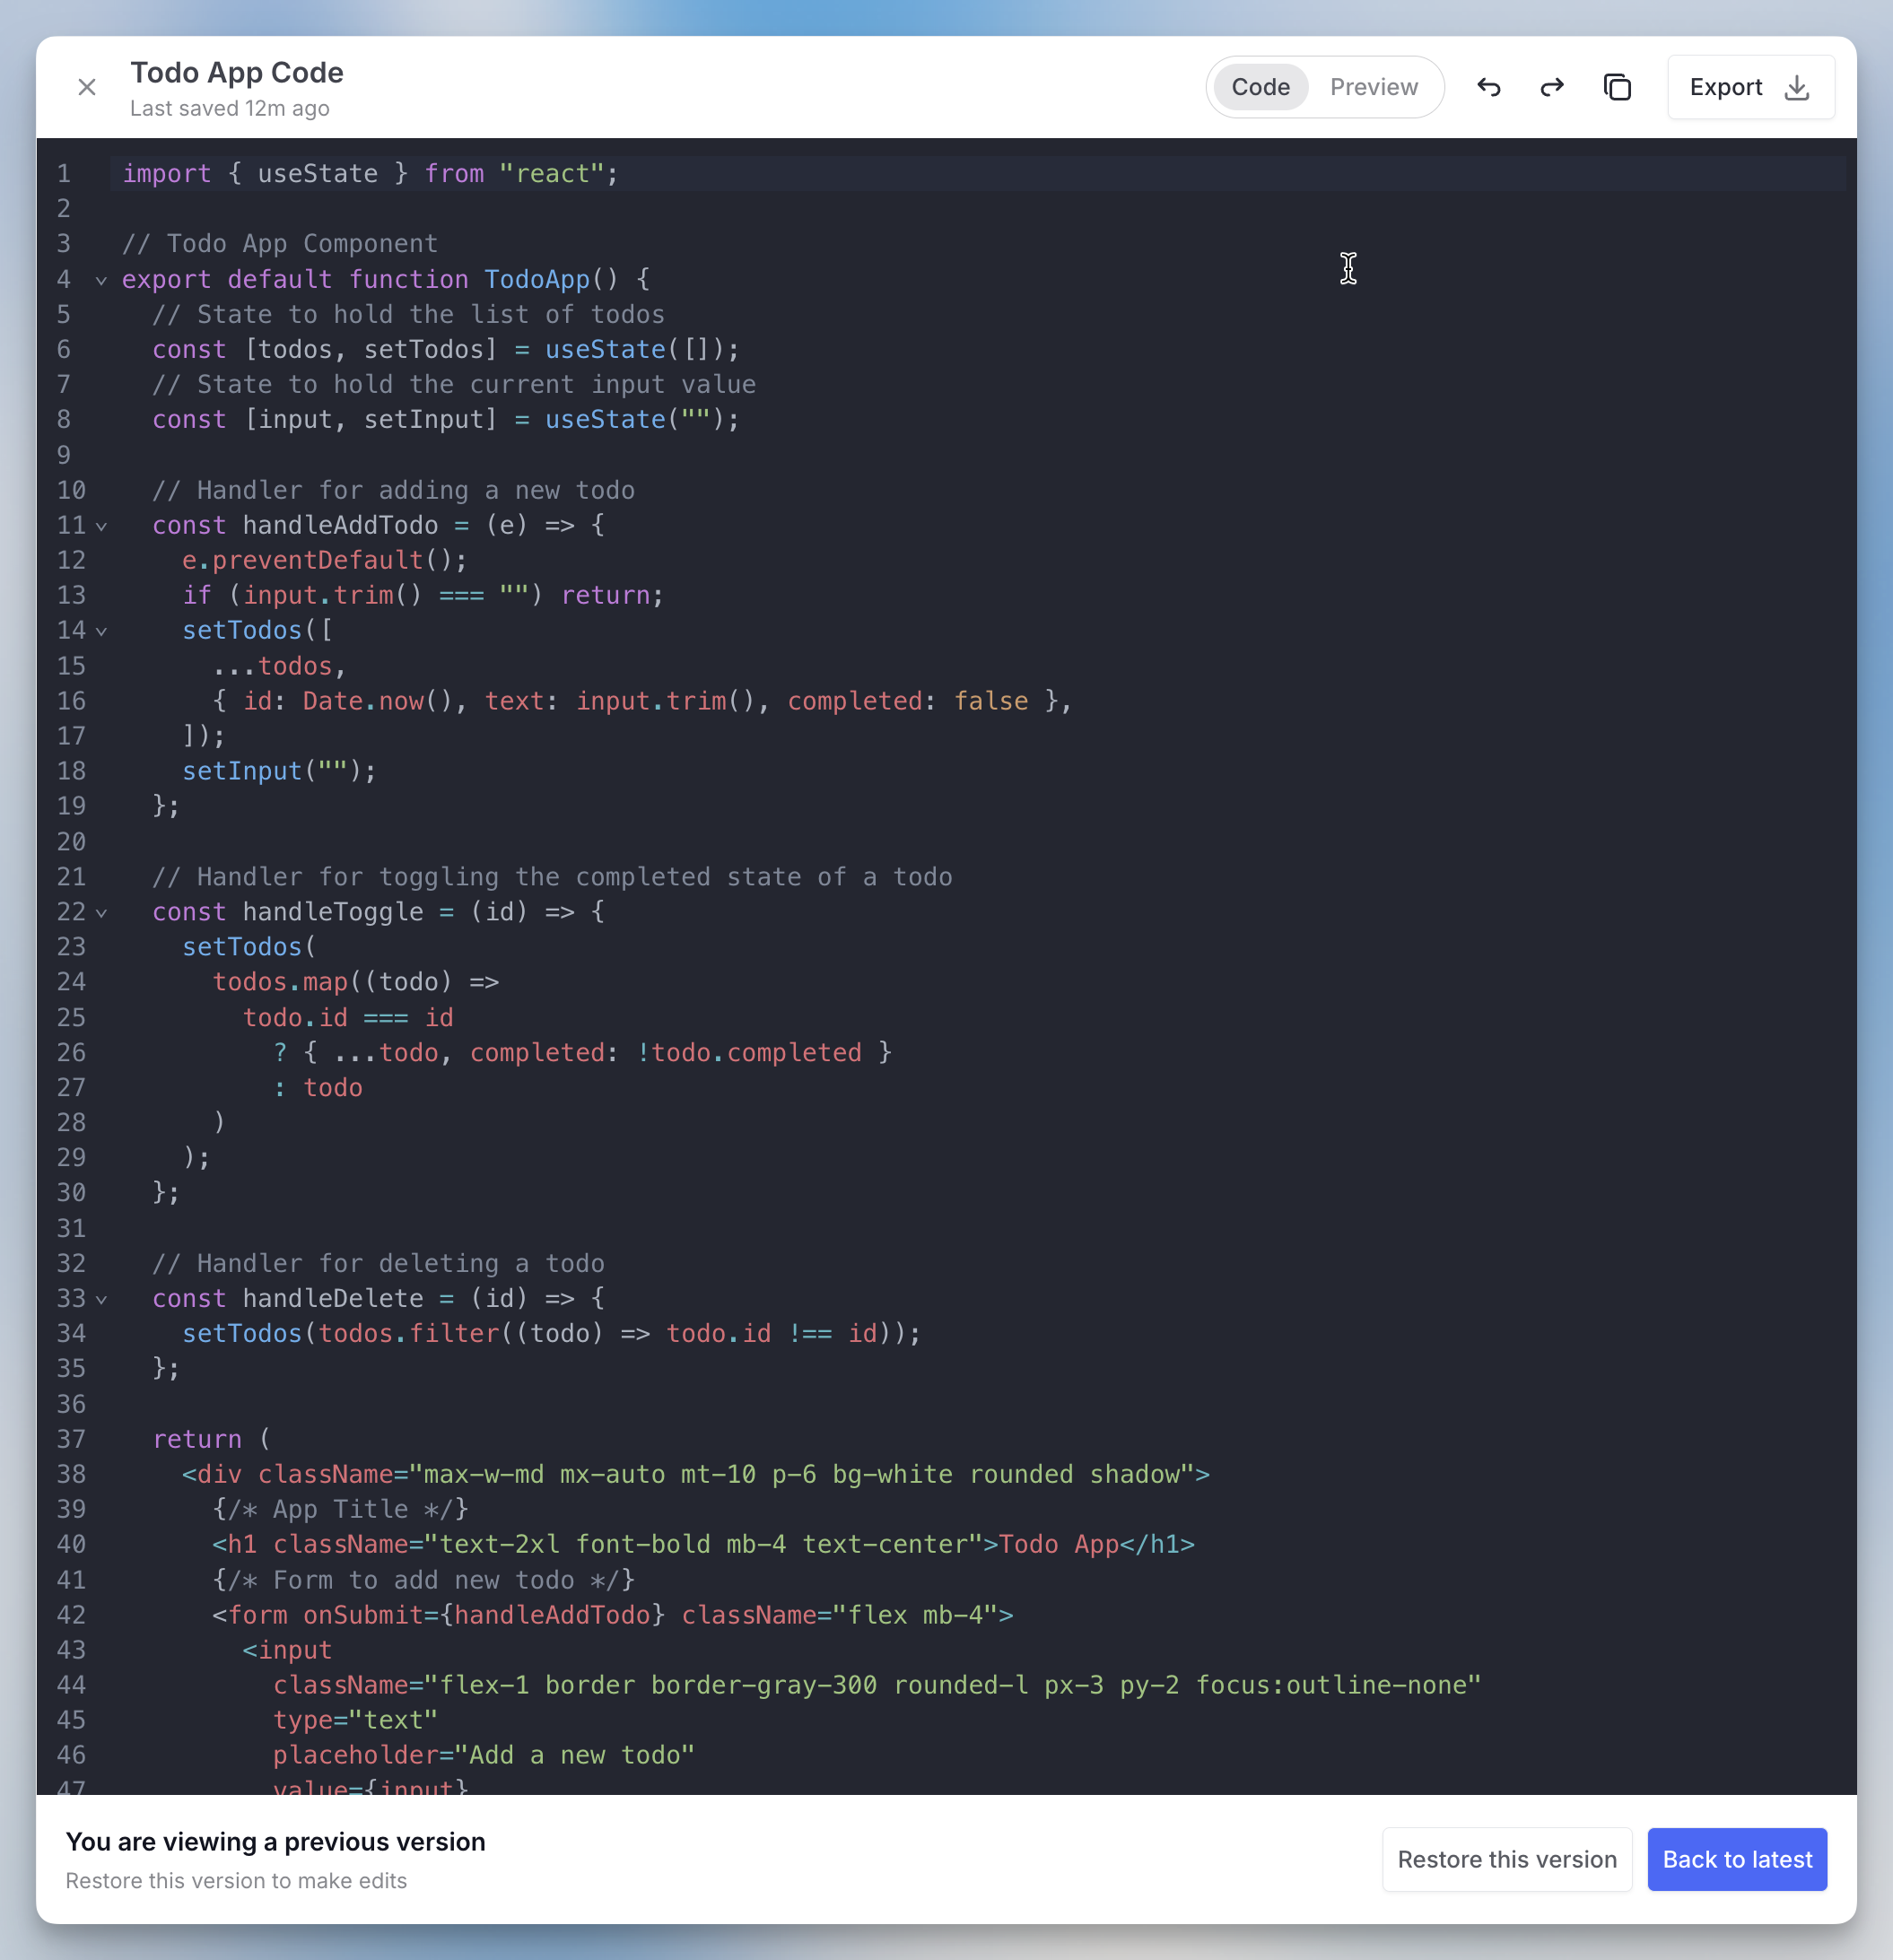
On the top right, you’ll find a version selector that automatically saves each iteration as you refine your text. Navigate between versions to compare changes and restore any previous version that better fits your needs.
When you’re ready to use your content, click the copy button (top right) to copy the entire text to your clipboard for pasting directly into your IDE or elsewhere.
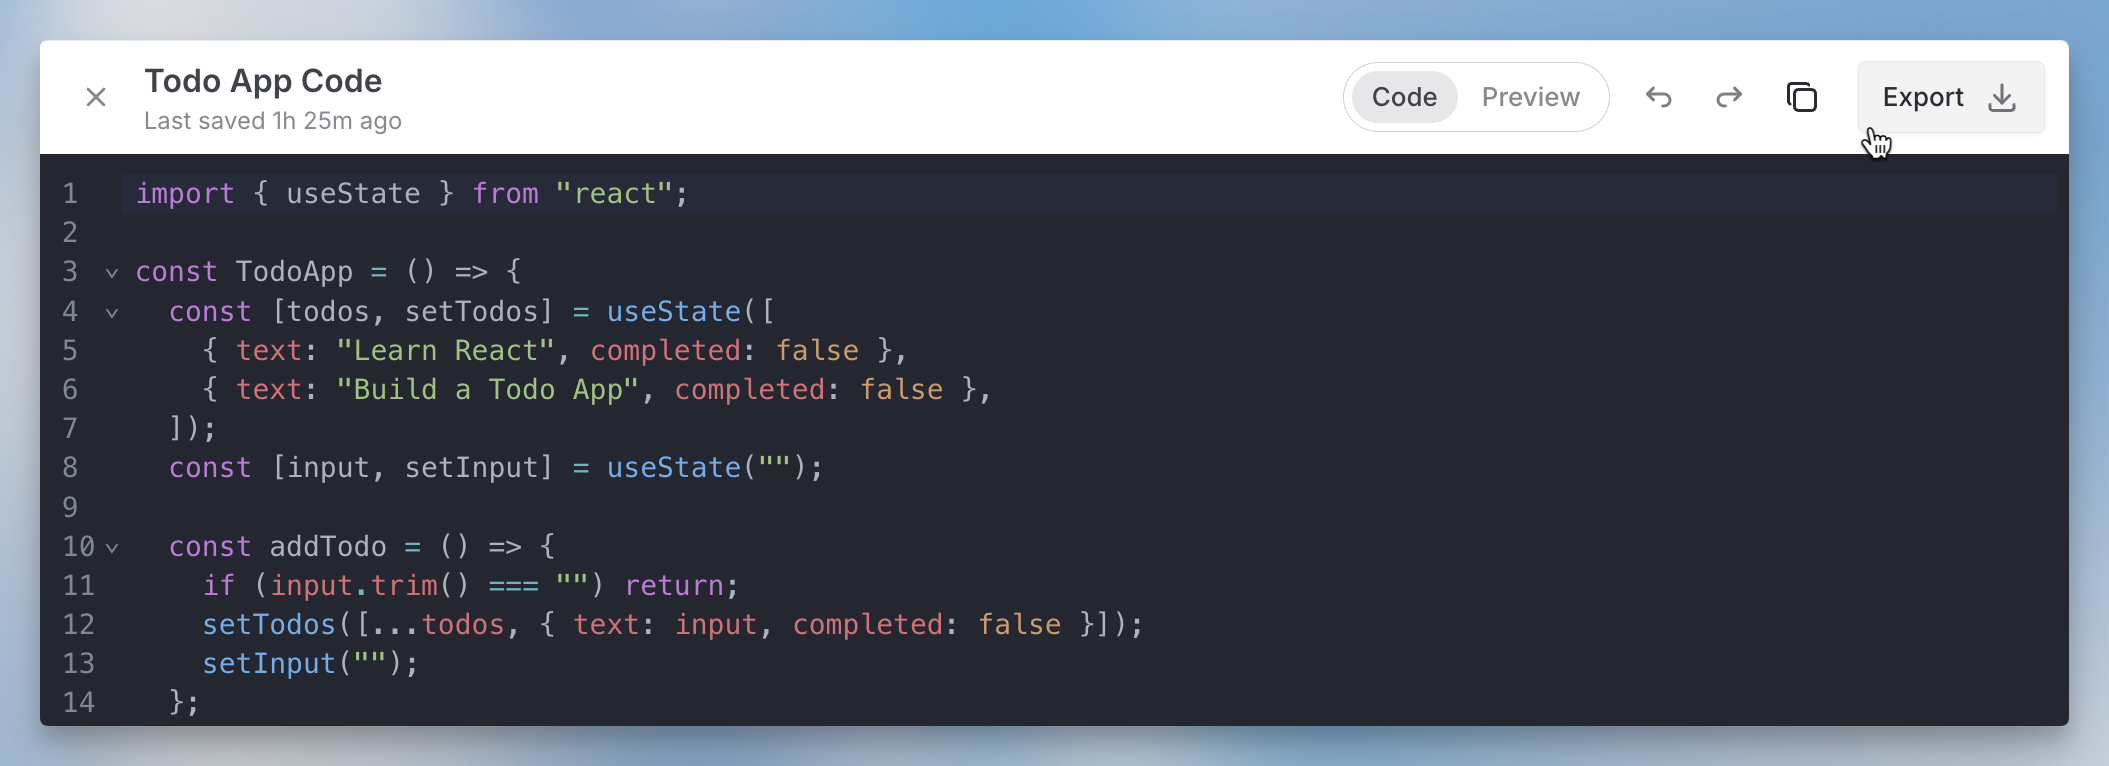
Alternatively, click “Export” to download the file in its native format (.py for Python scripts, .html for HTML files, .js for JavaScript, etc.).
You can open multiple Canvas instances in one chat session. Switch between them using the Canvas selector (top right, next to the share button) or scroll to find the specific Canvas in your chat history. Text Canvas display a the Canvas icon, while Dev Canvas show a code icon for easy identification.
Canvas gives you a dedicated editing screen alongside your chat where you can iterate on code or text much more easily. This page focuses specifically on Canvas for development tasks like adding debug logs, fixing bugs, or generating new code from scratch.
To use Canvas, open a new chat and select a model that supports Canvas. You’ll see Canvas availability indicated by icons in the model selector if the Canvas icon is greyed out, that model doesn’t support Canvas.
Canvas works best with GPT-4.1 at the moment.
When using models that support Canvas, activate it by clicking the Canvas button in the input bar at the bottom of your screen. You can also use keyboard shortcuts: ⌥+C (macOS) or Alt+C (Windows).
Once you activate Canvas, the button will highlight to confirm it’s active, and you can begin creating and editing in Canvas.
Canvas automatically opens on the right side after you send your prompt and the AI generates a response. You now have several options to continue:
You can edit the output directly in the Canvas editor on the right. You can type and modify text manually, or select specific sections to have the model reformat or rewrite just those parts.
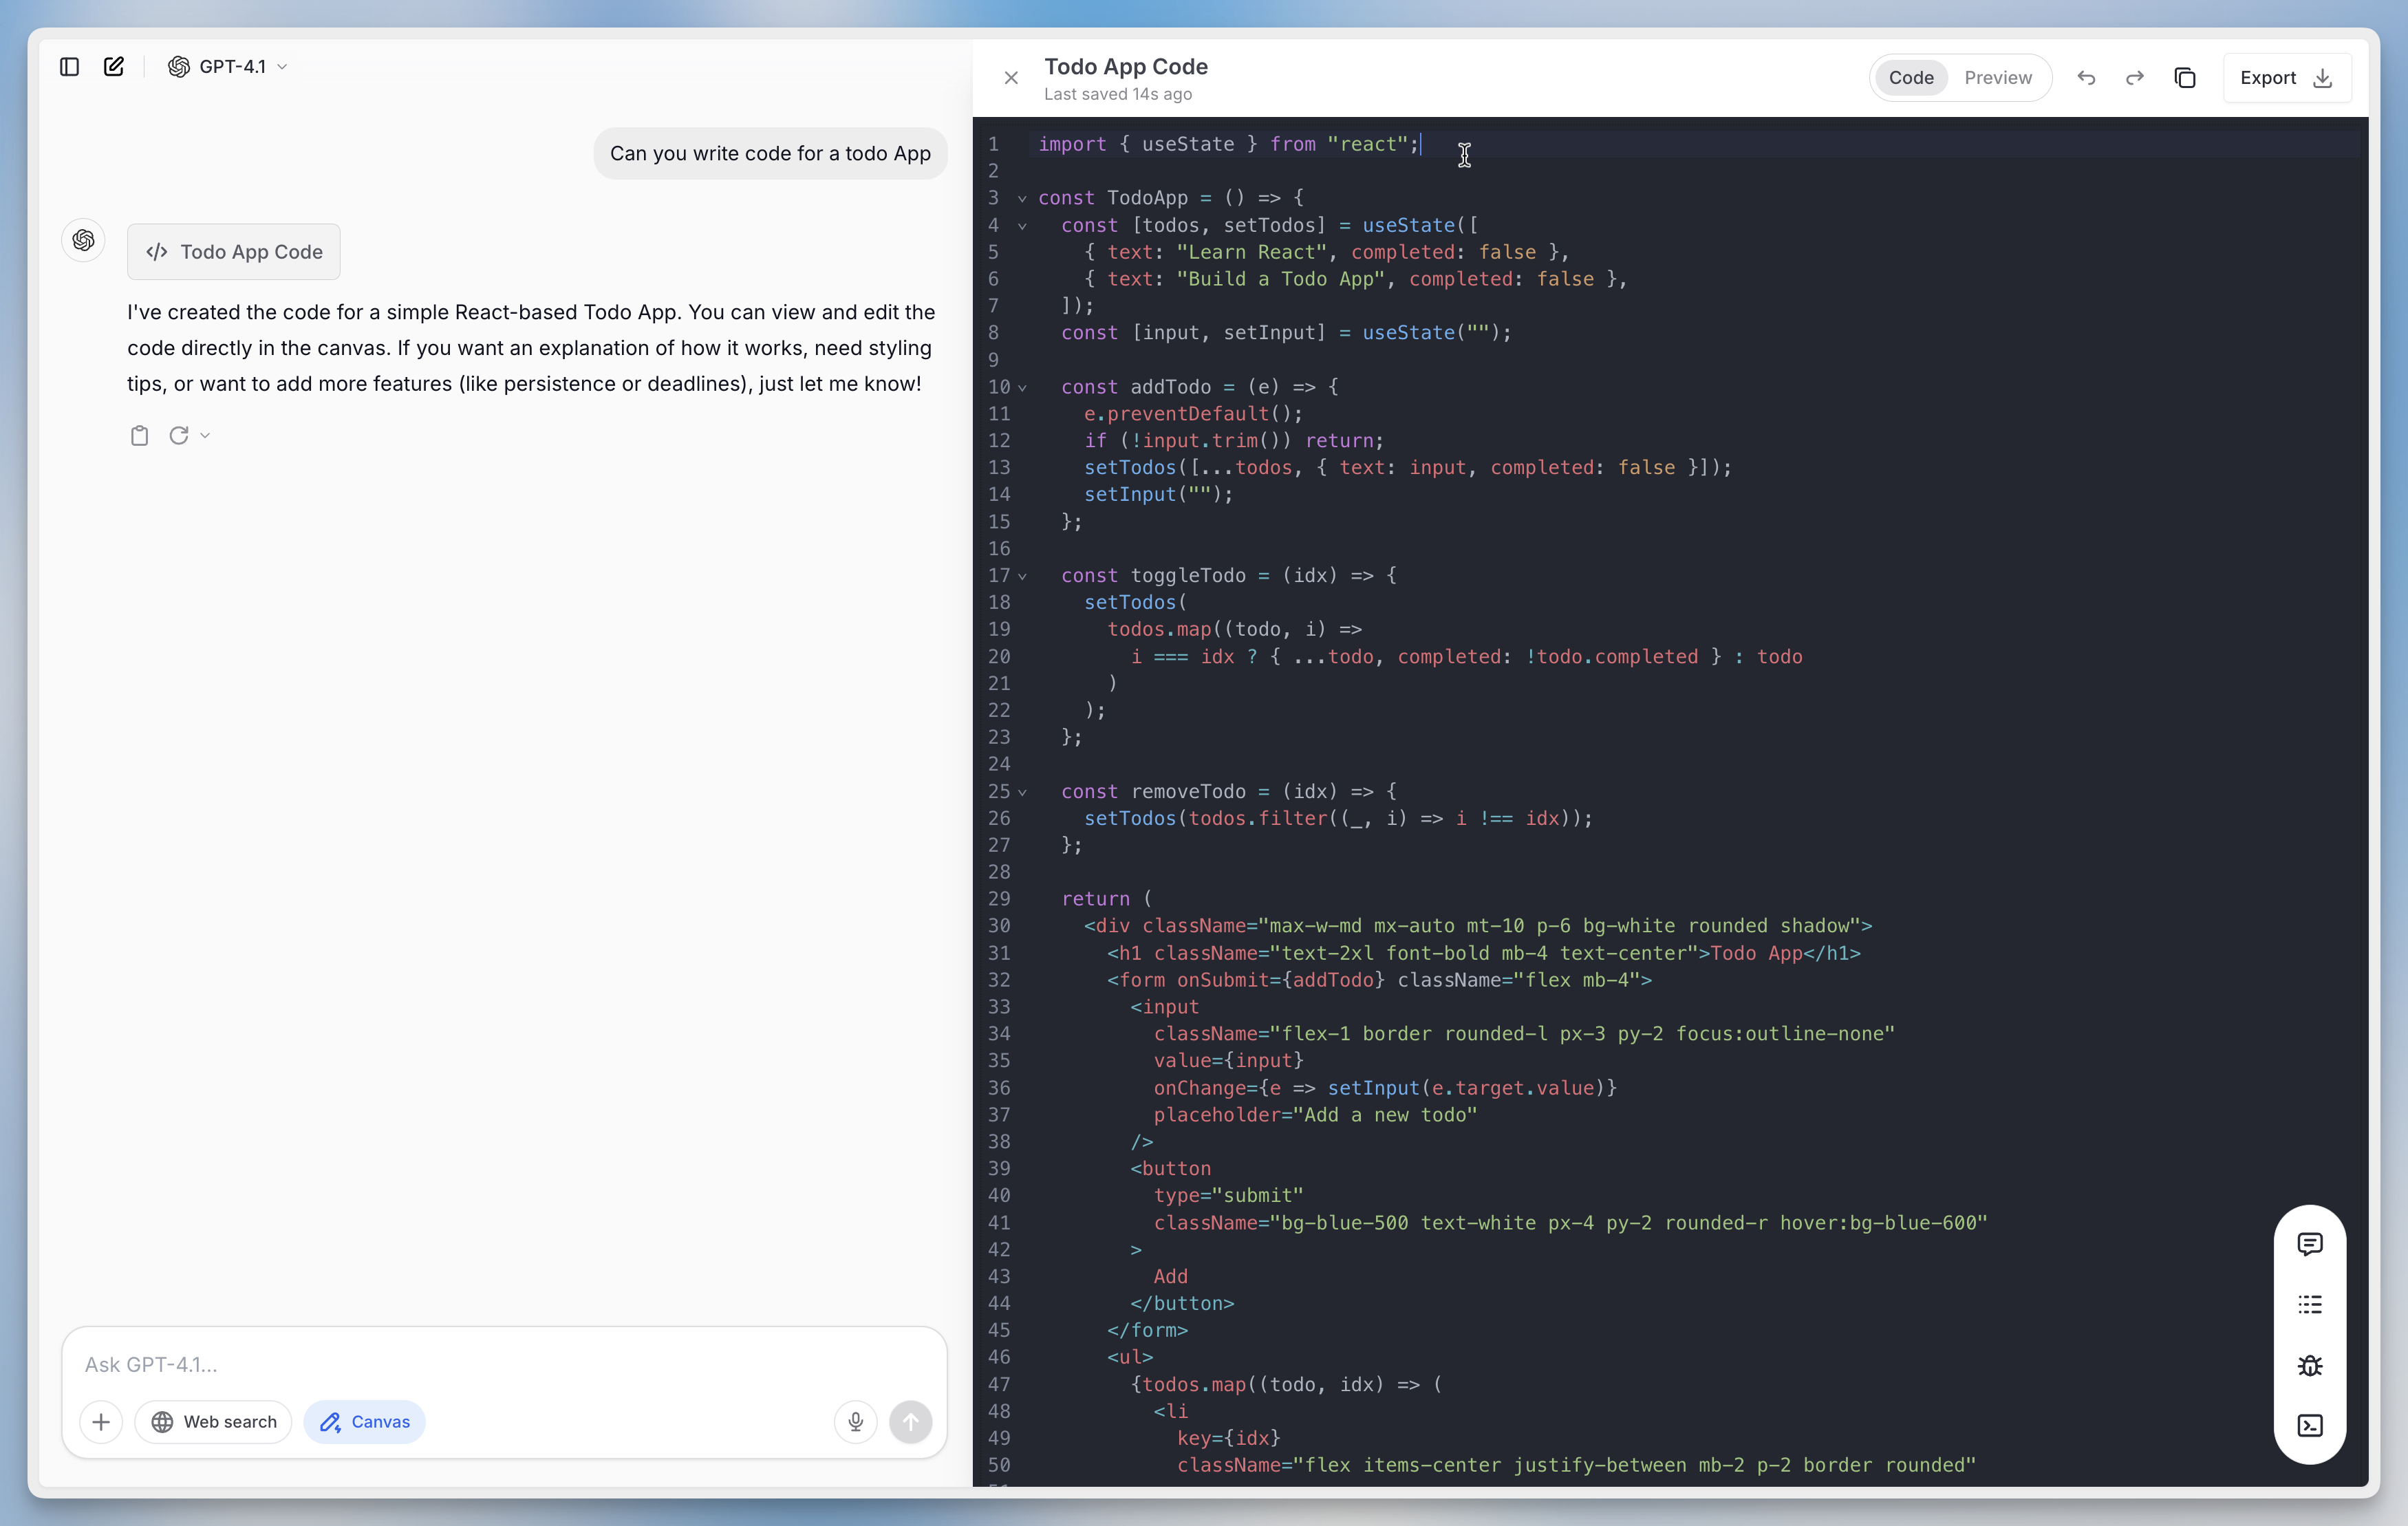
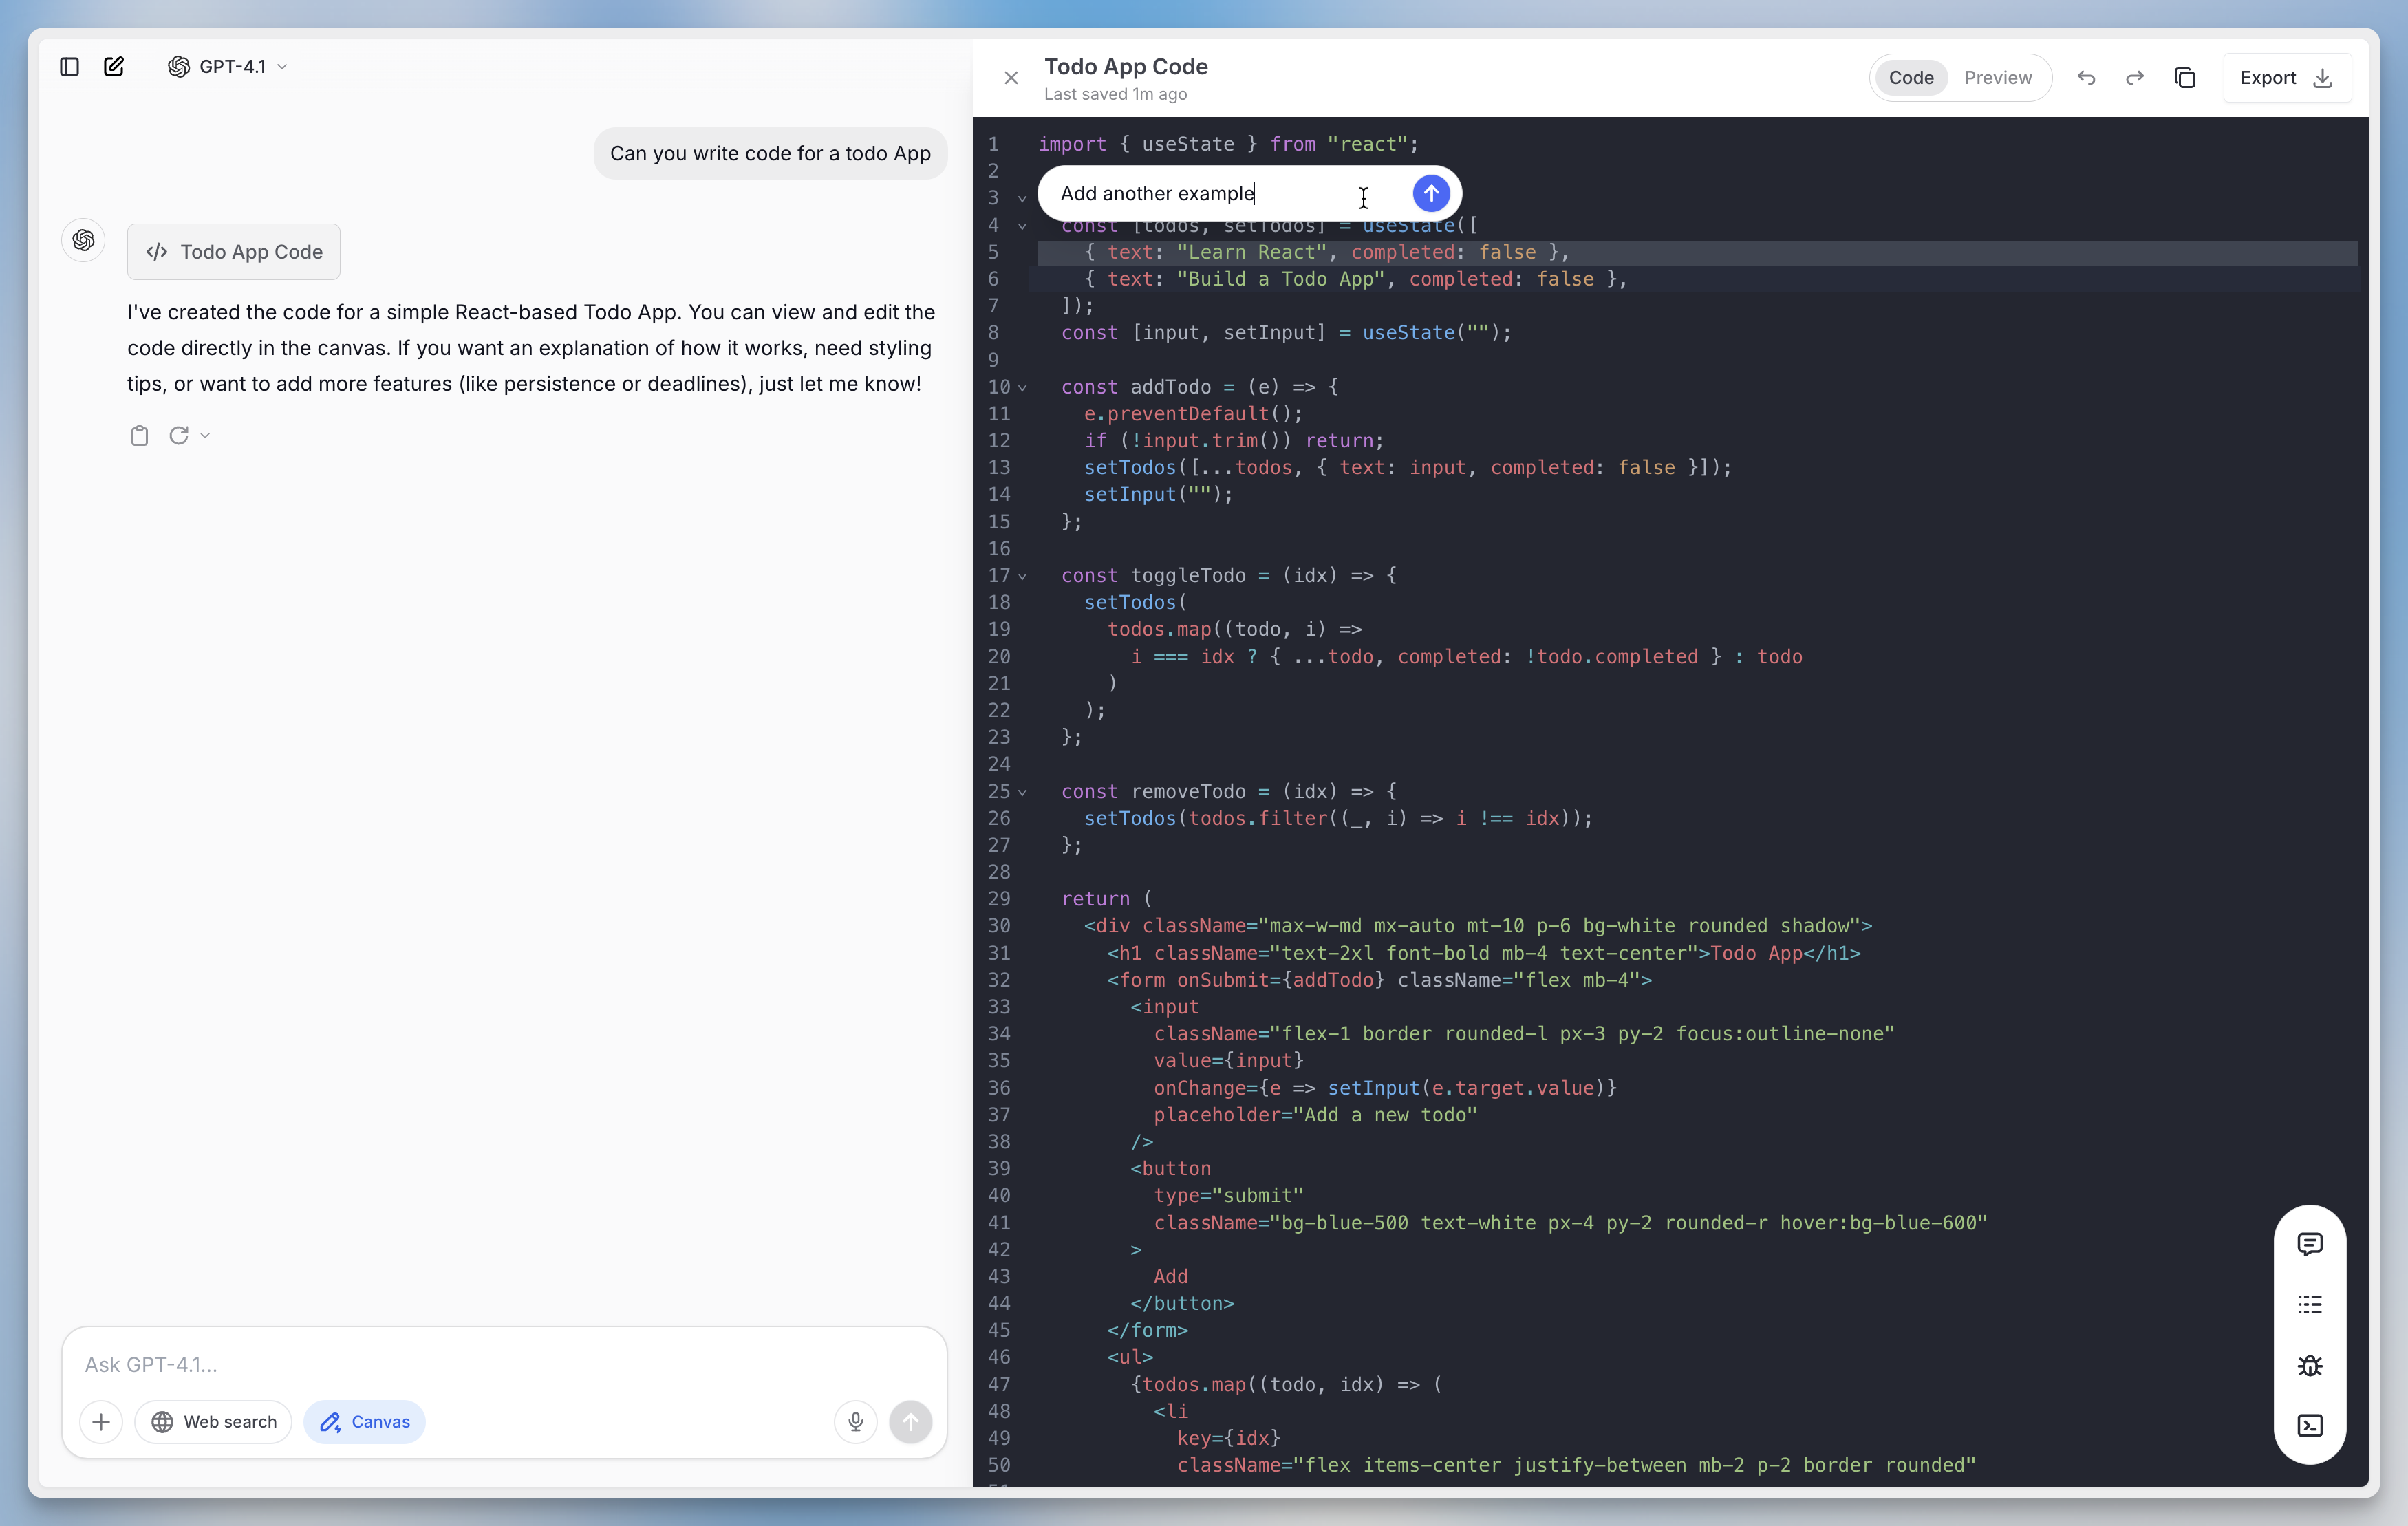
You can now execute your code directly in Canvas! This means you can preview React components or run Python scripts without switching back to your IDE.
Look for the “Run Code” button or “Preview” toggle in the top right corner. Click either one to execute your code instantly.
This works because Canvas now includes a sandboxed runtime environment that can handle both React rendering and Python execution, making your development workflow much smoother.
By clicking this button, the model will analyze your code structure and add inline comments explaining the logic, function purposes, and complex operations throughout your codebase.
By clicking this button, the model will automatically insert console.log statements at key execution points to help you debug your code.
By clicking this button, the model will analyze your code for common issues (syntax errors, logic bugs, security vulnerabilities) and automatically apply fixes where possible.
By clicking this button, the LLM will analyze your code structure, and provide specific suggestions for improvement (like refactoring opportunities, performance enhancements, or best practices).
On the top right, you’ll find a version selector that automatically saves each iteration as you refine your text. Navigate between versions to compare changes and restore any previous version that better fits your needs.
When you’re ready to use your content, click the copy button (top right) to copy the entire text to your clipboard for pasting directly into your IDE or elsewhere.
Alternatively, click “Export” to download the file in its native format (.py for Python scripts, .html for HTML files, .js for JavaScript, etc.).
You can open multiple Canvas instances in one chat session. Switch between them using the Canvas selector (top right, next to the share button) or scroll to find the specific Canvas in your chat history. Text Canvas display a the Canvas icon, while Dev Canvas show a code icon for easy identification.