> ## Documentation Index
> Fetch the complete documentation index at: https://docs.langdock.com/llms.txt
> Use this file to discover all available pages before exploring further.
# Usage and spend limits
> Configure cost-based usage limits for BYOK workspaces at the workspace, plan, group, and user level.
With your own keys (BYOK), every chat and agent message is billed directly to your model provider. Usage limits cap how much your workspace and each user can spend per month and route them to a fallback model when they reach a limit.
Manage them in [Usage and spend limits](https://app.langdock.com/settings/workspace/usage) in your Workspace Settings.
Usage is only tracked for models that have input and output token prices set. Usage on a model without prices isn't counted against any limit. See [Models without cost data](#models-without-cost-data).
## How usage limits work
Limits are set as a monthly spend amount and measured against your provider cost. Three scopes combine:
* **Workspace spend limit** caps total spend across the workspace.
* **Per-user limits** cap spend for each user, set through plans or groups, with an individual override for exceptions.
* **Per-agent limits** cap spend on a specific agent. See [Agent limits](/en/admin/manage-agents/agent-limits).
These limits apply to chat and agents. Backbone model usage, workflow runs, and API usage are not counted. For workflows, see [Workflow limits](/en/admin/manage-workflows/spend-limits).
## Workspace spend limit
Set the maximum monthly spend across all chat and agent usage.
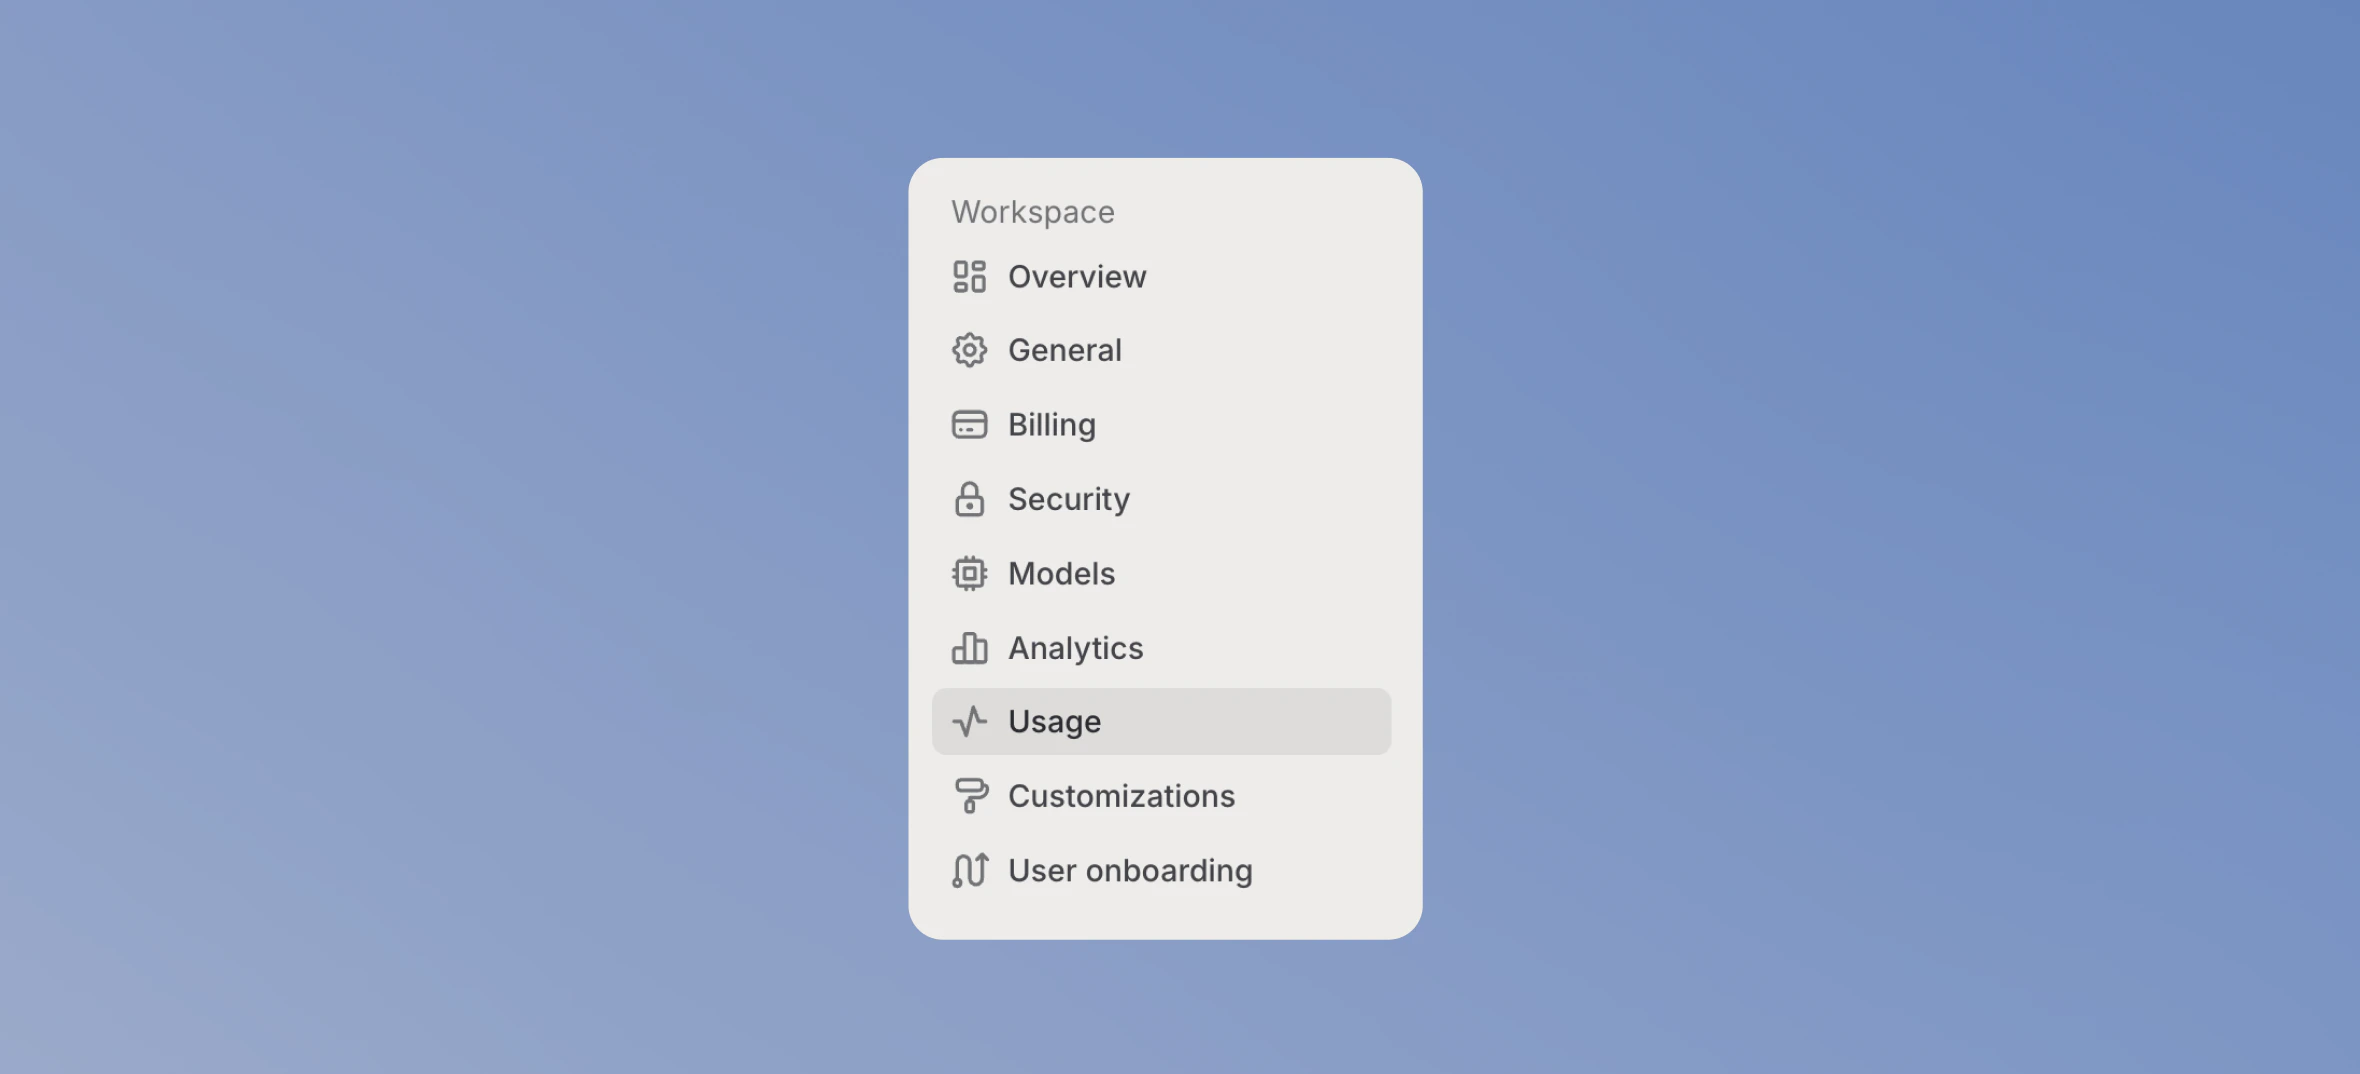
**1. Open usage settings**
Navigate to [Usage and spend limits](https://app.langdock.com/settings/workspace/usage) in your Workspace Settings.
 **2. Adjust the limit**
Click **Adjust limit** under the workspace spend limit. Choose **Unlimited** or set a **Custom** amount.
**2. Adjust the limit**
Click **Adjust limit** under the workspace spend limit. Choose **Unlimited** or set a **Custom** amount.
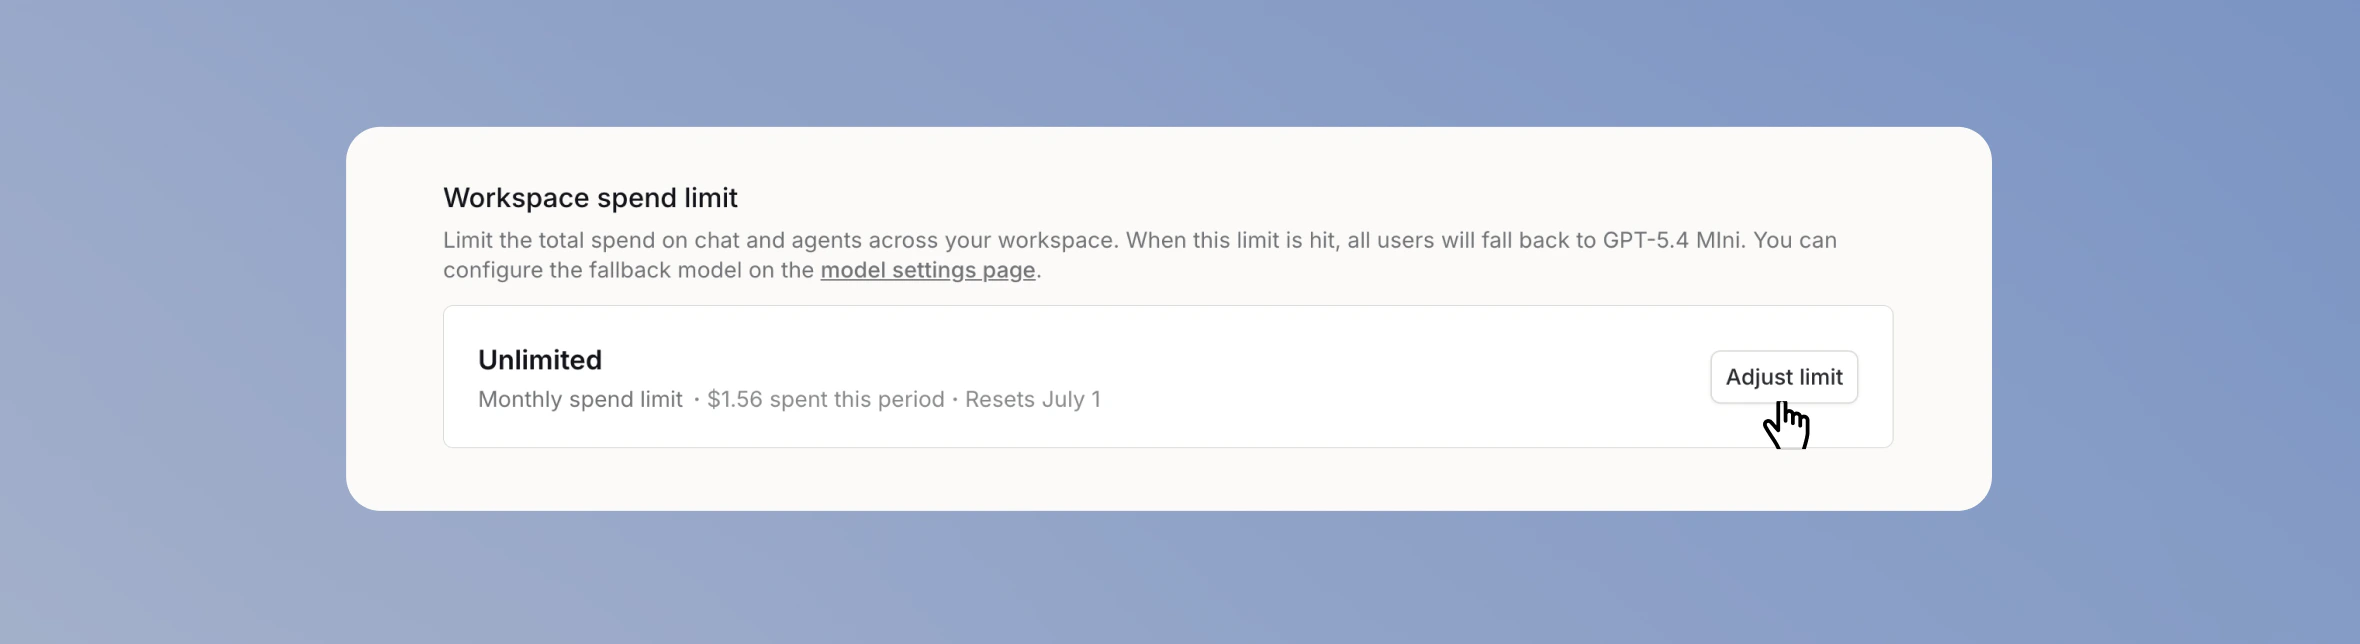 The page shows how much has been spent this period and when it resets.
When the workspace spend limit is reached, all users fall back to the configured fallback model until the limit resets at the start of the next month.
## Per-user limits
Set a default monthly limit per user for each plan under the **Spend limits per plan** section. Users have different needs, so BYOK workspaces have two plans: **Standard** (the default) and **Power user**.
The page shows how much has been spent this period and when it resets.
When the workspace spend limit is reached, all users fall back to the configured fallback model until the limit resets at the start of the next month.
## Per-user limits
Set a default monthly limit per user for each plan under the **Spend limits per plan** section. Users have different needs, so BYOK workspaces have two plans: **Standard** (the default) and **Power user**.
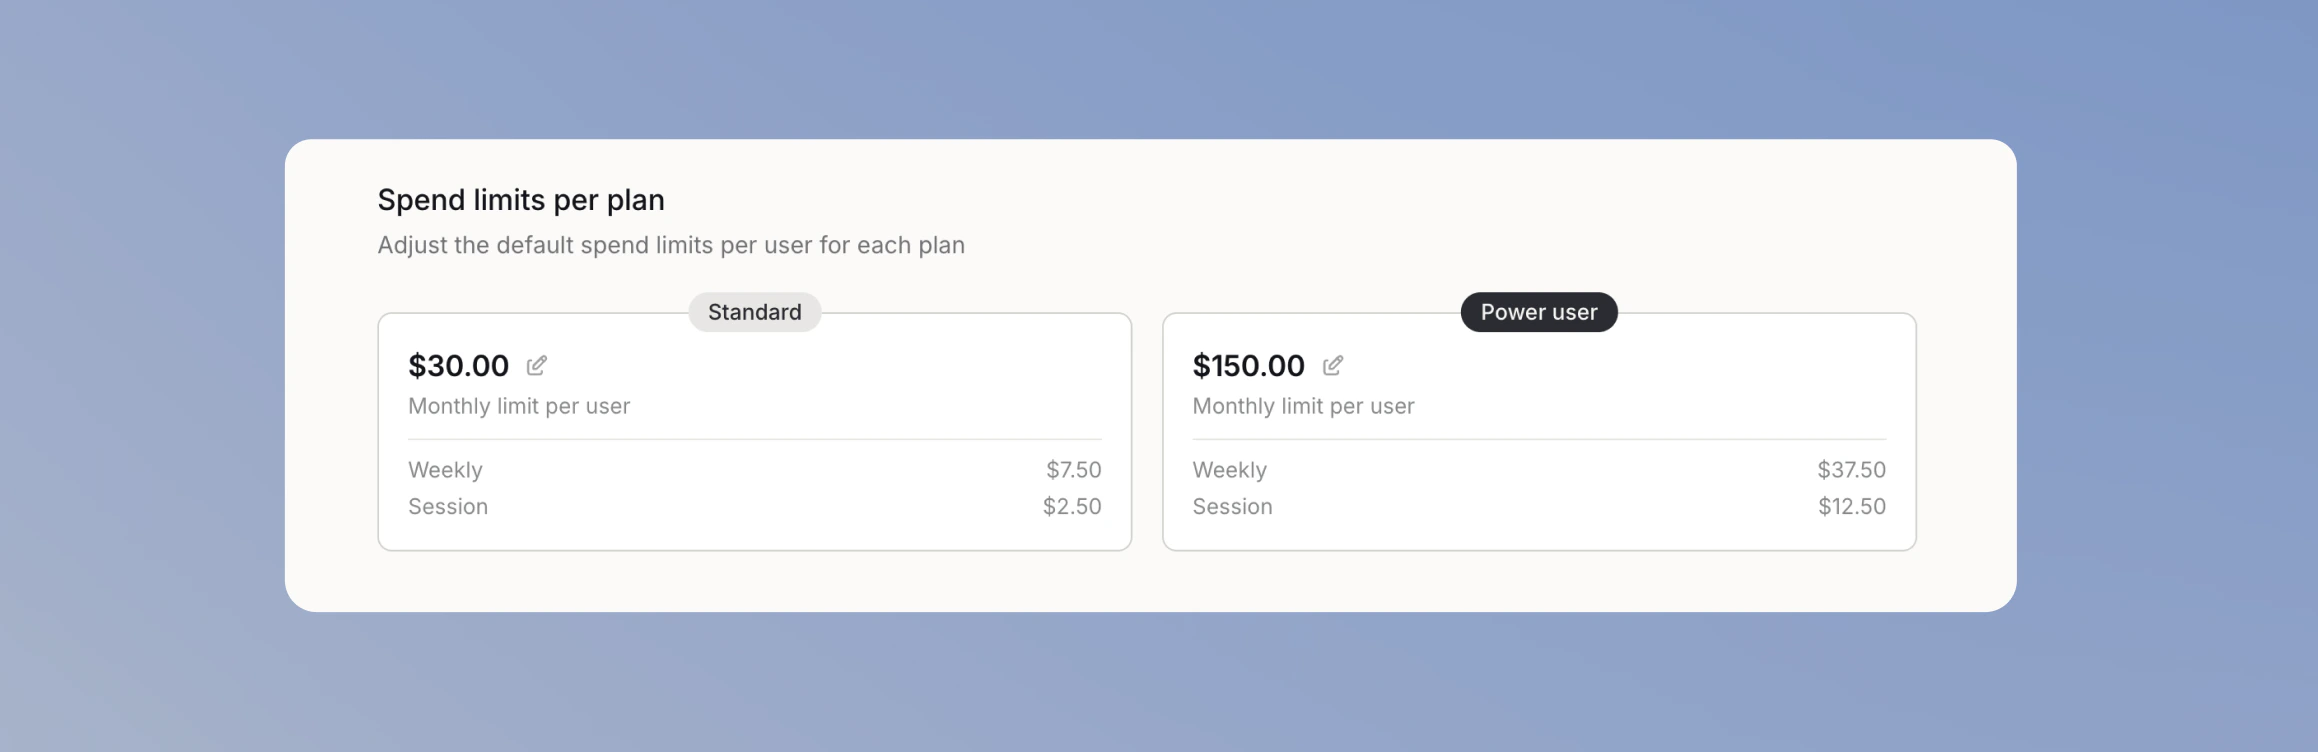 Langdock breaks each monthly limit into a weekly and a session limit to pace usage, so a single busy day doesn't burn through the month:
* **Weekly** is a quarter of the monthly limit.
* **Session** is a third of the weekly limit, over a 5-hour window.
To give specific users more capacity, set a higher limit on the **Power user** plan, then assign those users to it from the **Plan** column on the **Users** tab.
### Group limits
Set one monthly limit for everyone in a group when a team needs a shared budget that differs from the plan defaults.
**1. Open the Groups tab**
On the usage settings page, switch to the **Groups** tab.
Langdock breaks each monthly limit into a weekly and a session limit to pace usage, so a single busy day doesn't burn through the month:
* **Weekly** is a quarter of the monthly limit.
* **Session** is a third of the weekly limit, over a 5-hour window.
To give specific users more capacity, set a higher limit on the **Power user** plan, then assign those users to it from the **Plan** column on the **Users** tab.
### Group limits
Set one monthly limit for everyone in a group when a team needs a shared budget that differs from the plan defaults.
**1. Open the Groups tab**
On the usage settings page, switch to the **Groups** tab.
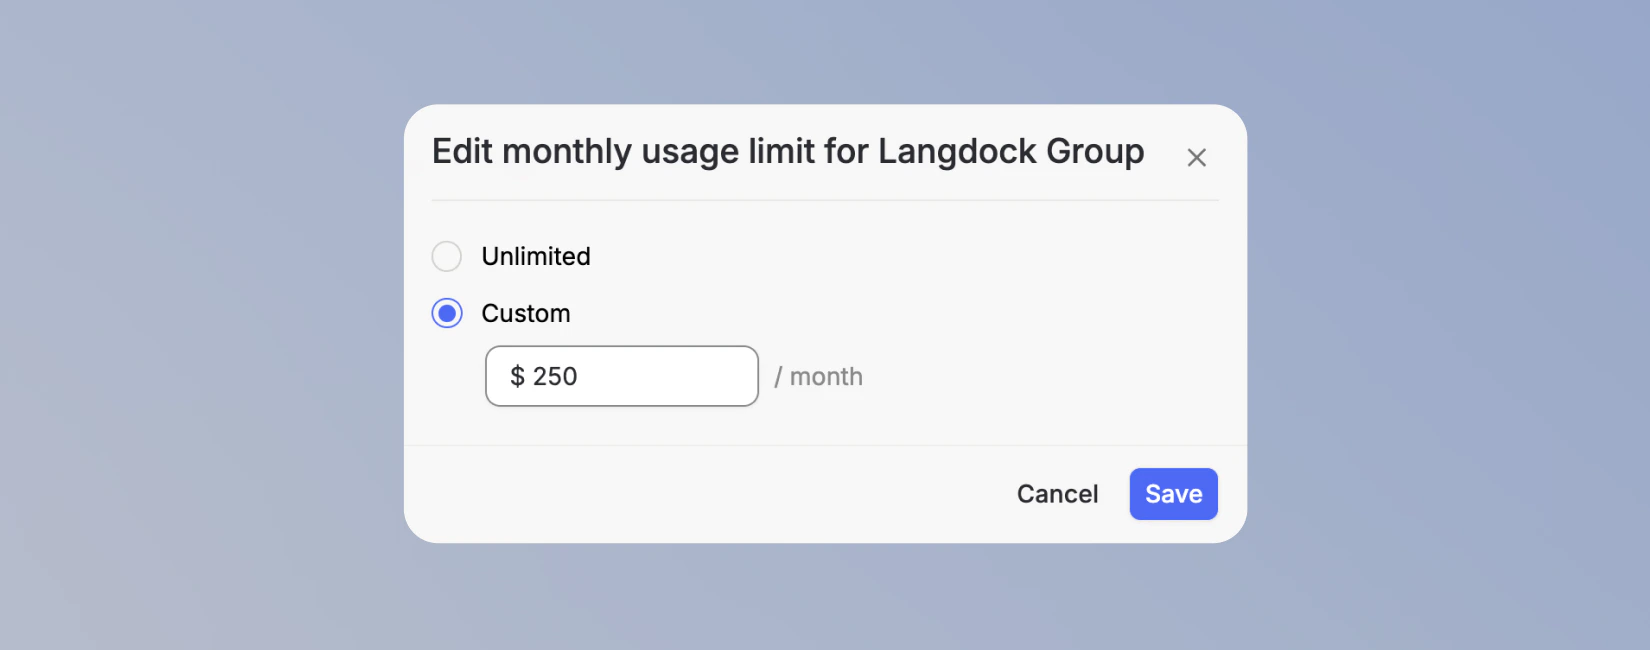
 **2. Edit the limit**
Click **Edit limit** on a group and choose **Custom** or **Unlimited**.
**2. Edit the limit**
Click **Edit limit** on a group and choose **Custom** or **Unlimited**.
 Each user gets the highest limit that applies to them across their plan and any groups they belong to. Group limits use the same weekly and session breakdown. For groups provisioned through SCIM, the limit stays attached, so new members pick it up automatically.
### Individual limits
You can also set **extra usage** to give individual users more spending capacity without changing their plan. It's a flat monthly budget on top of their plan or group limit, with no weekly or session breakdown, and it applies once the user reaches their session or weekly limit. Set it on the **Users** tab with **Edit individual limit**.
Each user gets the highest limit that applies to them across their plan and any groups they belong to. Group limits use the same weekly and session breakdown. For groups provisioned through SCIM, the limit stays attached, so new members pick it up automatically.
### Individual limits
You can also set **extra usage** to give individual users more spending capacity without changing their plan. It's a flat monthly budget on top of their plan or group limit, with no weekly or session breakdown, and it applies once the user reaches their session or weekly limit. Set it on the **Users** tab with **Edit individual limit**.
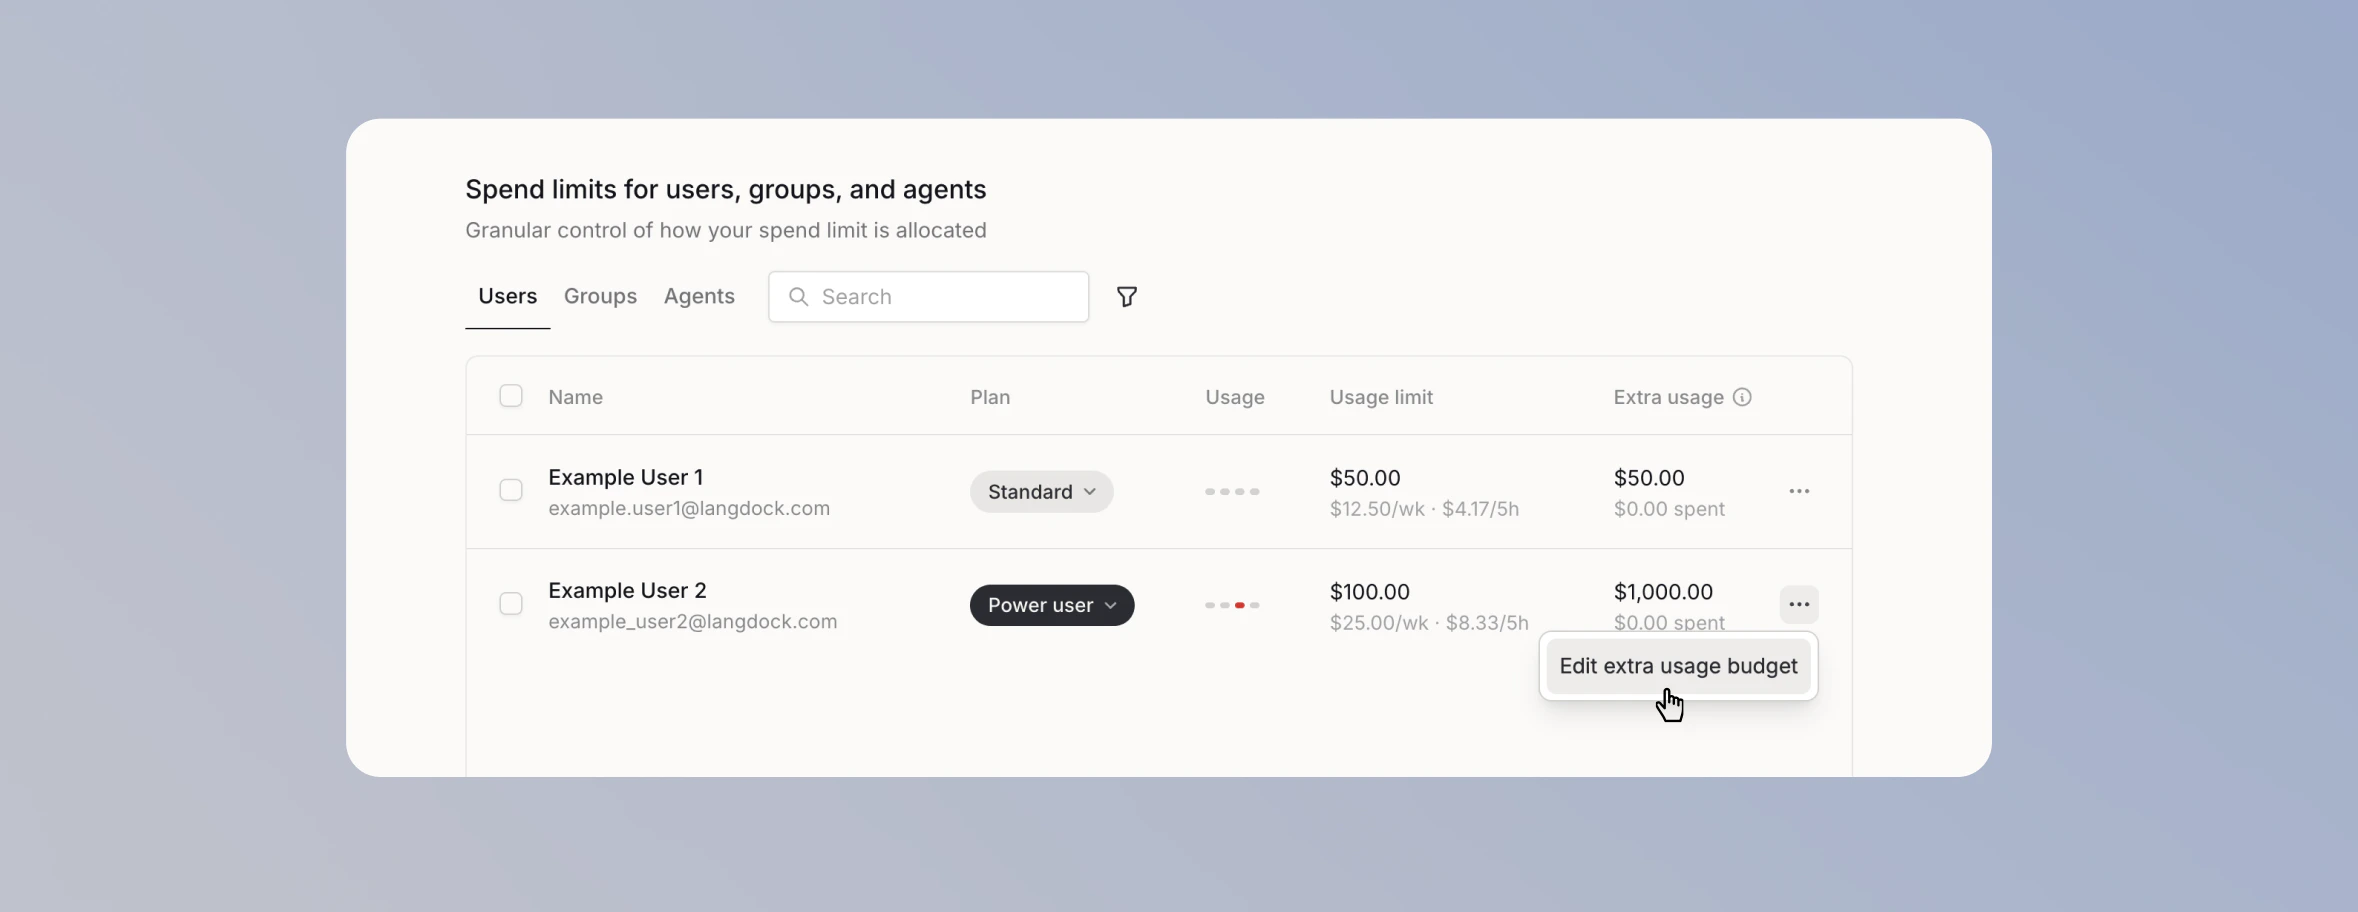 Each user on the **Users** tab has a usage indicator. It stays gray until you set a limit for that user. After you set a limit, the indicator shows how close the user is to it.
## Cost limit fallback model
When a user reaches a limit, their next message uses the fallback model so they can keep working. Set the **Cost limit fallback model** in [Models](https://app.langdock.com/settings/workspace/models) in your Workspace Settings. If you don't set one, Langdock uses the workspace backbone model.
Each user on the **Users** tab has a usage indicator. It stays gray until you set a limit for that user. After you set a limit, the indicator shows how close the user is to it.
## Cost limit fallback model
When a user reaches a limit, their next message uses the fallback model so they can keep working. Set the **Cost limit fallback model** in [Models](https://app.langdock.com/settings/workspace/models) in your Workspace Settings. If you don't set one, Langdock uses the workspace backbone model.
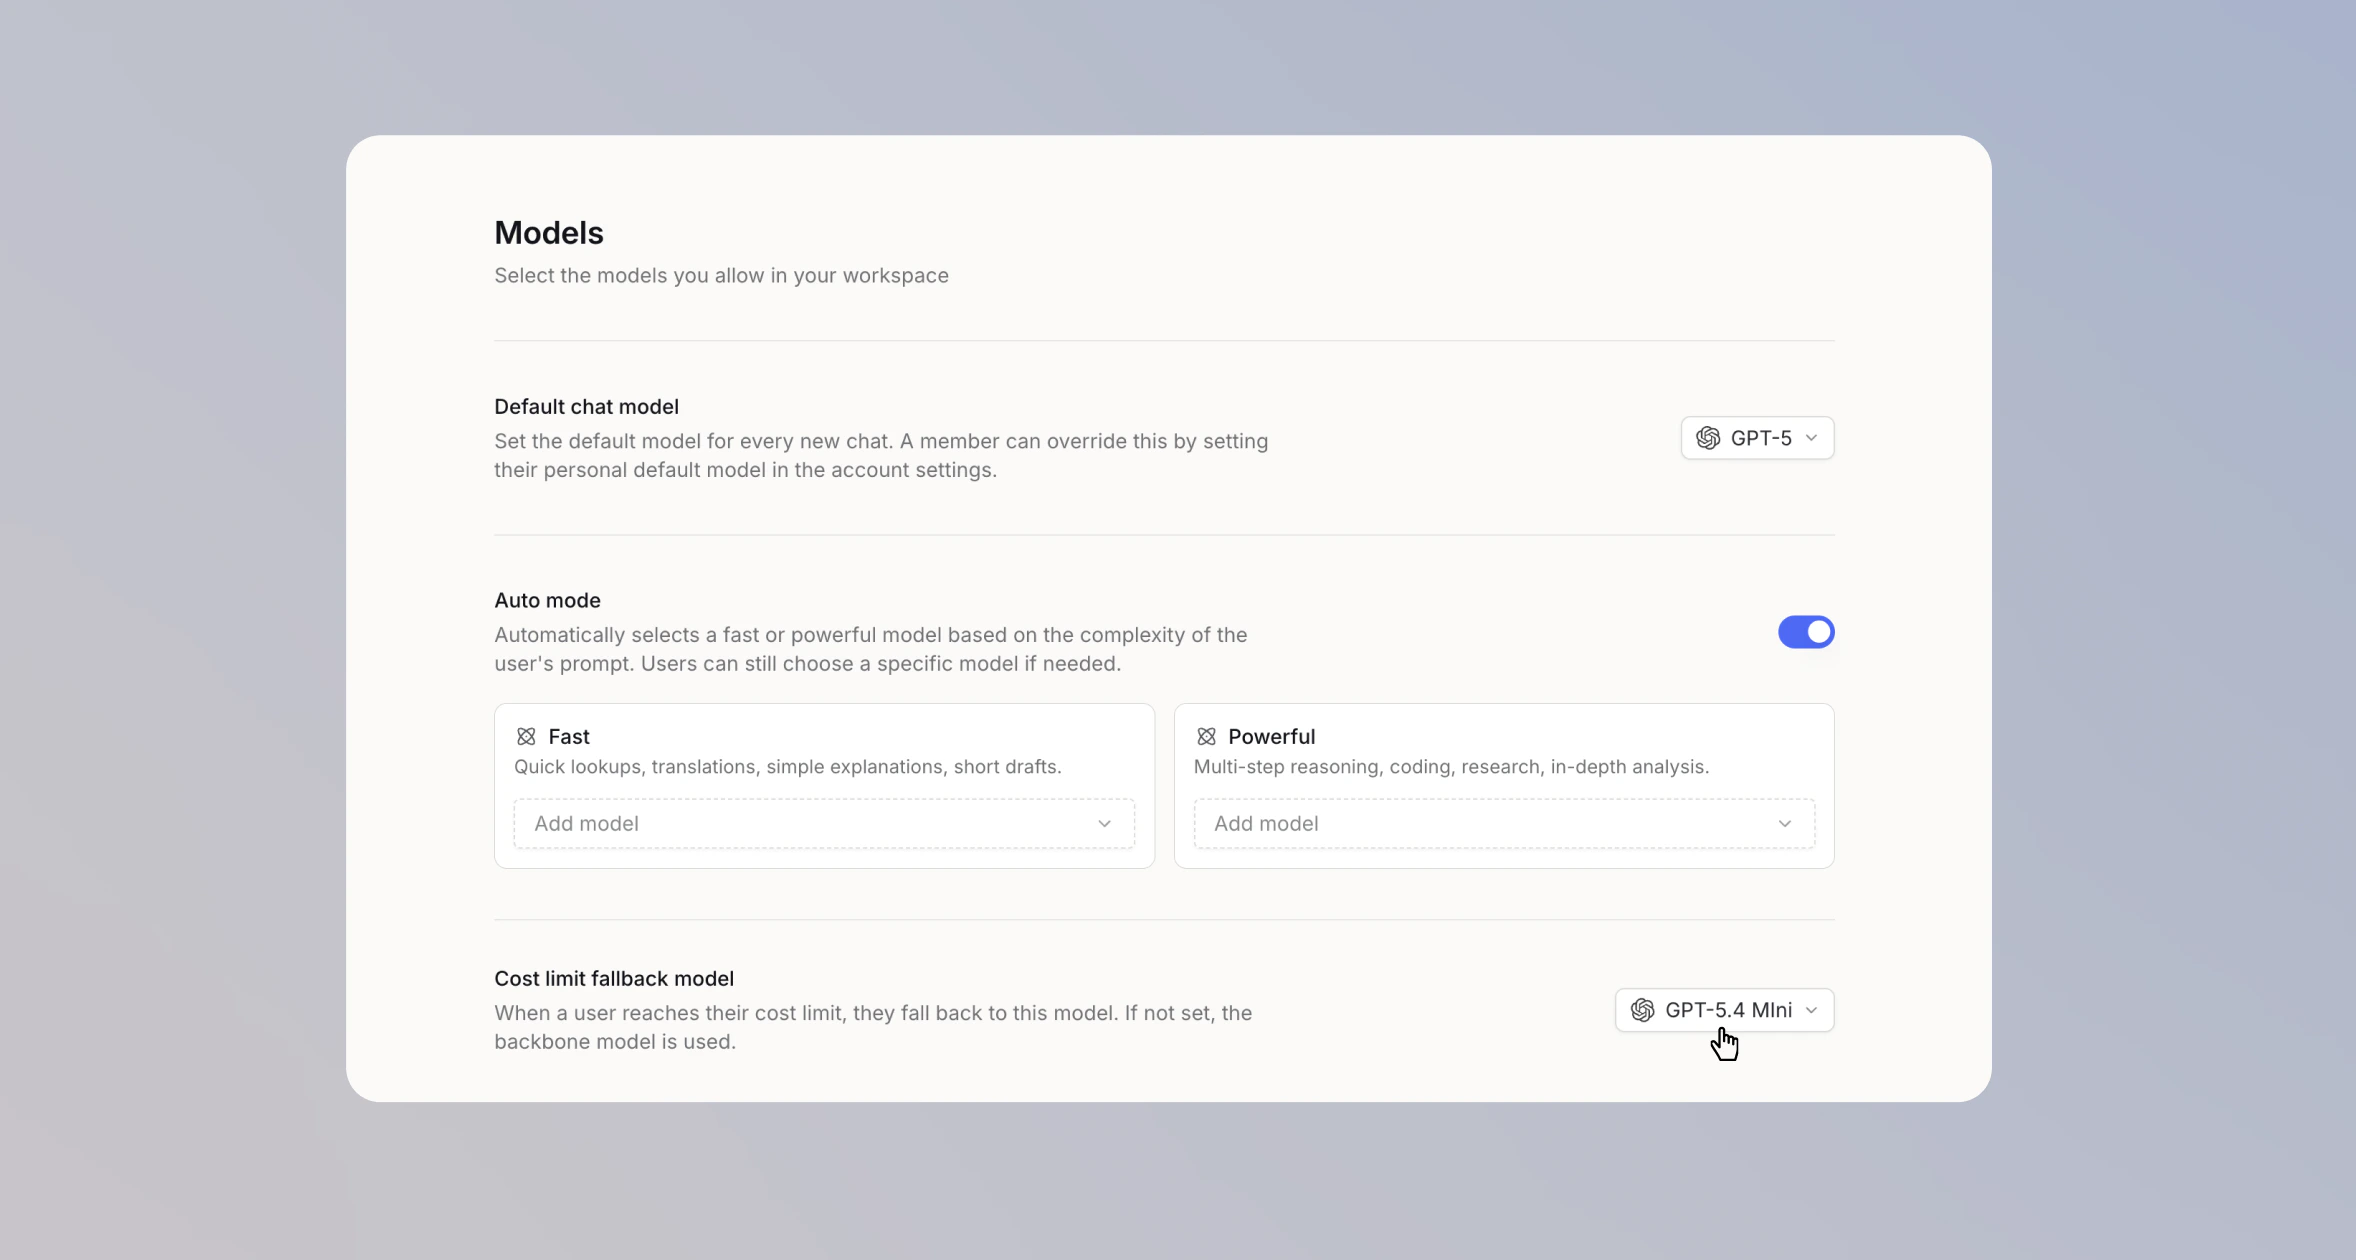 Choose a capable but cheaper model as the fallback, so users keep working without spending at the same rate.
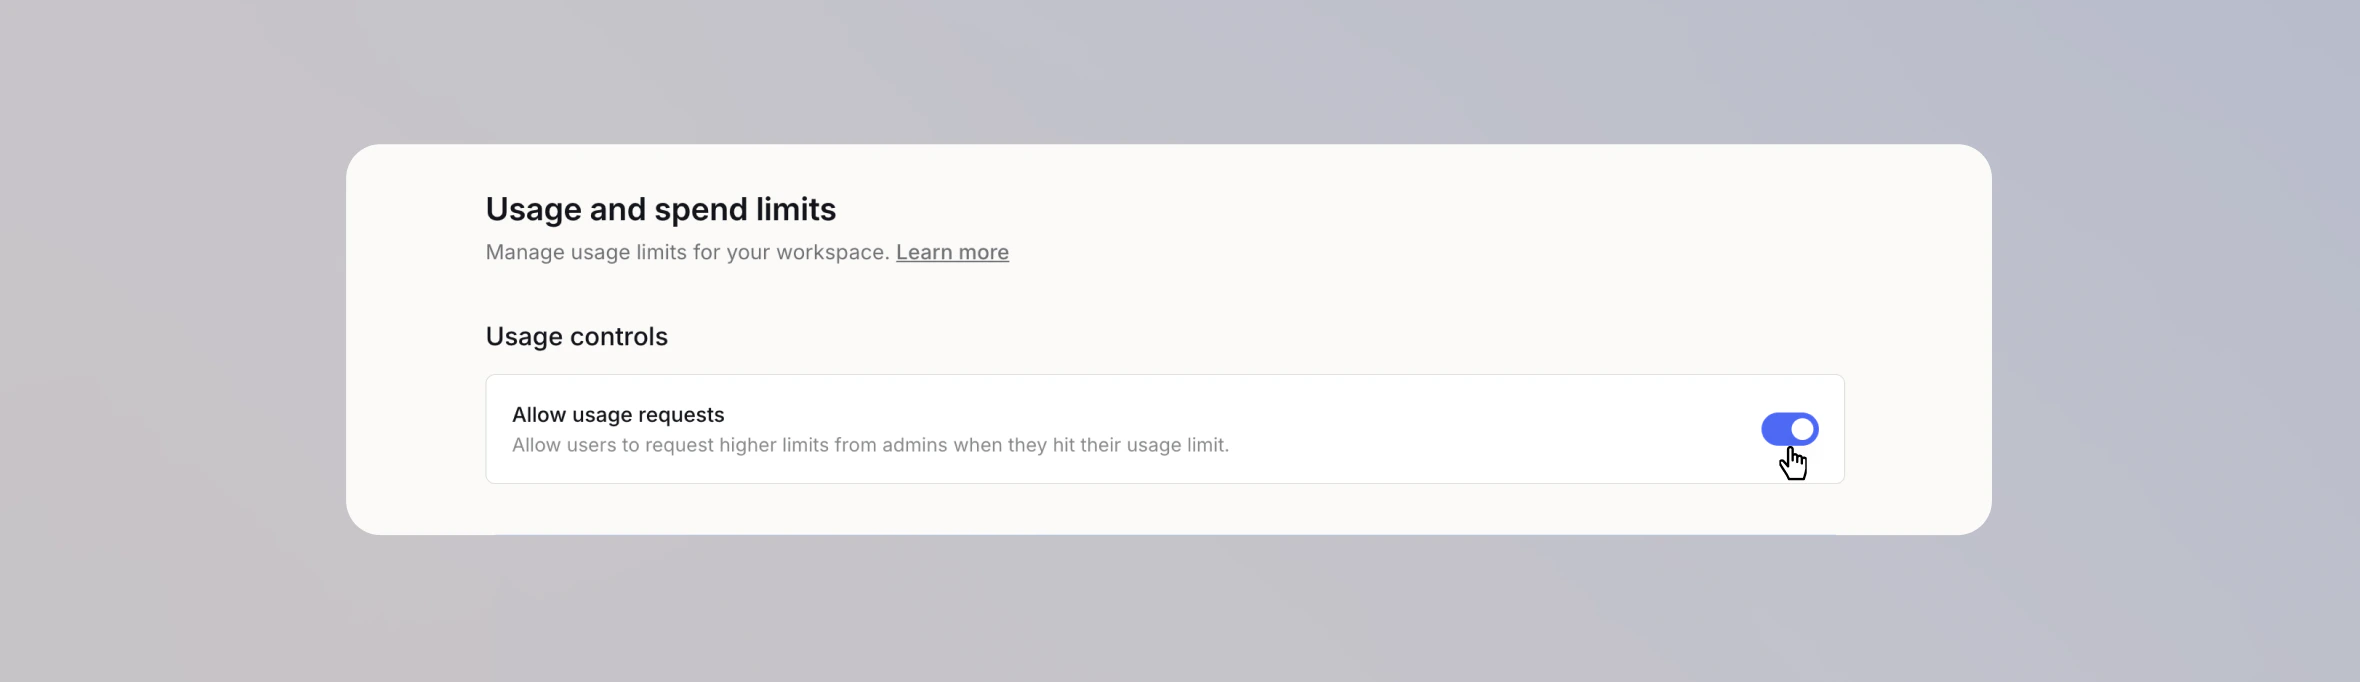
## Usage requests
Turn on **Allow usage requests** so users can ask for a higher limit when they hit one. Admins are notified and can respond by raising the user's individual limit, moving them to another plan, or dismissing the request.
Choose a capable but cheaper model as the fallback, so users keep working without spending at the same rate.
## Usage requests
Turn on **Allow usage requests** so users can ask for a higher limit when they hit one. Admins are notified and can respond by raising the user's individual limit, moving them to another plan, or dismissing the request.
 ## What users see
Users see no indication of a usage limit until you configure per-user limits. Once limits are set, they track their usage on the [Usage](https://app.langdock.com/settings/account/usage) page in their Account Settings, shown as percentages of their limits. The context window indicator next to the model selector also shows their usage directly in the chat. See [Usage limit indicator](/en/using-langdock/models-and-limits/context-window#usage-limit-indicator). When they reach a limit, a notice above the chat input names the limit and its reset time, and their next message uses the fallback model. If a limit is reached while a model is responding, it finishes that response before the fallback model takes over.
## Models without cost data
Cost tracking needs input and output token prices for each model. If an enabled model is missing them, the usage page shows a warning and usage on that model isn't counted. Add prices in [Models](https://app.langdock.com/settings/workspace/models) in your Workspace Settings. See [How to add your own models](/en/admin/byok/adding-models).
***
*Last updated: June 2026*
## What users see
Users see no indication of a usage limit until you configure per-user limits. Once limits are set, they track their usage on the [Usage](https://app.langdock.com/settings/account/usage) page in their Account Settings, shown as percentages of their limits. The context window indicator next to the model selector also shows their usage directly in the chat. See [Usage limit indicator](/en/using-langdock/models-and-limits/context-window#usage-limit-indicator). When they reach a limit, a notice above the chat input names the limit and its reset time, and their next message uses the fallback model. If a limit is reached while a model is responding, it finishes that response before the fallback model takes over.
## Models without cost data
Cost tracking needs input and output token prices for each model. If an enabled model is missing them, the usage page shows a warning and usage on that model isn't counted. Add prices in [Models](https://app.langdock.com/settings/workspace/models) in your Workspace Settings. See [How to add your own models](/en/admin/byok/adding-models).
***
*Last updated: June 2026*