> ## Documentation Index
> Fetch the complete documentation index at: https://docs.langdock.com/llms.txt
> Use this file to discover all available pages before exploring further.
# Manage Action Access
> Control who can use an integration and its individual actions. Enable integrations for the whole workspace, or share an integration and its actions with specific users and groups.
Control who can use an integration and which of its actions they can run. As a workspace admin, you can enable an integration for everyone, restrict it to specific users and groups, and manage access for each individual action.
## Prerequisites
* You are a workspace admin.
* Navigate to [Integrations](https://app.langdock.com/settings/workspace/products/integrations) in your workspace settings, then select the integration you want to manage.
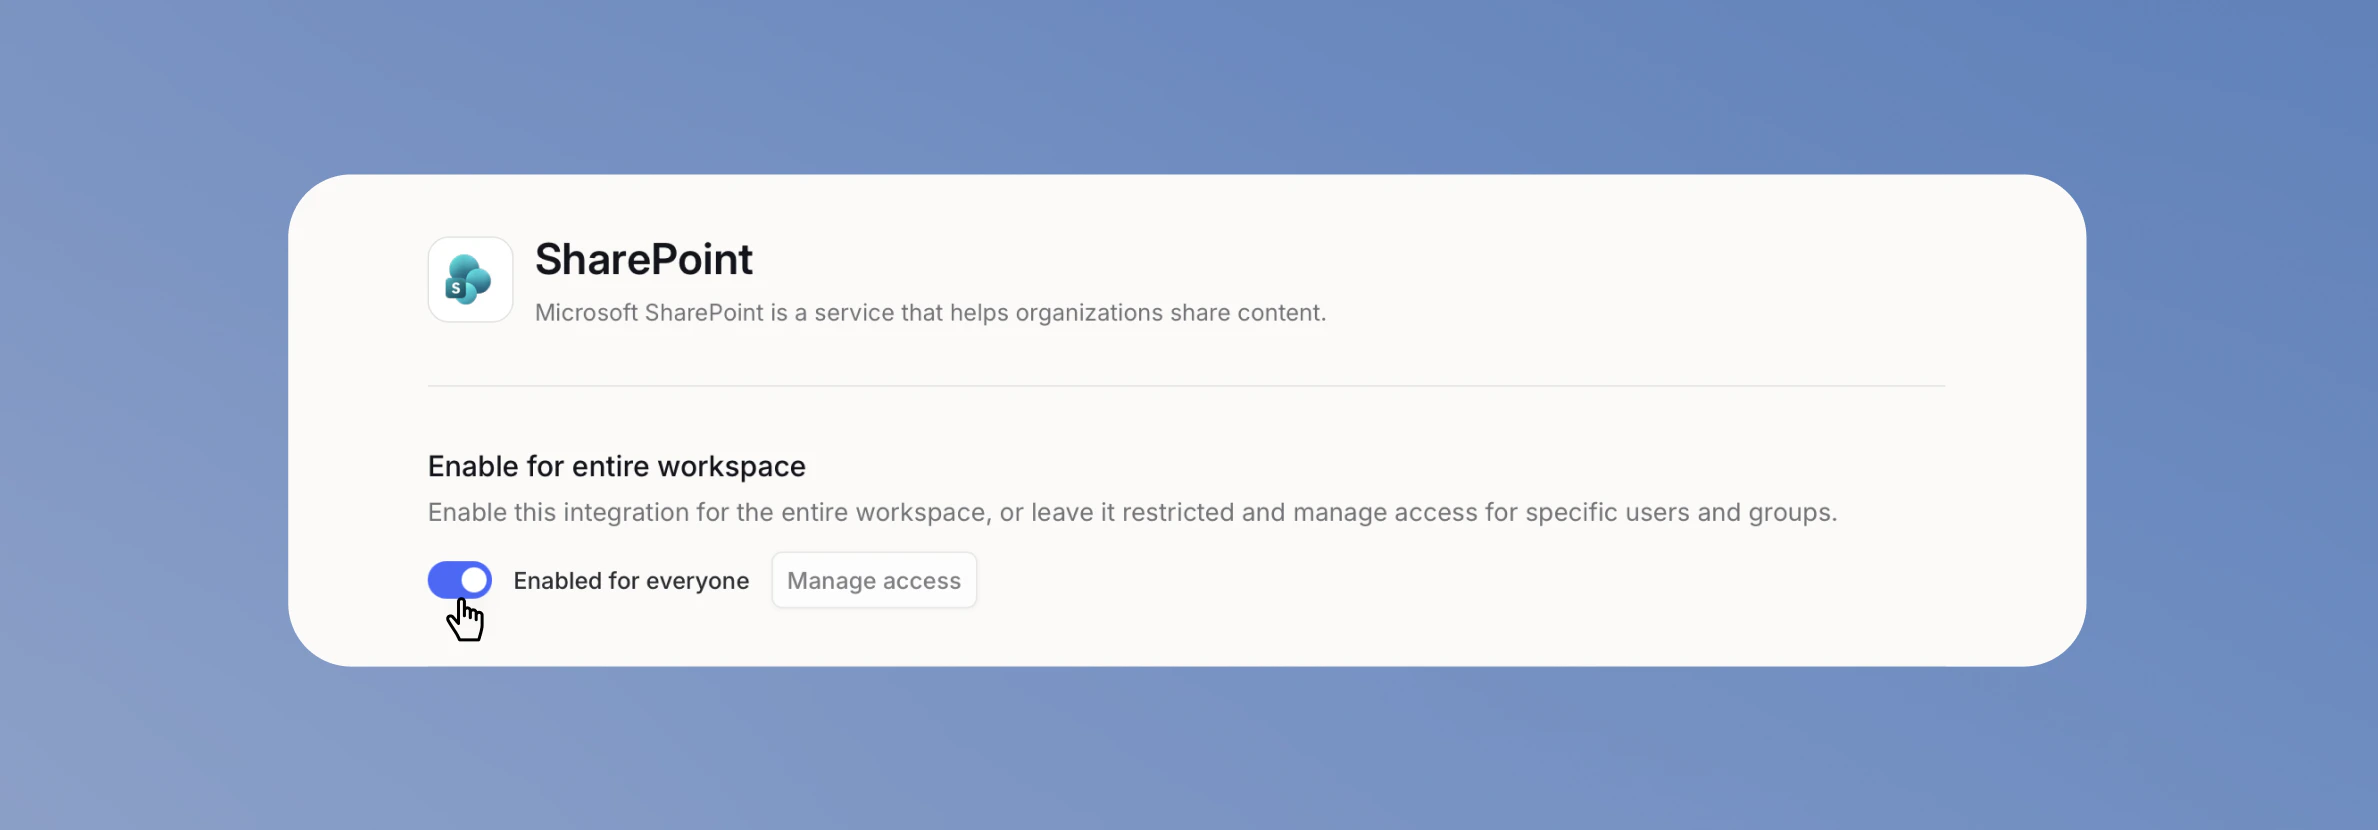
## Enable an integration for the workspace
By default, integrations are enabled for the entire workspace, so every member and editor can connect and use them. To get more granular control over who can use an integration and its actions, turn off **Enable for entire workspace** at the top of the integration's page.
 ## Share an integration with specific users or groups
To limit an integration to certain people, share it instead of enabling it for everyone.
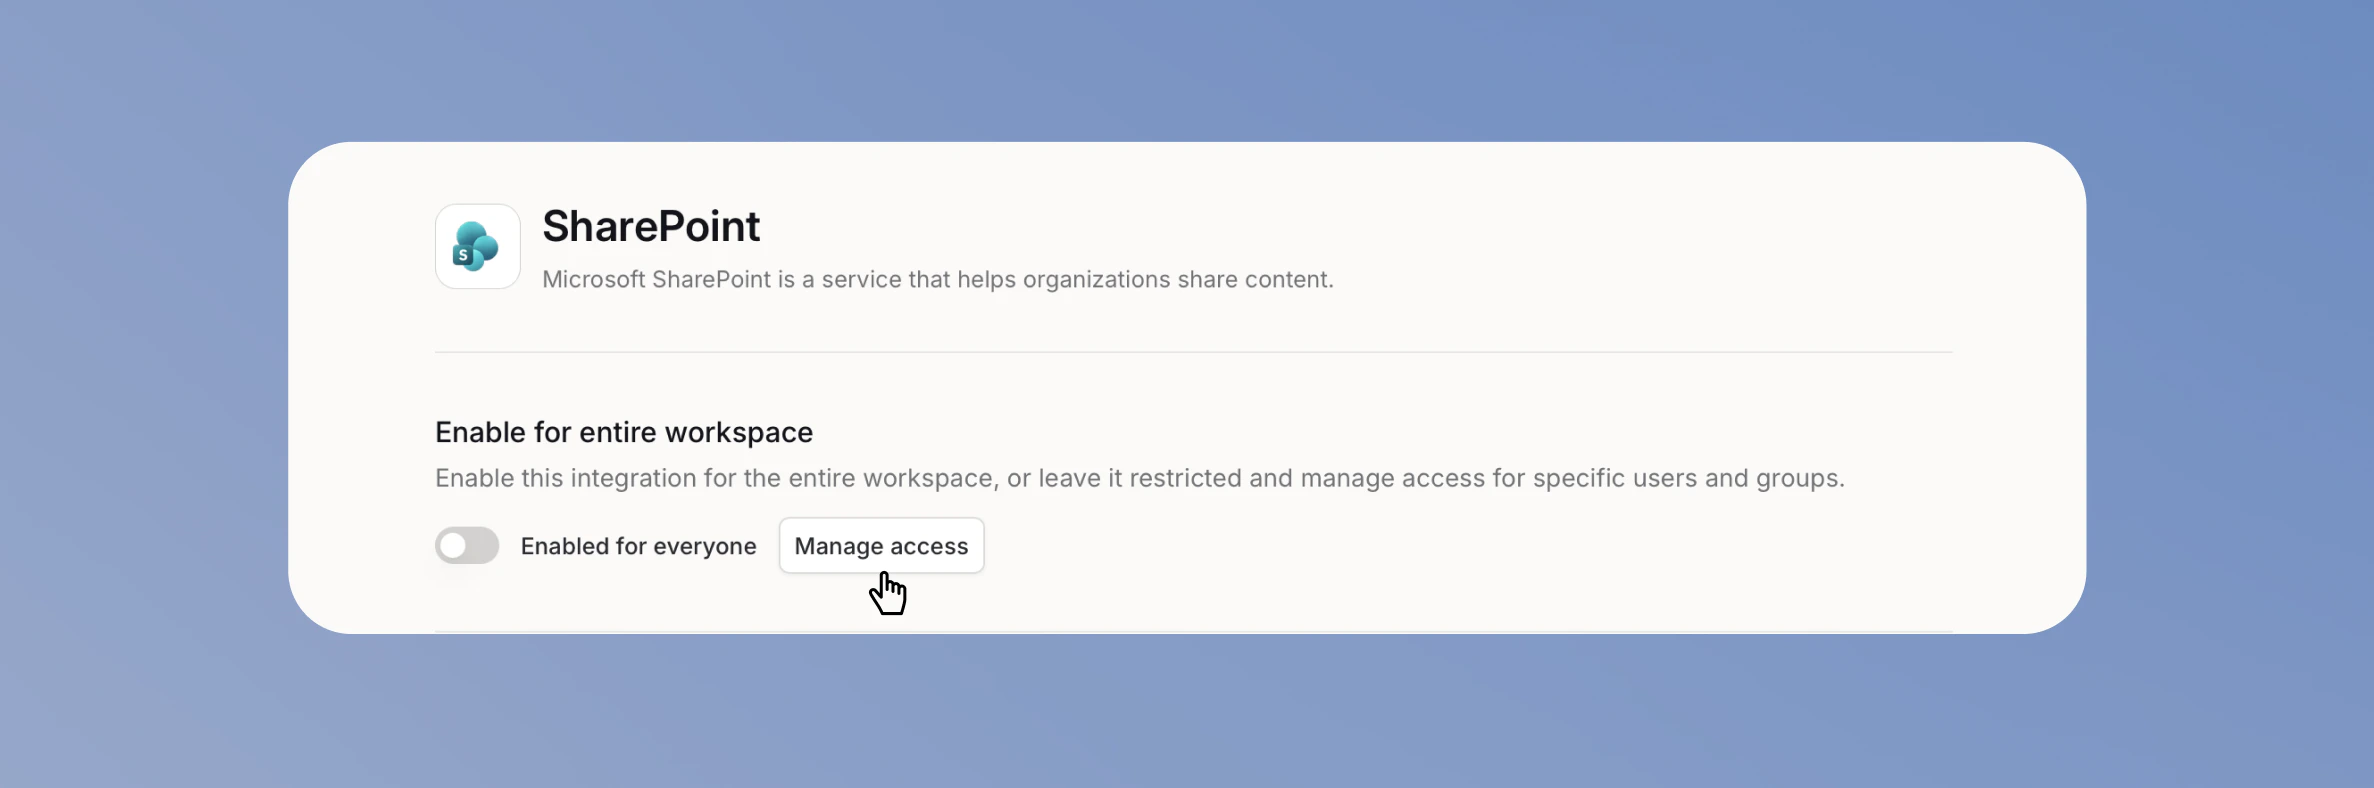
### 1. Turn off workspace access
Turn off **Enable for entire workspace**. You cannot share an integration with specific users while it is enabled for everyone.
### 2. Open Manage access
Click **Manage access** to open the access dialog.
## Share an integration with specific users or groups
To limit an integration to certain people, share it instead of enabling it for everyone.
### 1. Turn off workspace access
Turn off **Enable for entire workspace**. You cannot share an integration with specific users while it is enabled for everyone.
### 2. Open Manage access
Click **Manage access** to open the access dialog.
 ### 3. Add users or groups
Search for and select the users or groups you want to give access to. You can add several at once.
### 3. Add users or groups
Search for and select the users or groups you want to give access to. You can add several at once.
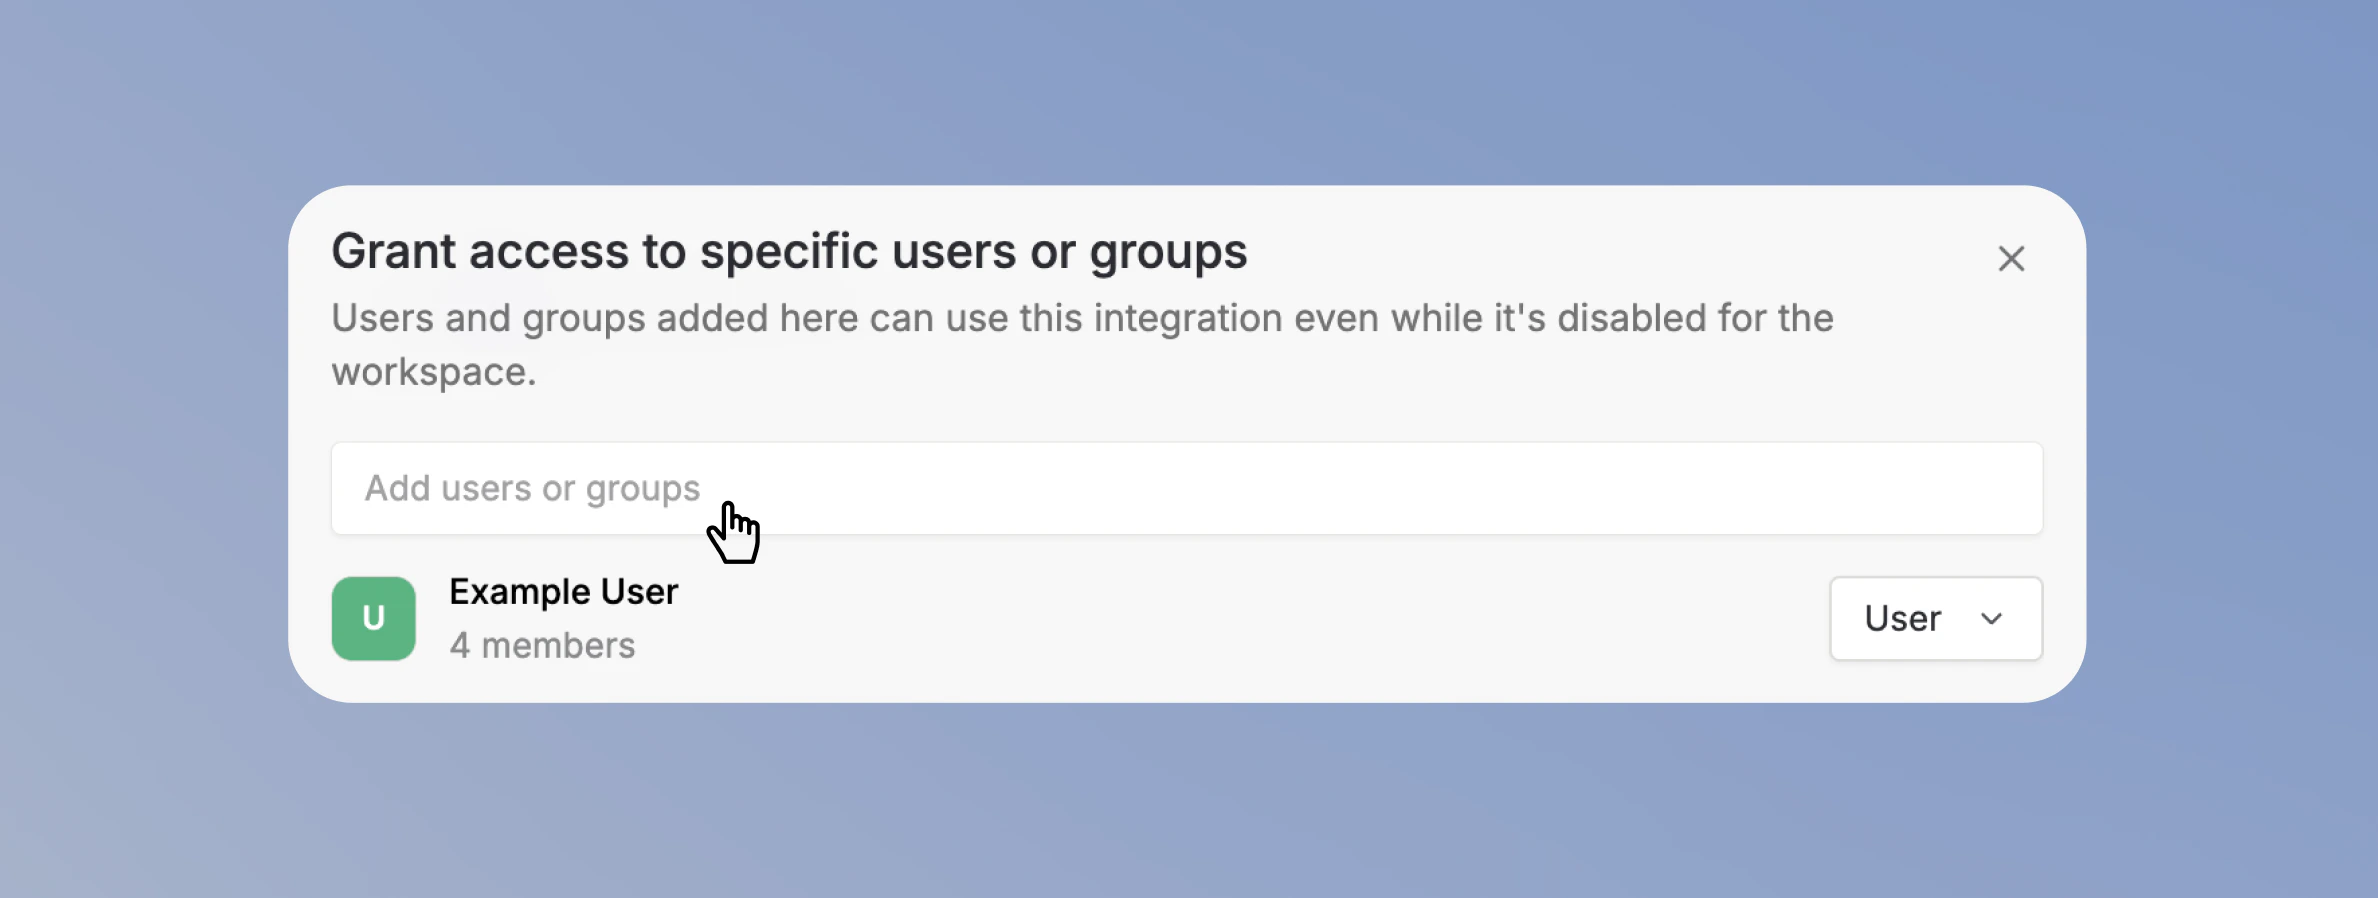 Only the users and groups you add can use the integration. Workspace admins always keep access.
## Control actions in Scopes and Action Access
Scroll to the **Scopes and Action Access** section to control which actions are available in your workspace.
Only the users and groups you add can use the integration. Workspace admins always keep access.
## Control actions in Scopes and Action Access
Scroll to the **Scopes and Action Access** section to control which actions are available in your workspace.
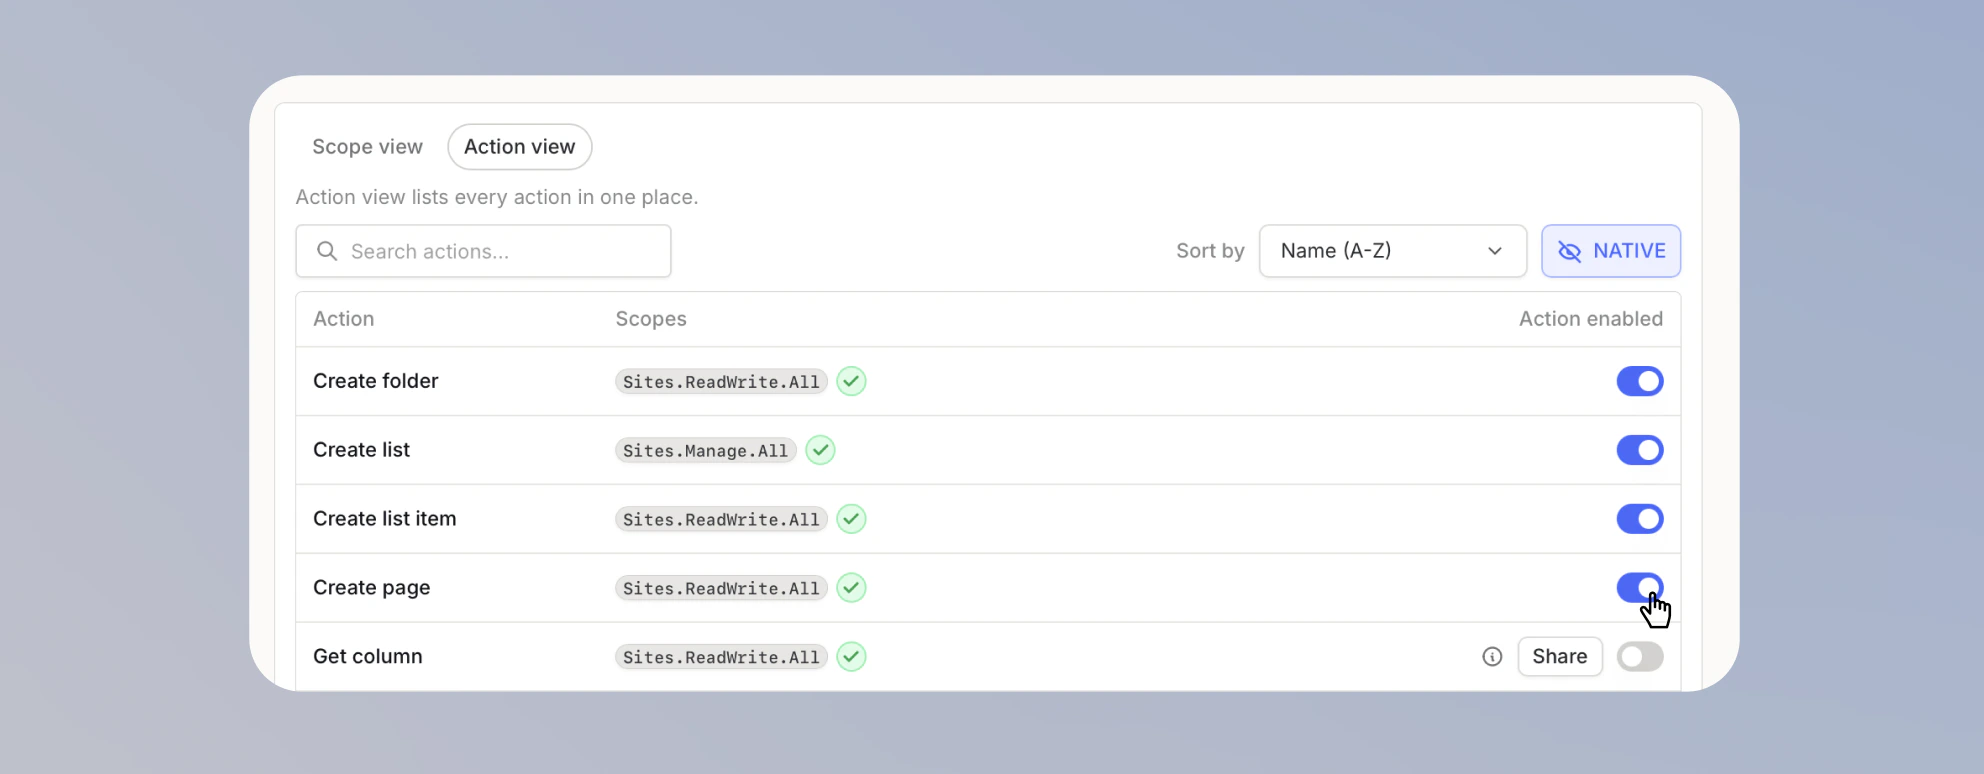
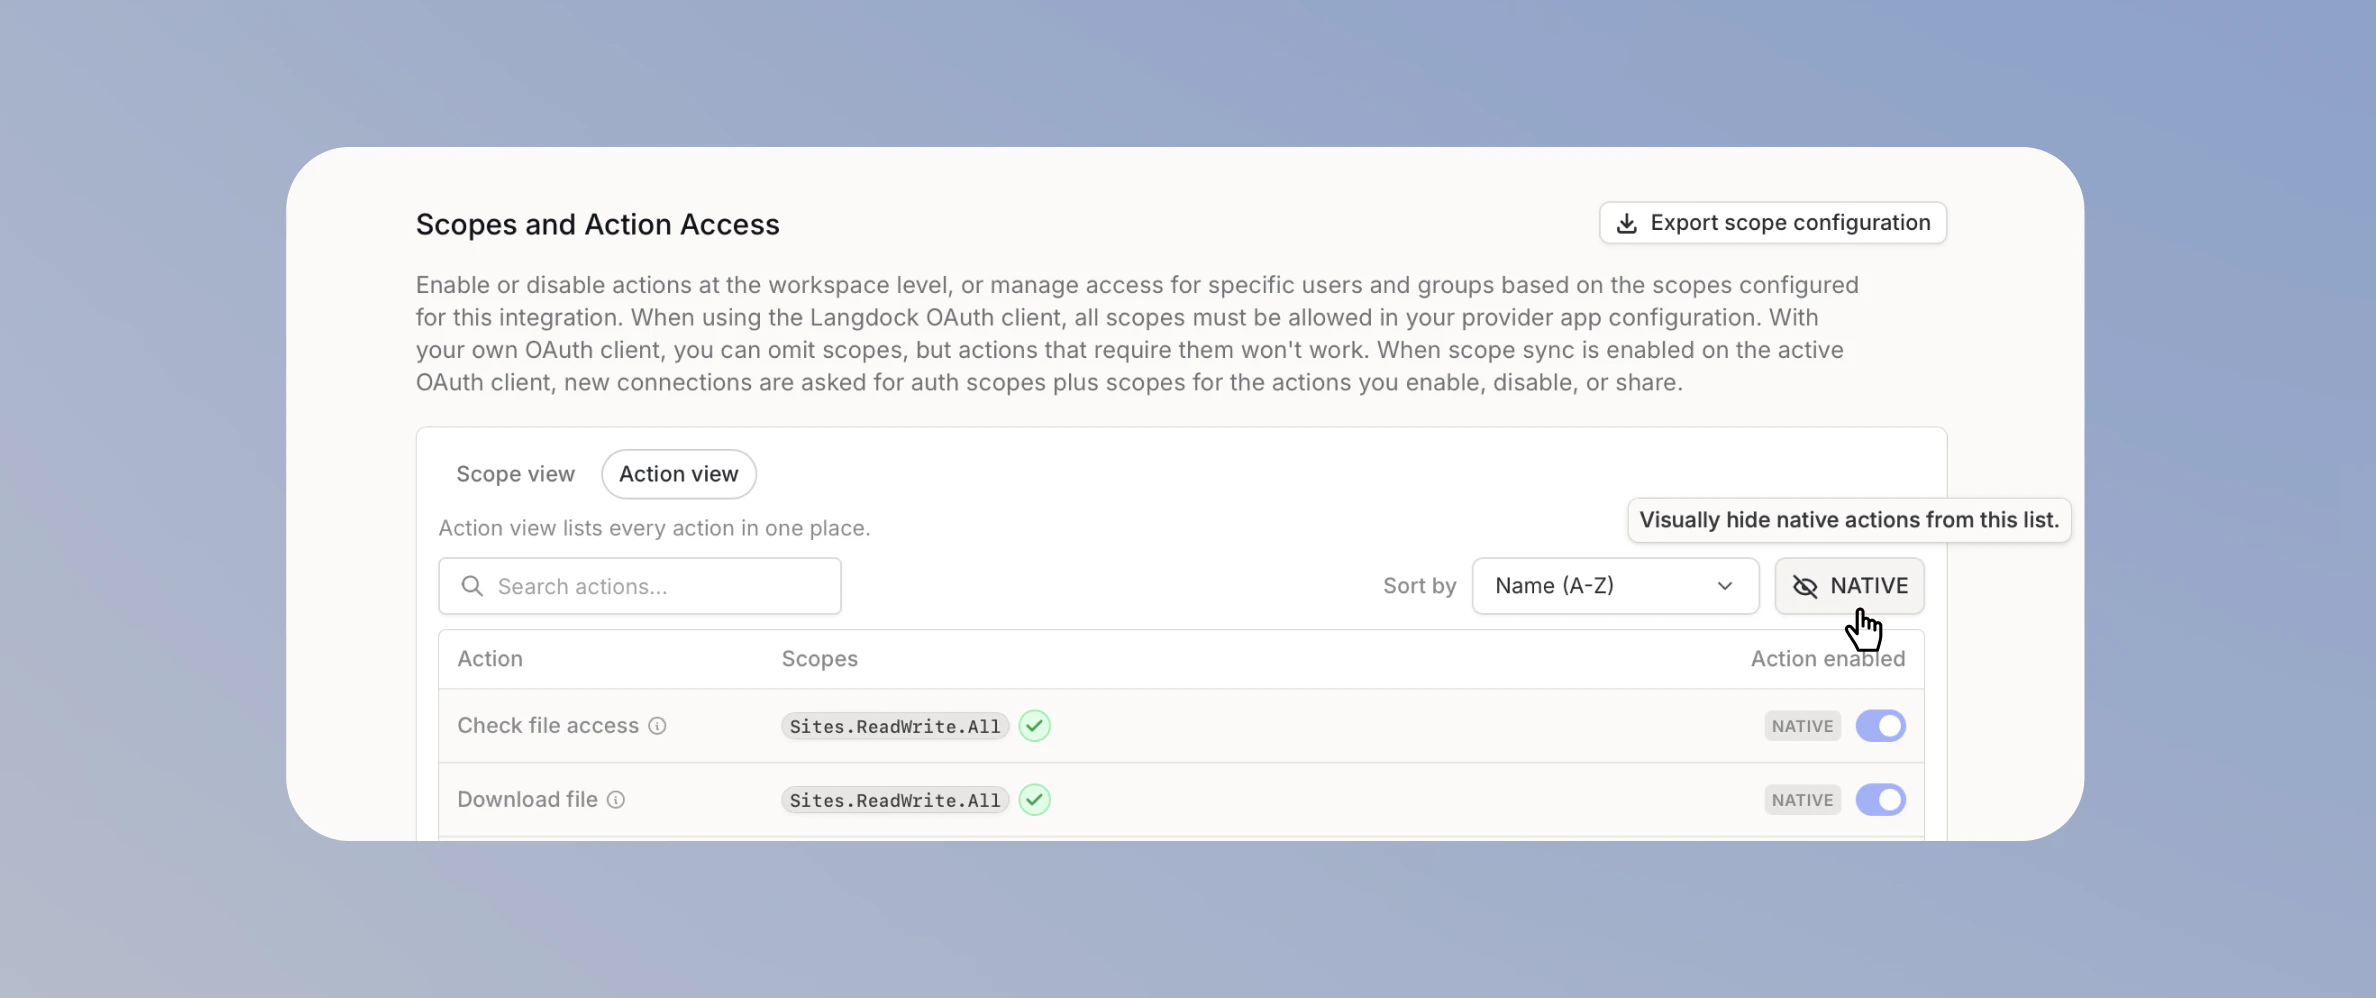 Switch to the **Action view** tab to see and manage individual actions and their access.
Some actions are **native** to Langdock. They power core platform features and are always enabled, so you cannot disable them. Native actions are marked with a **NATIVE** badge.
To focus on the actions you can change, click the **NATIVE** button in the top-right corner of the section to hide native actions. The list then shows only the actions you can enable, disable, or share.
## Share an action with specific users or groups
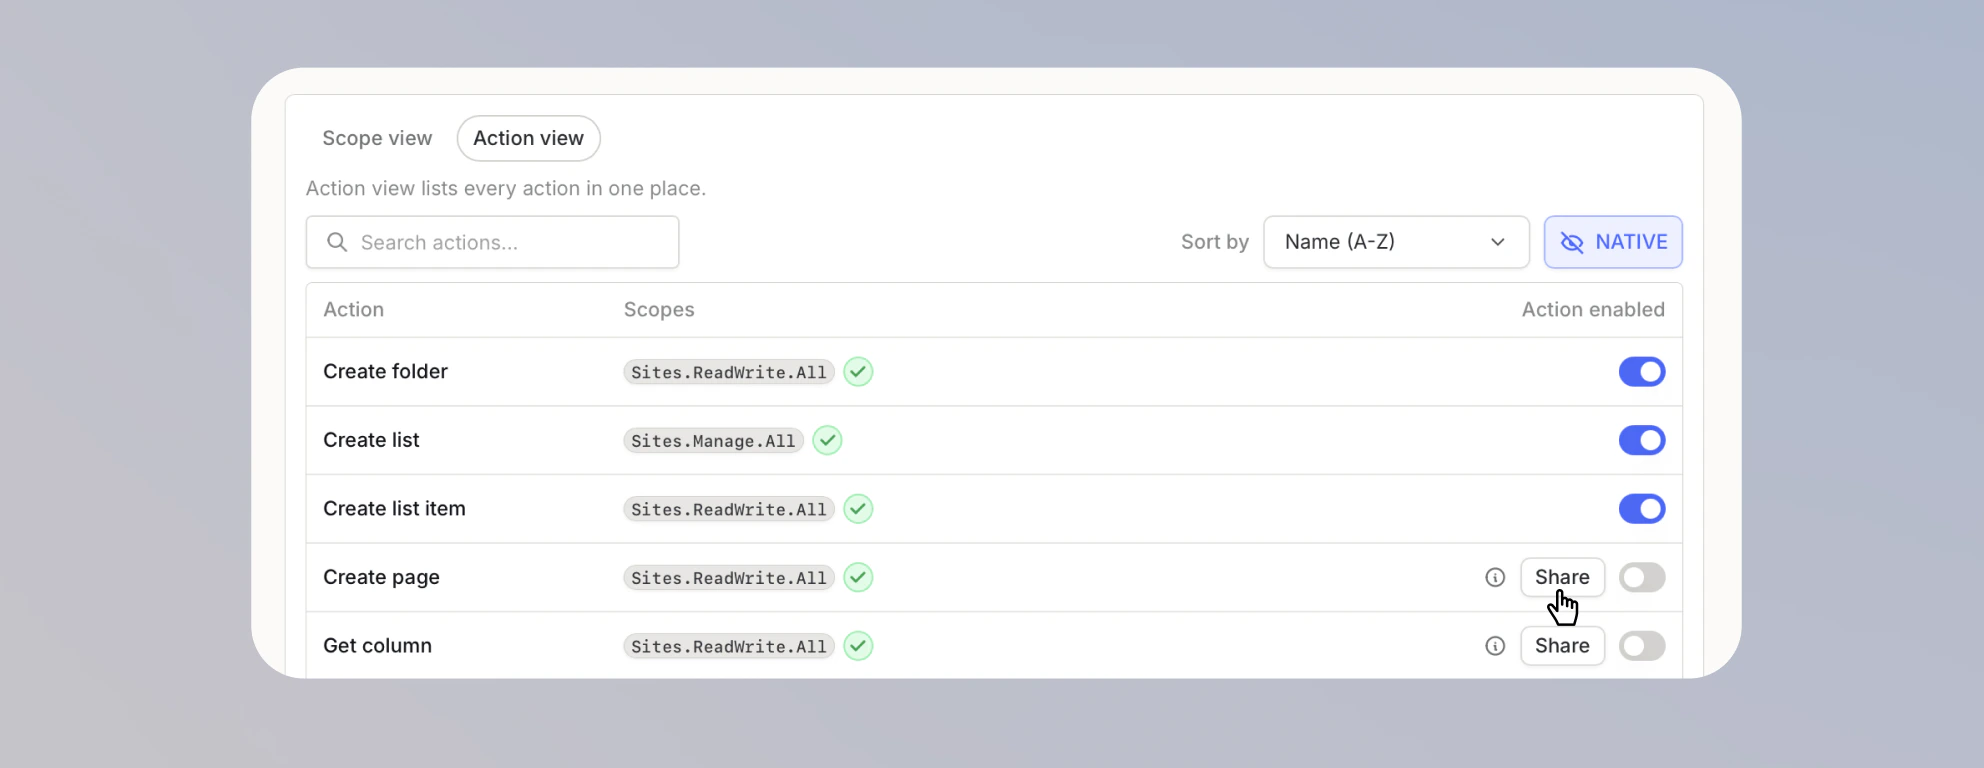
Each action has an **Available to all users** toggle.
* When it is on, everyone in the workspace can use the action.
* When you turn it off, a **Share** button and a **Users & groups with access** list appear.
To share a single action:
### 1. Turn off Available to all users
On the action's row, turn off **Available to all users**.
Switch to the **Action view** tab to see and manage individual actions and their access.
Some actions are **native** to Langdock. They power core platform features and are always enabled, so you cannot disable them. Native actions are marked with a **NATIVE** badge.
To focus on the actions you can change, click the **NATIVE** button in the top-right corner of the section to hide native actions. The list then shows only the actions you can enable, disable, or share.
## Share an action with specific users or groups
Each action has an **Available to all users** toggle.
* When it is on, everyone in the workspace can use the action.
* When you turn it off, a **Share** button and a **Users & groups with access** list appear.
To share a single action:
### 1. Turn off Available to all users
On the action's row, turn off **Available to all users**.
 ### 2. Share the action
Click **Share** to open the action's share dialog, then search for and select the users or groups.
### 2. Share the action
Click **Share** to open the action's share dialog, then search for and select the users or groups.
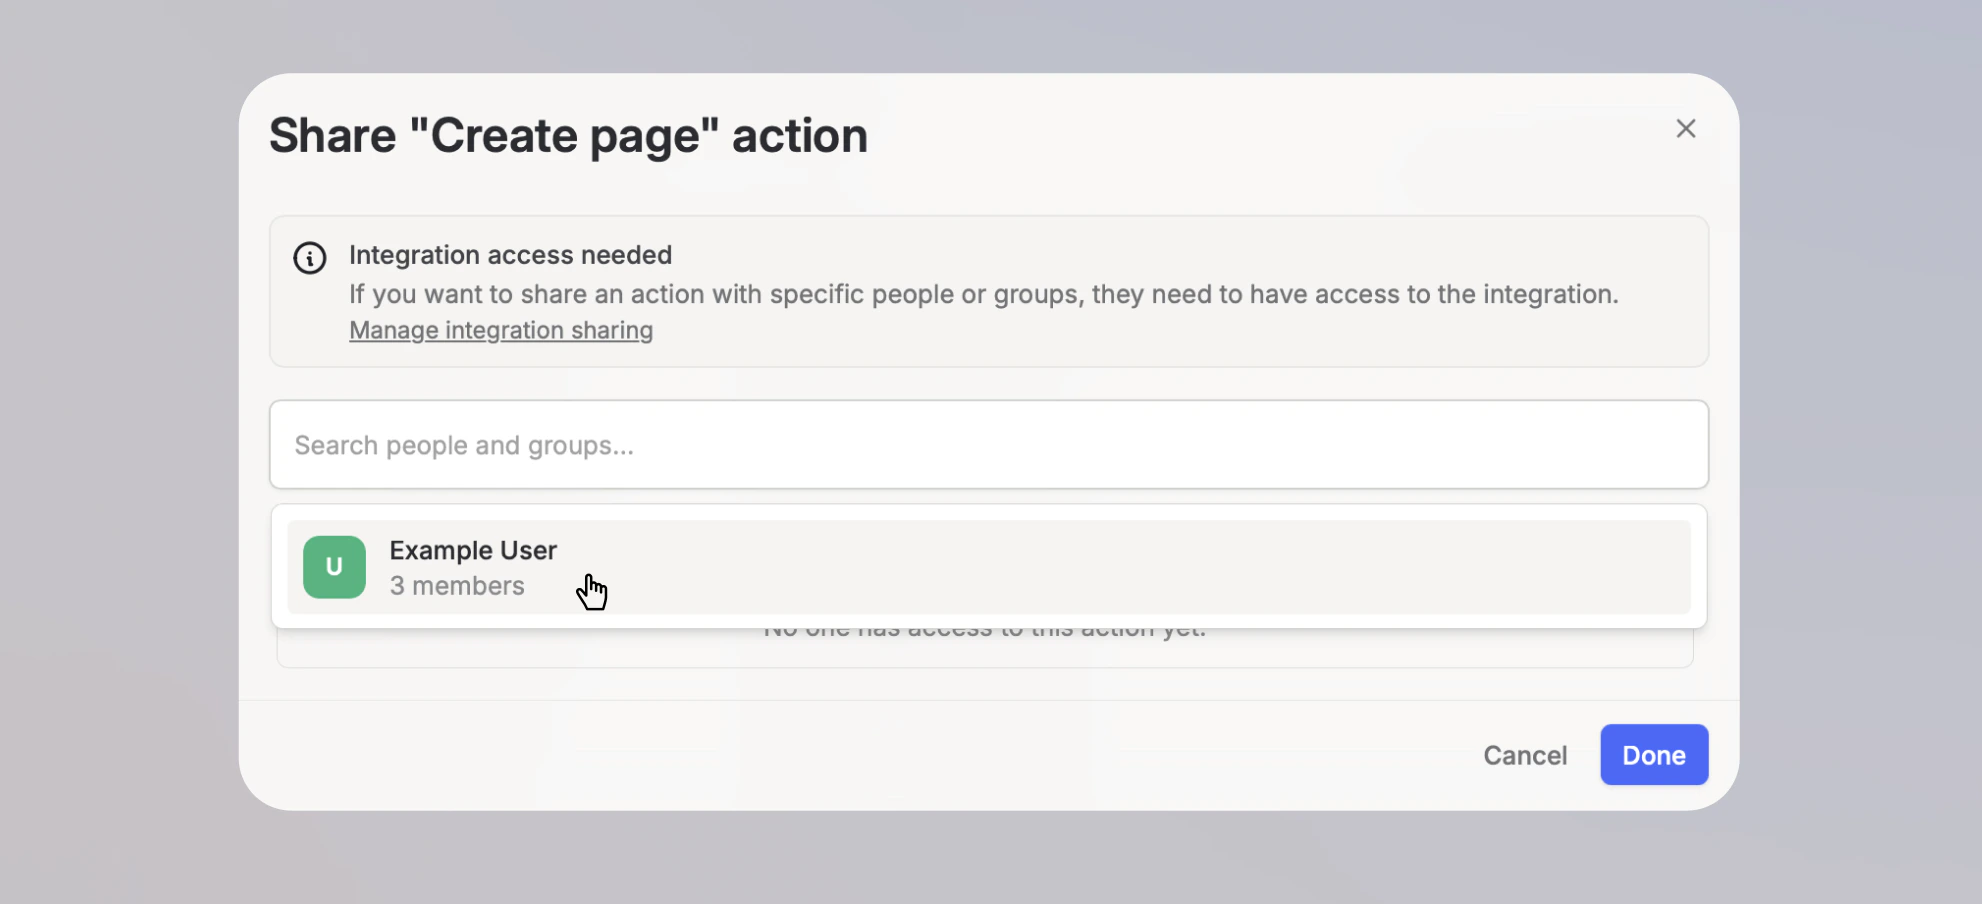 To share an action with specific people or groups, they also need access to the integration. If they don't, grant it first using **Manage integration sharing** in the share dialog.