> ## Documentation Index
> Fetch the complete documentation index at: https://docs.langdock.com/llms.txt
> Use this file to discover all available pages before exploring further.
# Outlook Add-in (Setup)
> Enable the Langdock Outlook add-in for your workspace so users can access Langdock directly inside Microsoft Outlook.
The [Outlook add-in](/en/using-langdock/microsoft-add-ins/outlook) brings Langdock directly into Microsoft Outlook, allowing users to summarize threads, triage inboxes, draft replies, and schedule meetings without leaving Outlook. This section covers how to enable the add-in for your workspace.
## Enabling the add-in
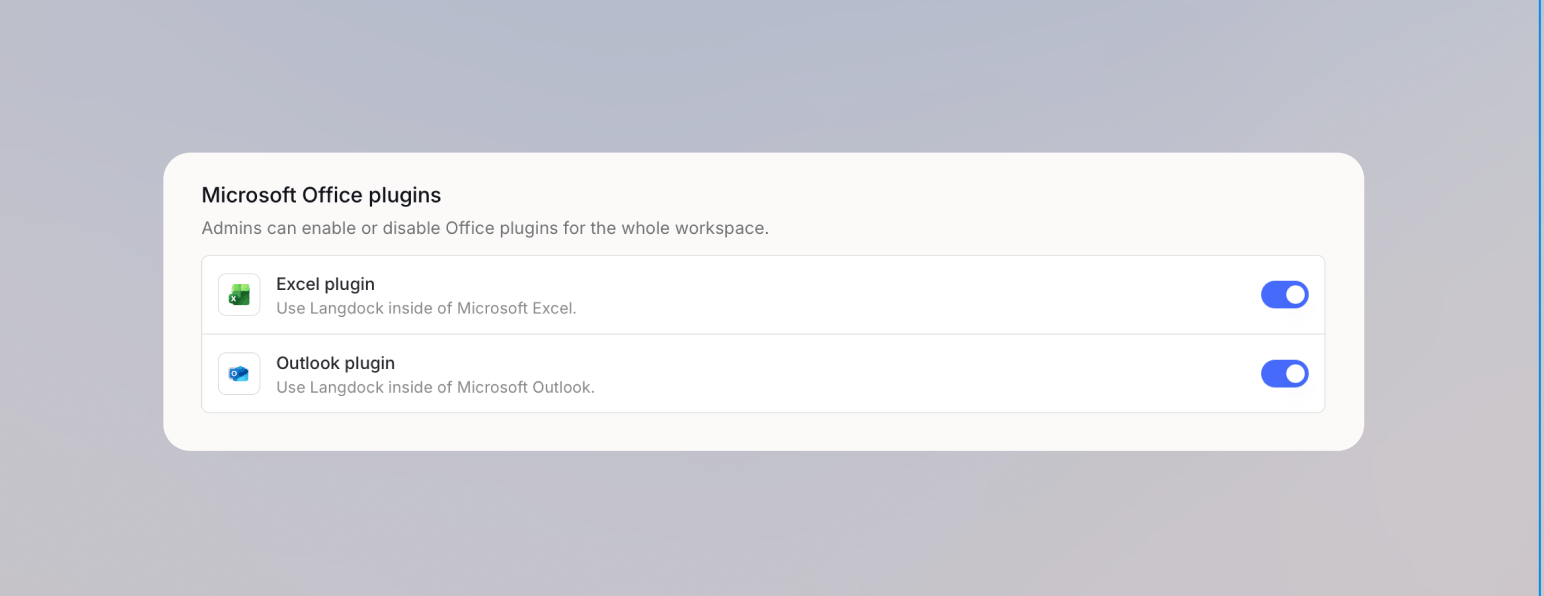
Navigate to your [workspace integration settings](https://app.langdock.com/settings/workspace/products/integrations) in Langdock.
Find the Outlook add-in and toggle it on.
 The add-in uses the Outlook Email and Outlook Calendar integrations to read messages, search mailboxes, and work with calendars. Make sure both are enabled in your workspace, since users are asked to connect them when they first open the add-in.
Users can now sign in to the add-in from within Outlook. Share the [Outlook add-in overview](/en/using-langdock/microsoft-add-ins/outlook) with your users so they know how to get started.
The add-in uses the Outlook Email and Outlook Calendar integrations to read messages, search mailboxes, and work with calendars. Make sure both are enabled in your workspace, since users are asked to connect them when they first open the add-in.
Users can now sign in to the add-in from within Outlook. Share the [Outlook add-in overview](/en/using-langdock/microsoft-add-ins/outlook) with your users so they know how to get started.